LEGACY PLAN: PROFESSIONAL | TEAM | TEAM PLUS
You can track tasks agreed upon in the meeting, assign them to yourself or to other workspace members, complete them with delivery dates, and export them to the task management tools using the Personal or Workspace Automations.
If performer names and deadlines were mentioned during the discussion, they would be recorded for each item. Meeting users with editing access can adjust these details.
Log in to your Sembly account and open a completed meeting
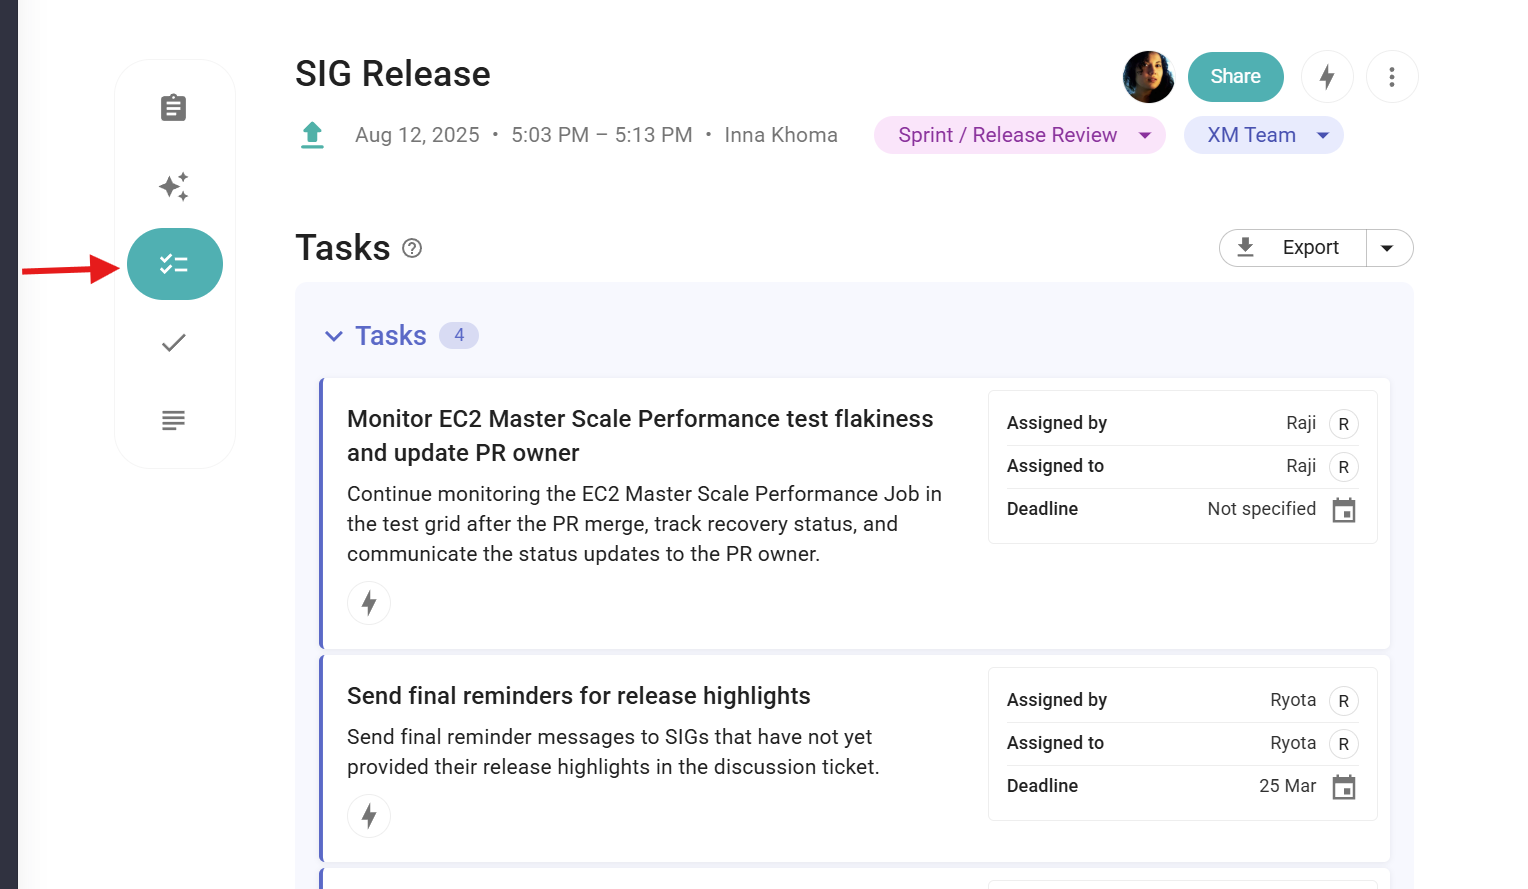
In the context menu on the left, select the “Tasks” section
Tasks will be divided into three categories depending on the time needed for completion, where Activities are the shortest, Projects are the longest, and Tasks are in the middle. You can fold each category by clicking the arrow next to the category title
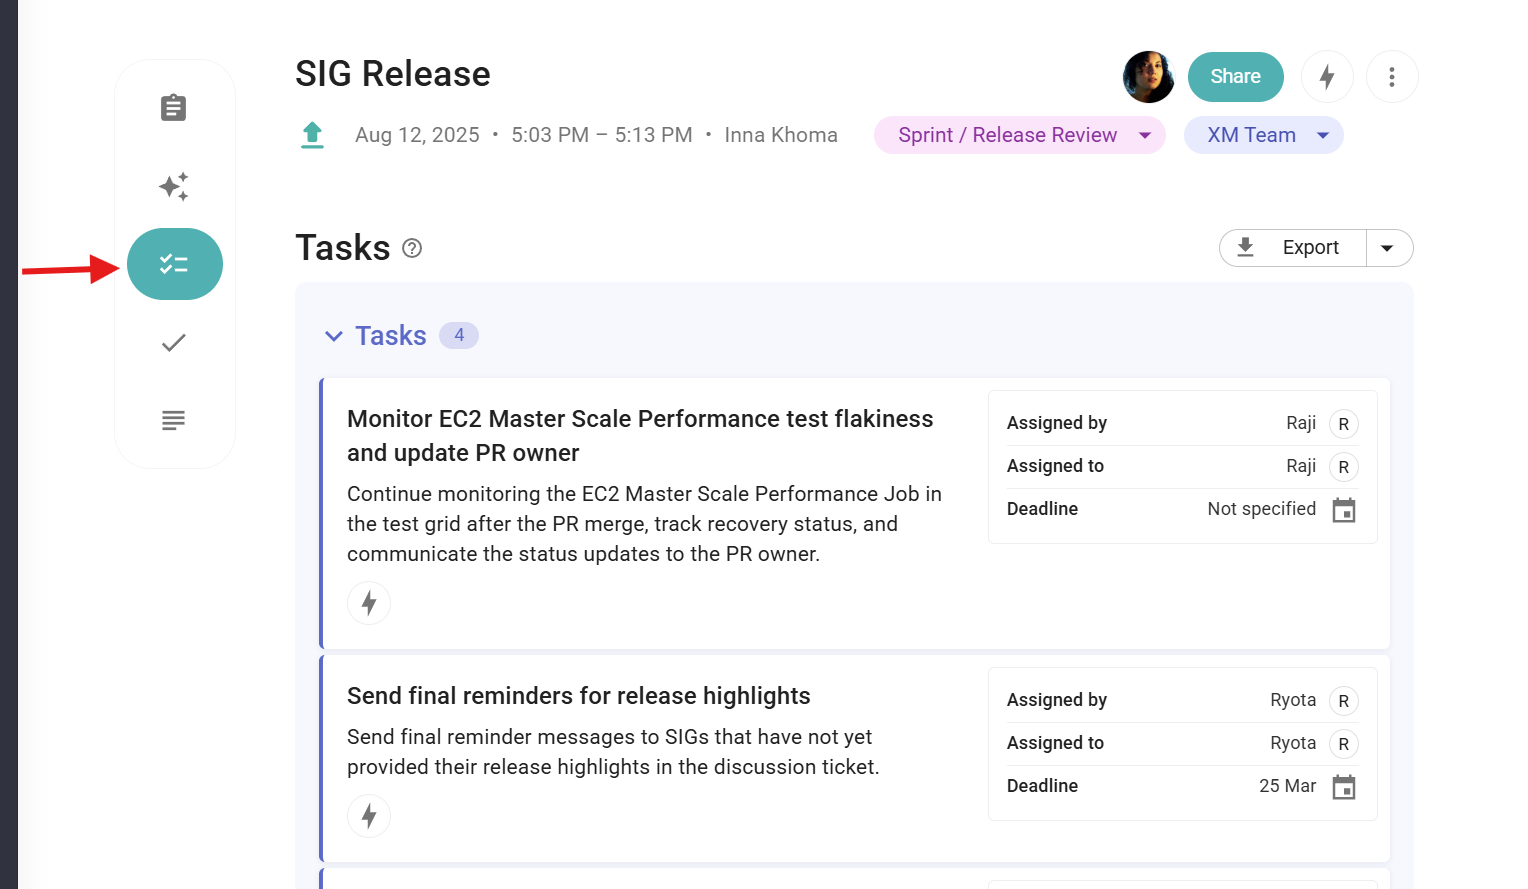
Each task includes a task title, a task description, a tray with the details of the speaker who assigned the task “Assigned by”, a performer “Assigned to,” and a deadline. All mentioned parts of the task can be edited by anyone who has edit access to the meeting. To edit, click the cursor right where you want to make changes. On the bottom left is an integration icon that you can use to send the task to your task management tool after setting up integrations.

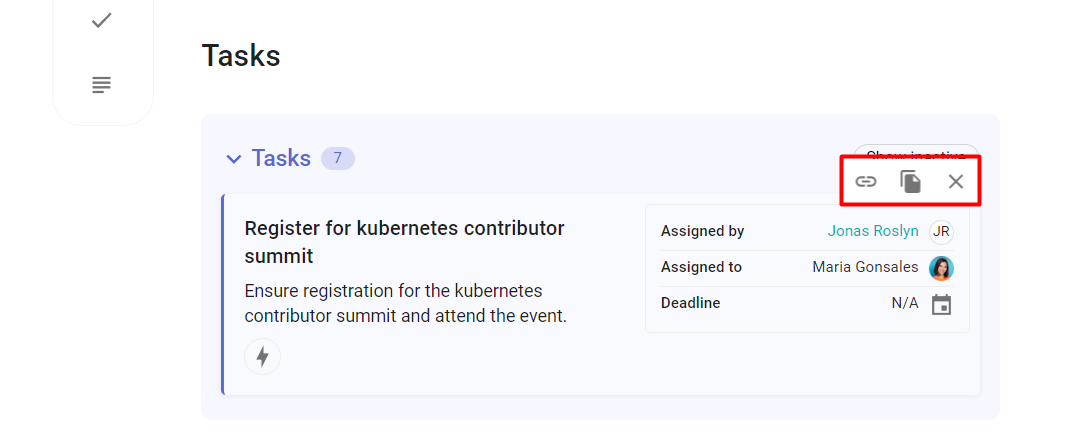
By hovering over the task, you will access the toolbar where you can (from left to right): copy the link to the task, copy the task to the clipboard (with all its details and the link included), and make the task inactive.
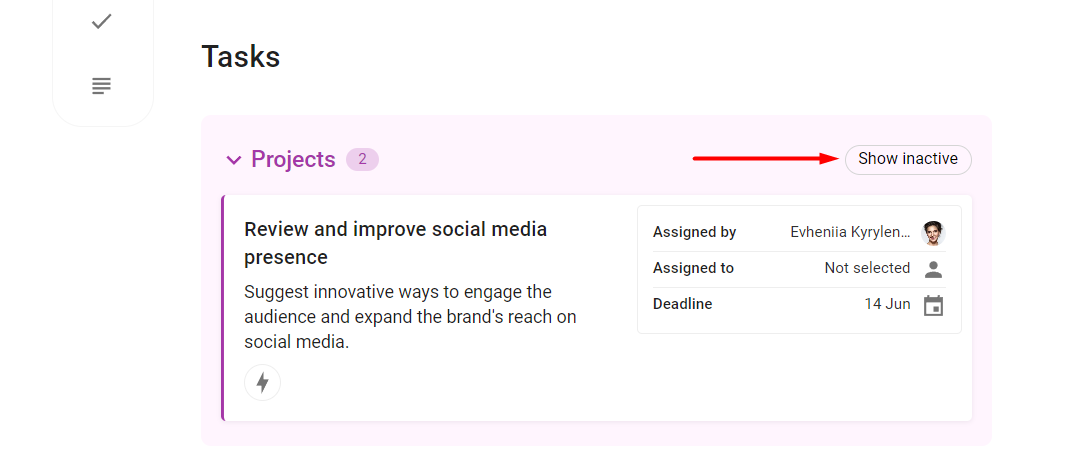
Inactive tasks can then be retrieved with the “Show Inactive” button:
The algorithm automatically recognizes the speaker who assigned the task, the assignee, and the deadlines if they were mentioned. However, users with access to edit the meeting can change these details or set them up if it wasn’t allocated by the AI.
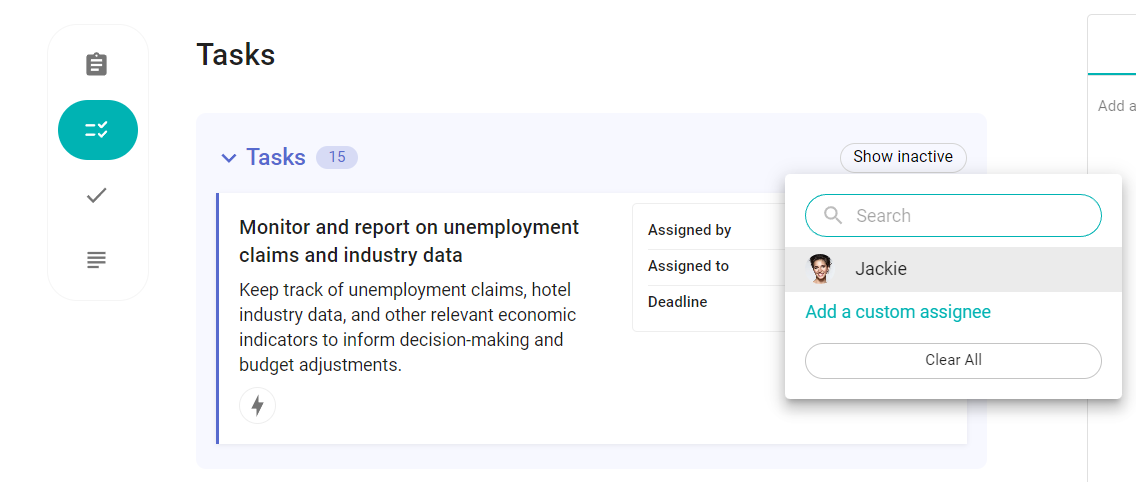
To set up or change the assignee (and the “assigned by”), click the value (e.g., Speaker 0, Not selected, or the name) and select the user from the dropdown. You can use a search to find the user or add a custom assignee name if you wish to assign someone who isn’t a Sembly user. After you set up the assignee, they will receive a notification in their My Tasks menu that the new task appeared.
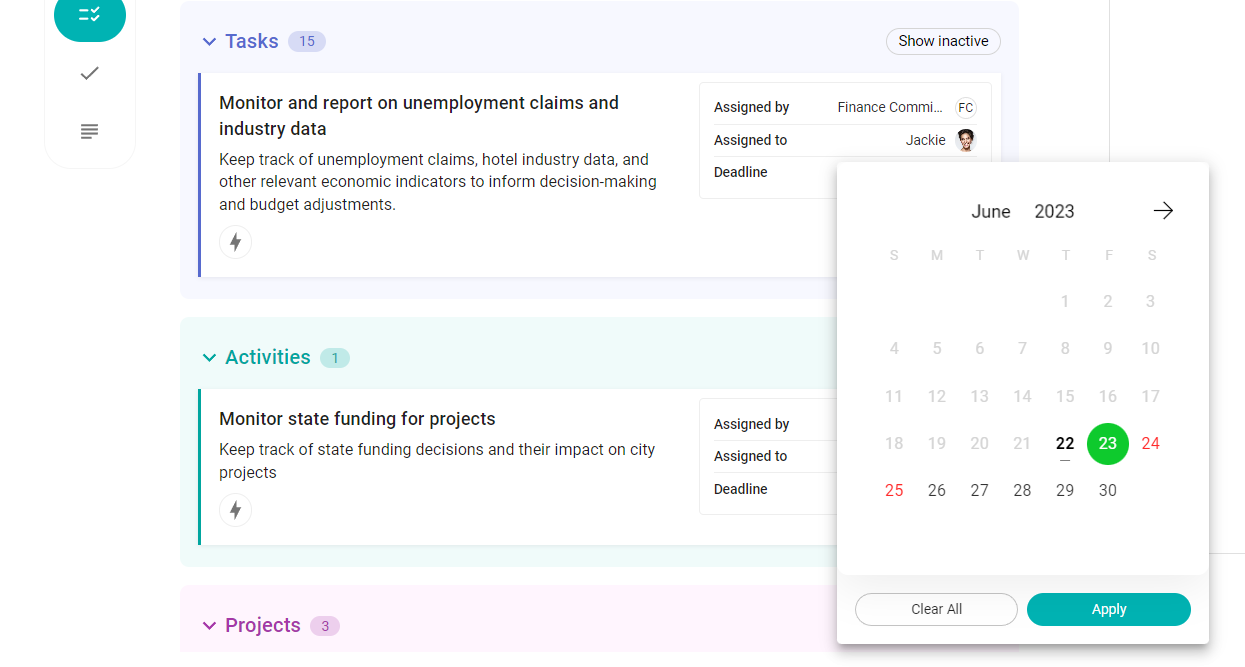
To set up a deadline, click the calendar icon, select the date, and click “Apply".
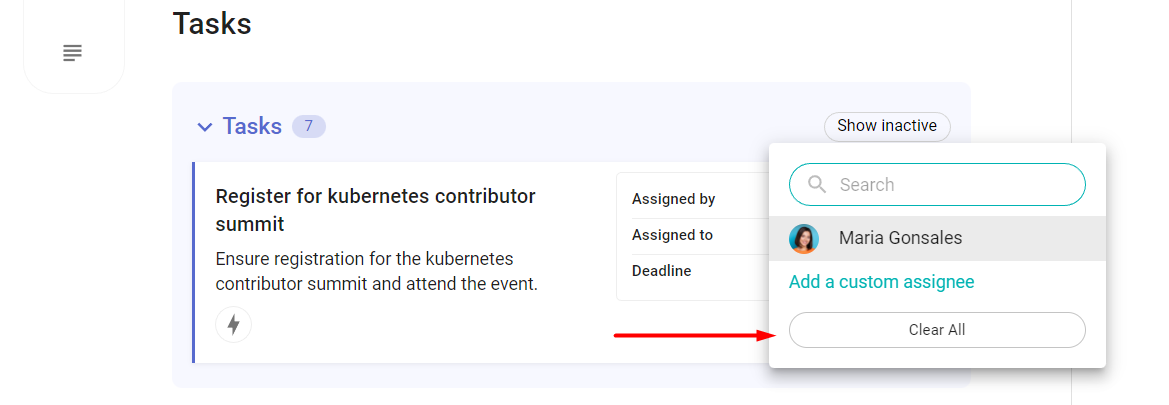
Additionally, you can also reset the details. Click the value again and select “Clear All”. The value will change to “Not selected” and can be set up again.
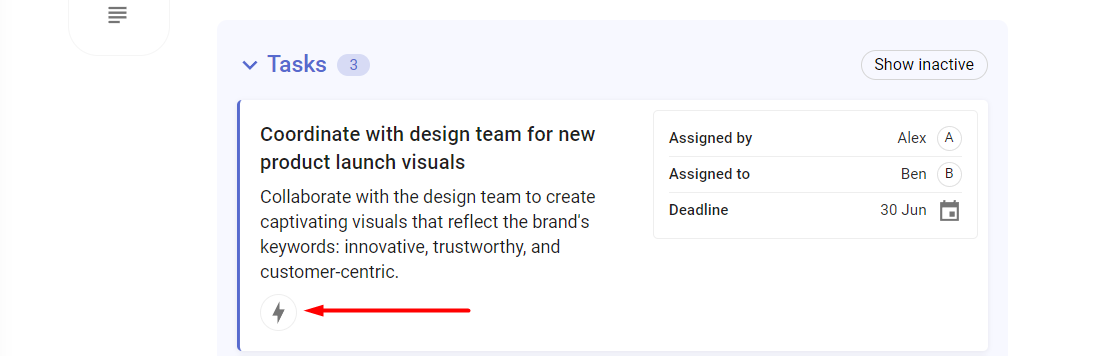
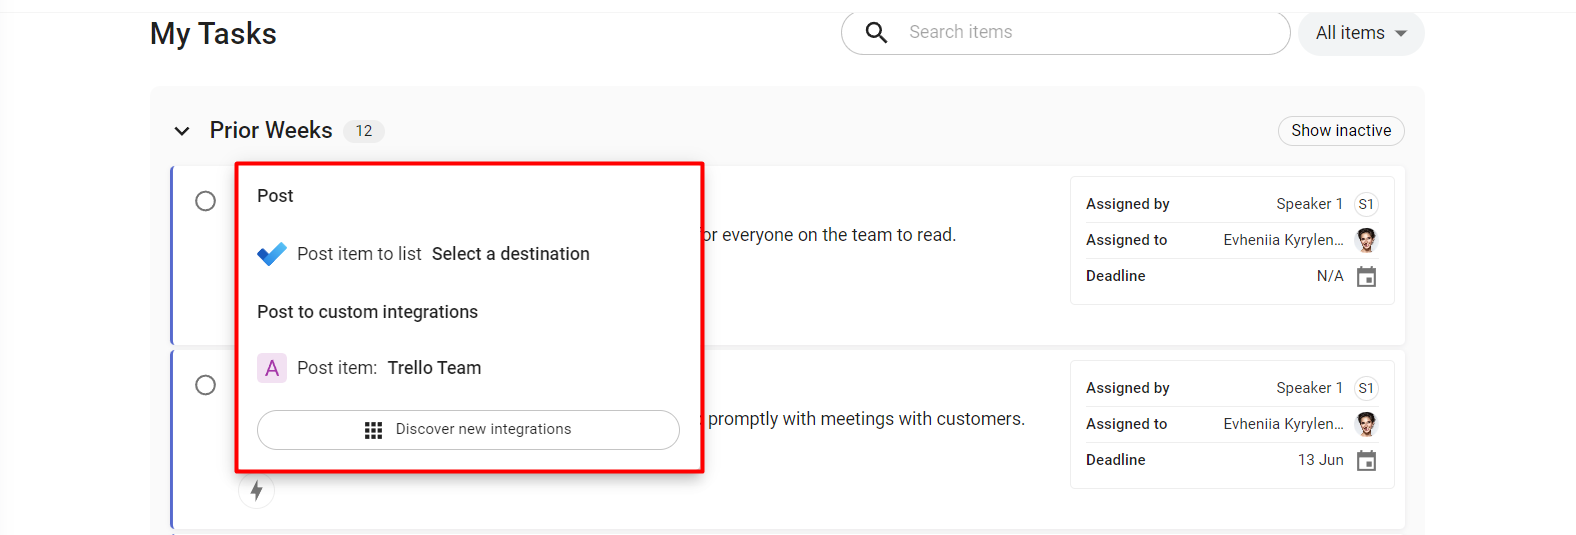
Additionally, you can send the tasks to your task management tool using the integration button on the bottom left. In a dropdown, select the destination where you want the task to be sent and click Post Item...
Other members that have editing access to the meeting can also assign tasks to you. You will be notified about new assignments in the My Tasks menu on the left.
My Tasks section will only include your tasks. You will see the tasks assigned to you by others, even from the meetings to which you don’t have any access.
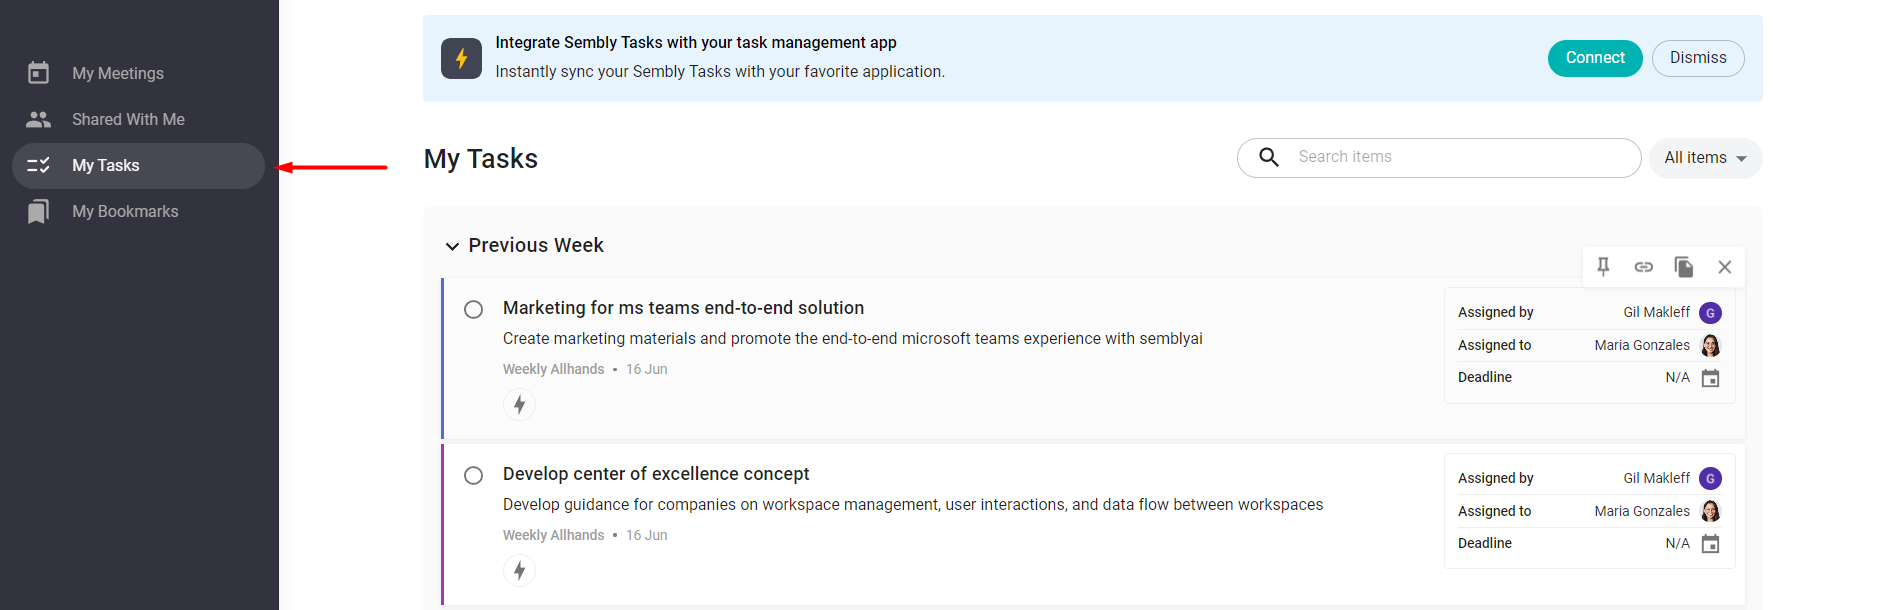
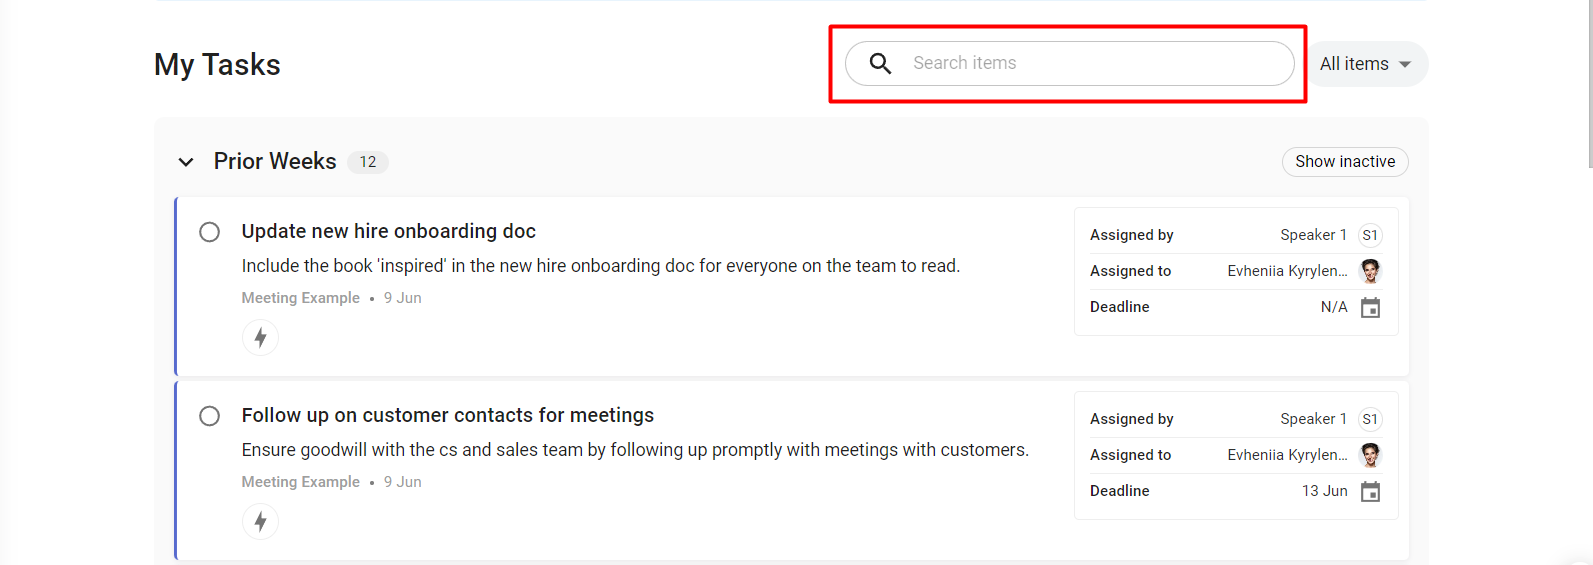
You can use the "Search" field at the top of the page to quickly find the required task.
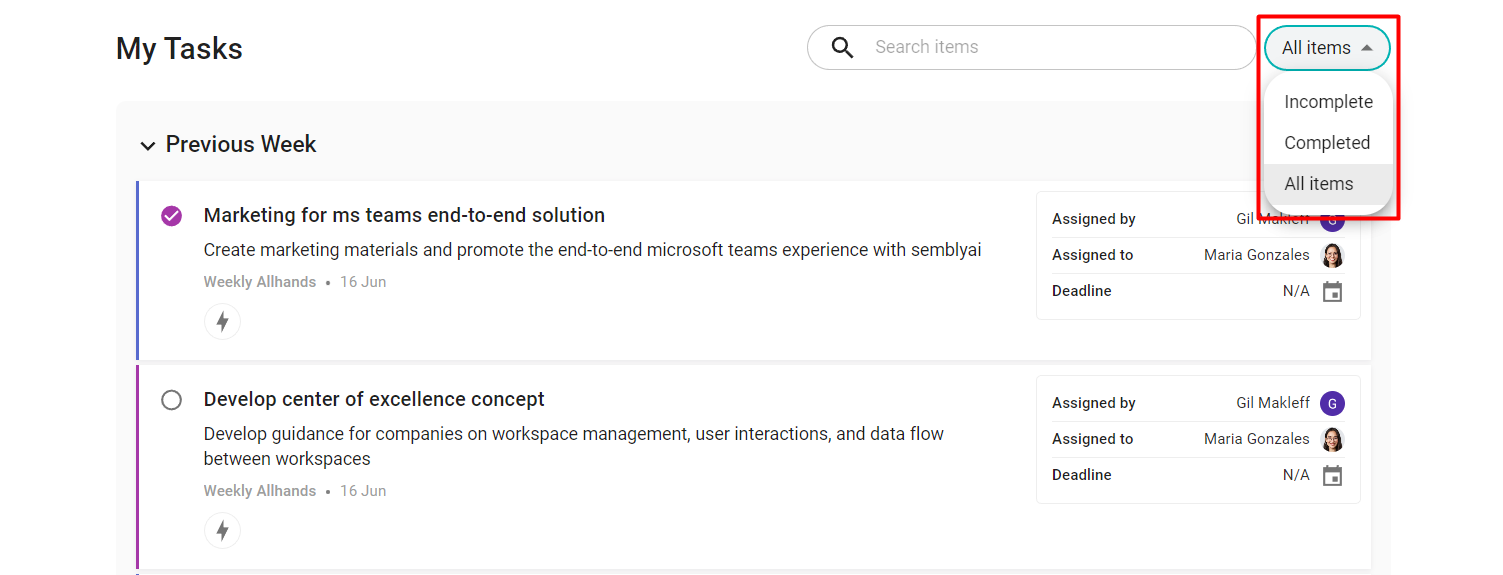
Additionally, next to the search field, you can filter tasks by All, Completed, or Incomplete.
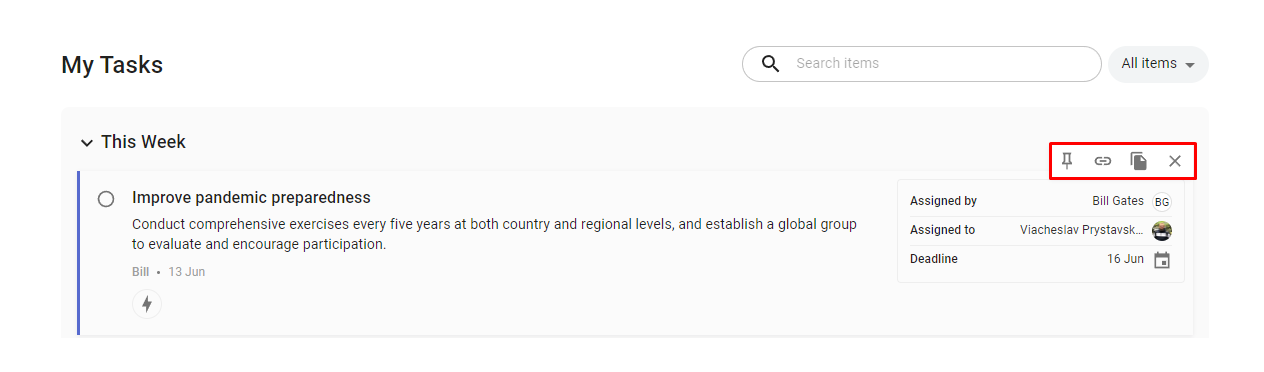
By hovering over the task, you can:
Pin the task
Copy the link to the task
Copy the content of the task
Make inactive unneeded tasks (the task will be archived to the inactive tasks)
Inactive tasks can be then unarchived with the “Show Inactive” button:
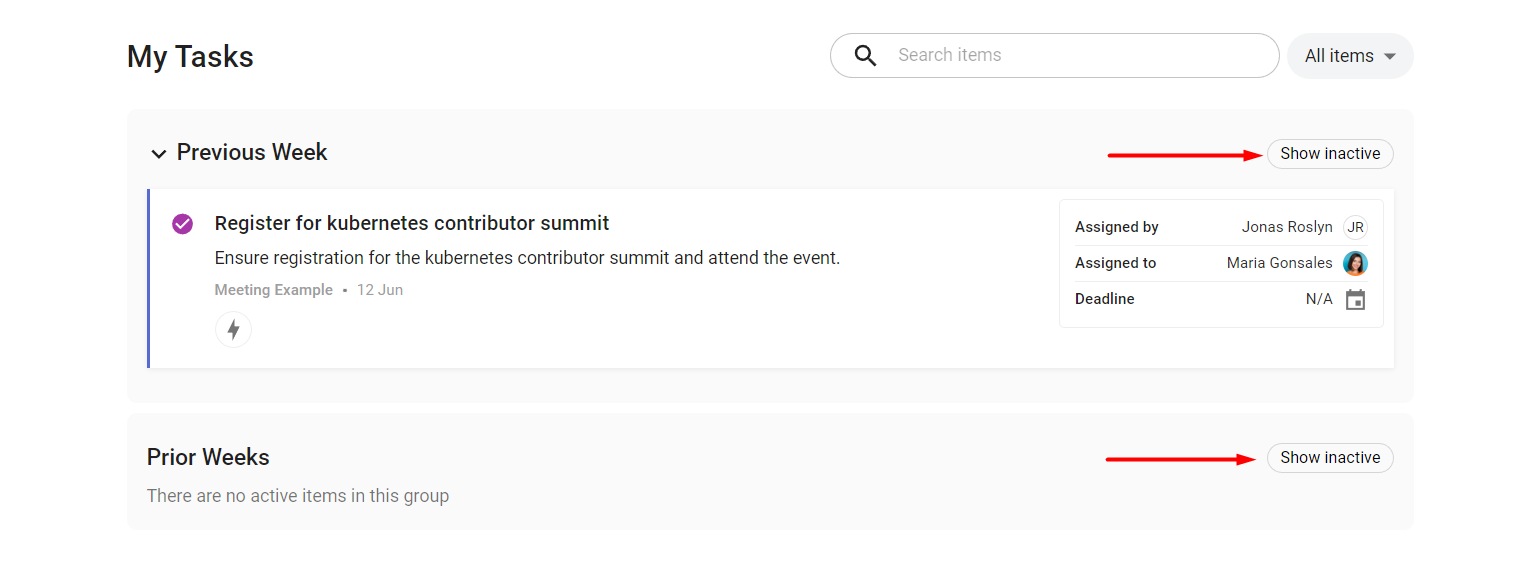
Under each task, you will be able to access the meeting to which the task belongs. Note that you can only open meetings to which you have access. Learn about meeting access here.
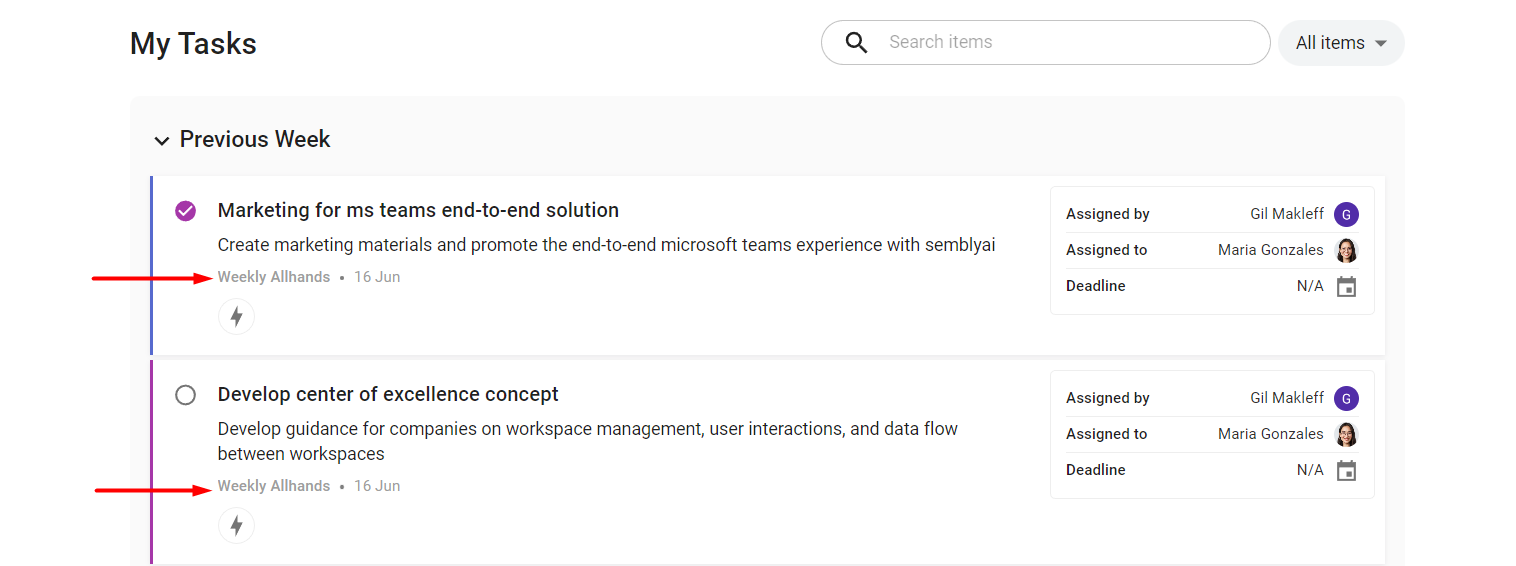
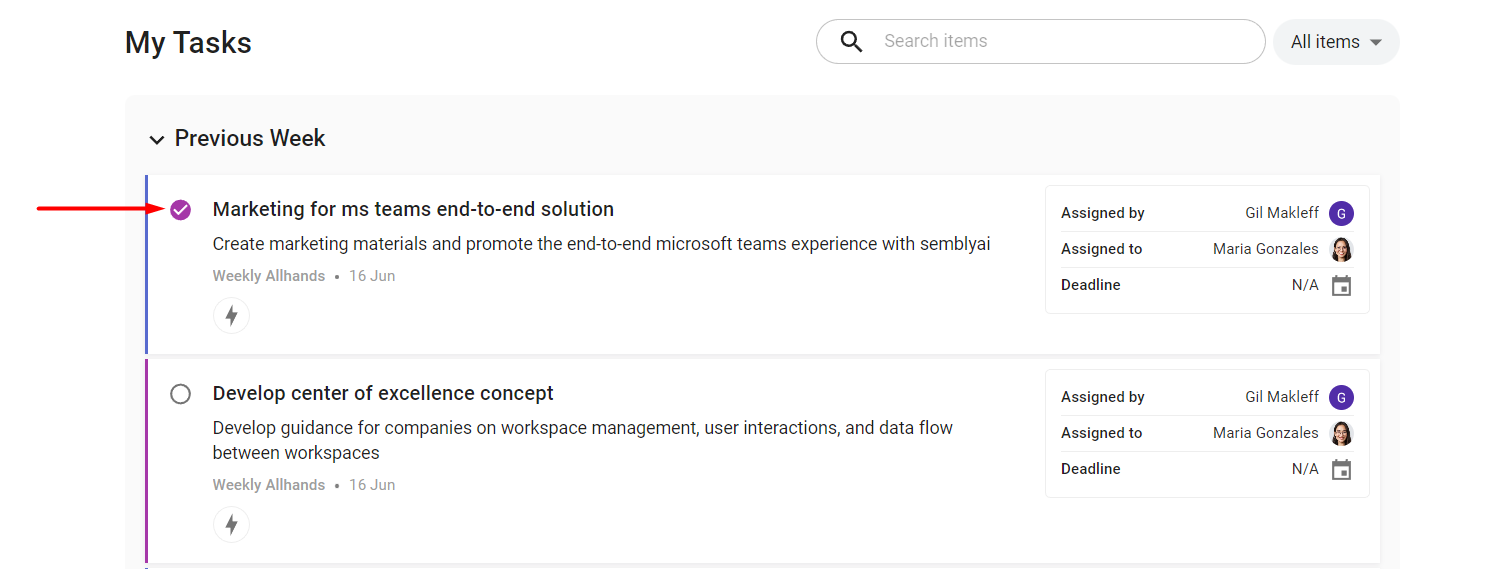
You can tick completed tasks by clicking the empty circle on the left. Note that the task completion information can’t be passed to the integrations.
And last but not least, send the tasks to your task management tool using the integration button on the bottom left.
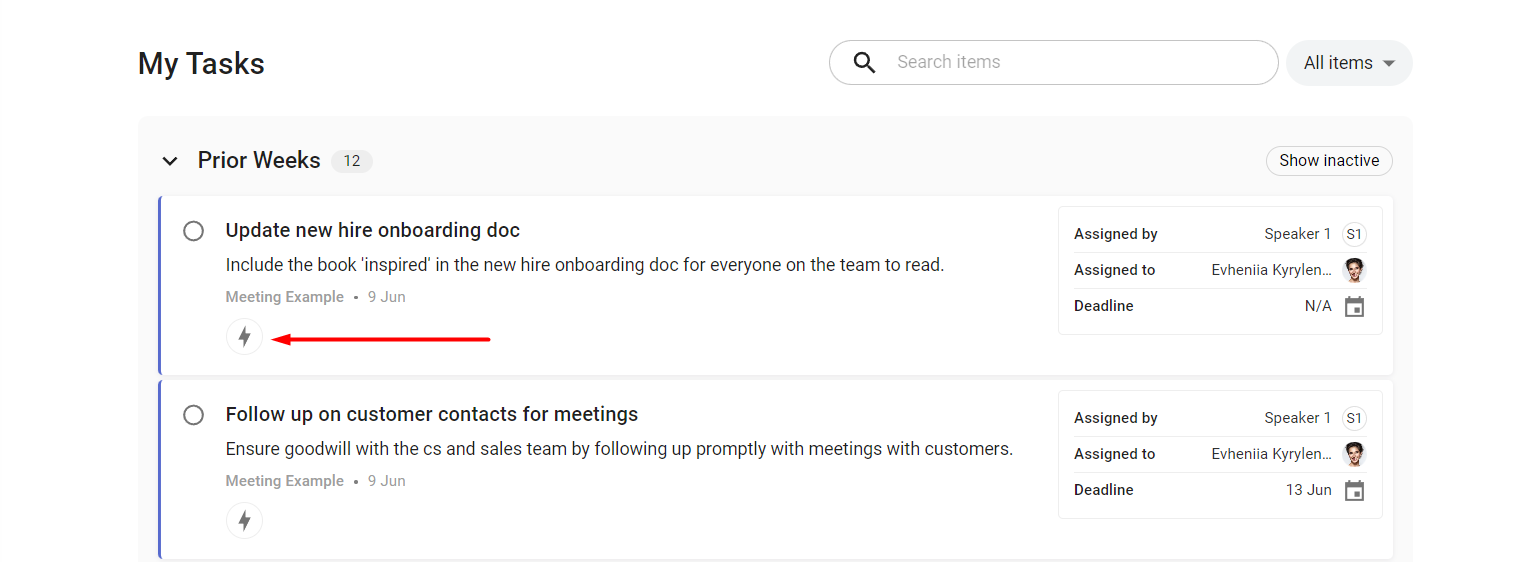
In a dropdown, select the destination where you want the task to be sent and click Post Item...
If you want to save Tasks from the particular meeting to your computer, you can easily do this by following the next steps:
Login to Sembly, open the meeting and select the Tasks section
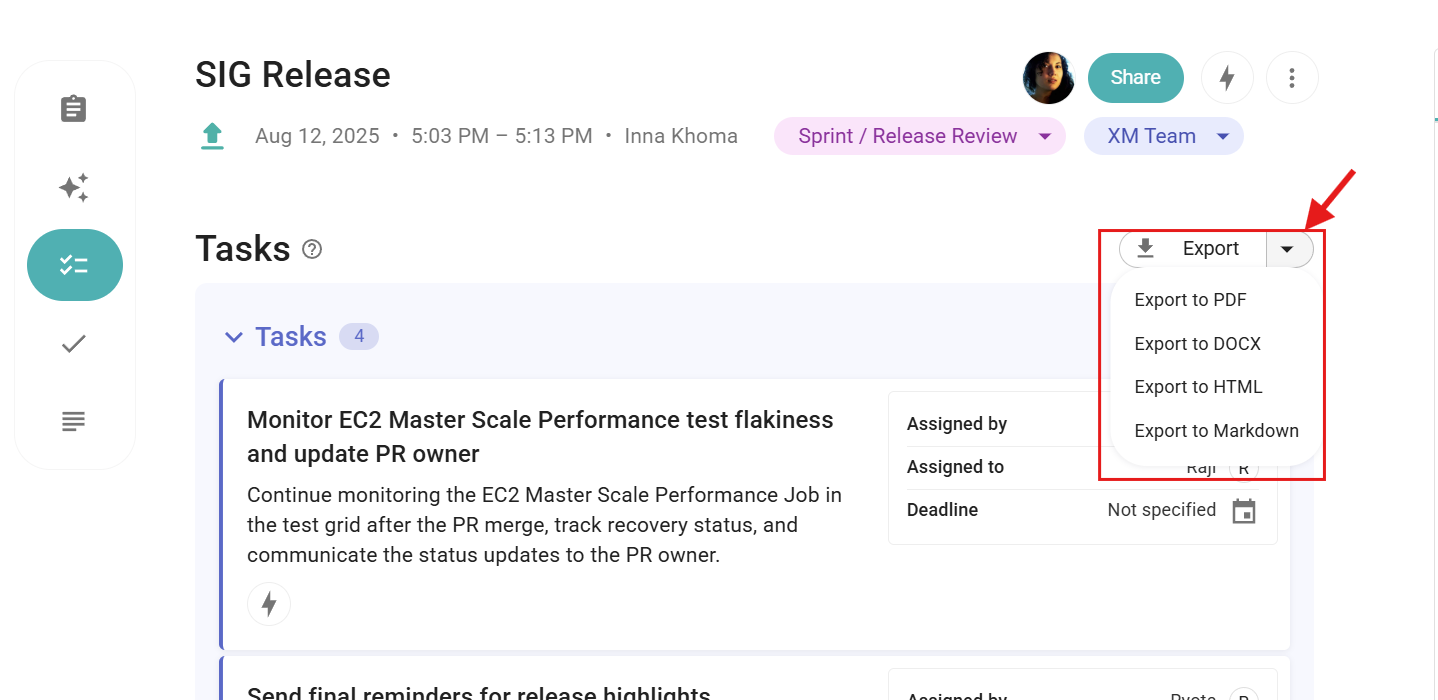
On the top of the Tasks section, click the Export button
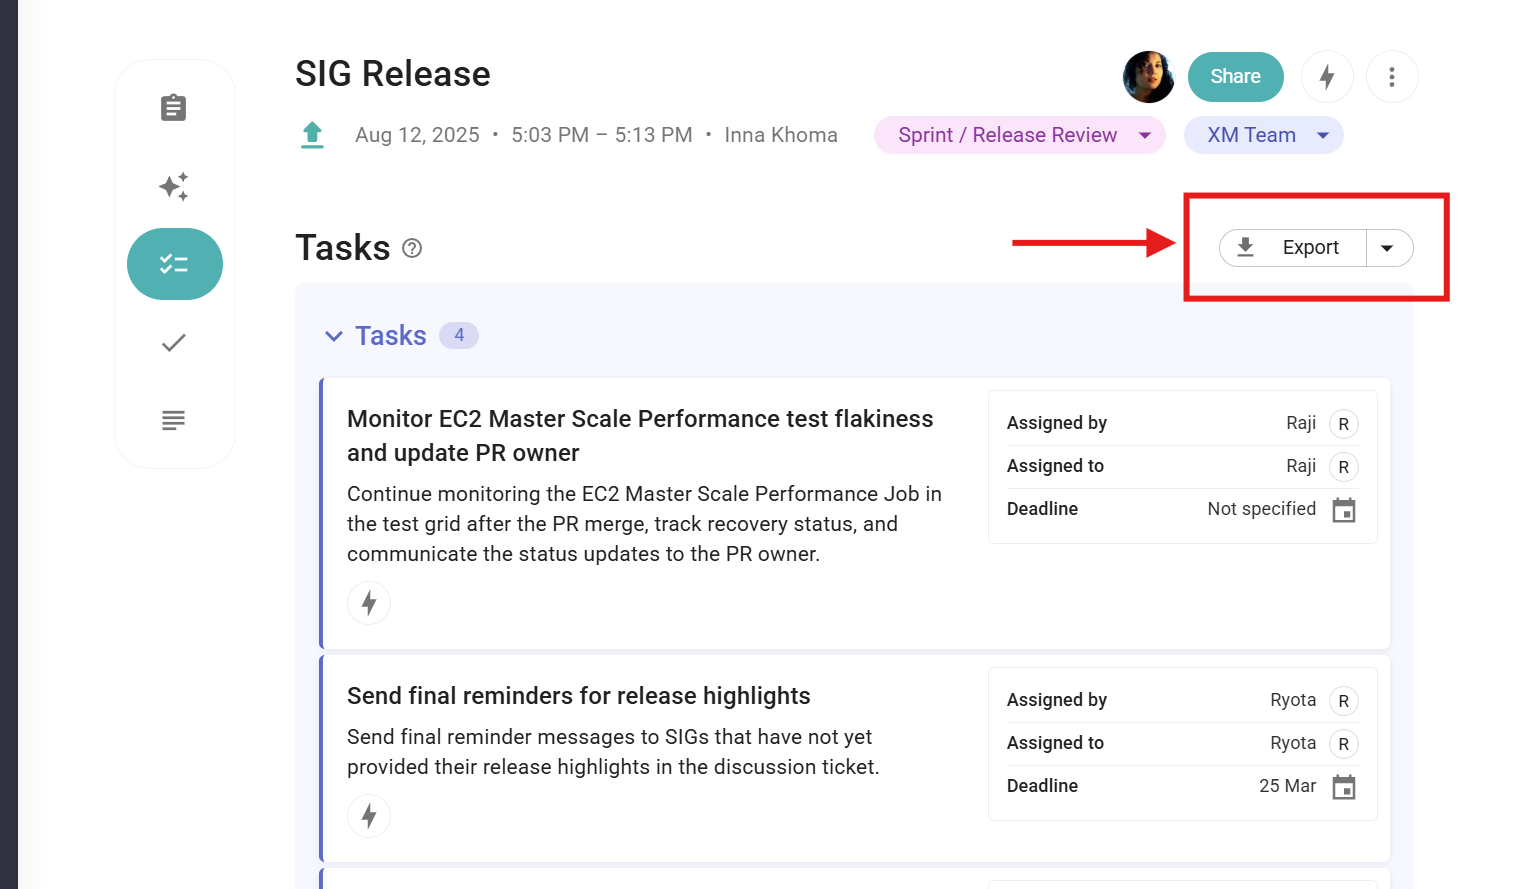
When you are done, click the right side of the Export button at the top to choose the format of the file to save on your device. The available formats are PDF, DOCX, HTML, and Markdown.