Sharing Groups can be used by larger organizations to simplify and improve knowledge sharing and collaboration across teams and expand the context of information Semblian has access to for a given user. This feature is available exclusively to Enterprise plan subscribers.
Sharing Groups allows workspace admins to organize users into user groups. Once configured, admins can define “auto-sharing” rules that automatically share users' meetings within a given group with other users or groups. Once the meeting is auto-shared, the list of users with whom it was shared will appear in the “Share” interface for that meeting.
Individual meetings can be toggled as “Do not auto-share” to prevent auto-sharing of those meetings (and leave them accessible only to the participants on the call). The toggle is only displayed for meetings subject to auto-sharing.
Sharing Groups allow an admin to create groups of users and define auto-sharing rules between them.
For example:
A group called New Features (developers working on new releases)
A group called the Sales Team
Using Sharing Groups, an admin can create a rule that all new meetings from “New Features” are automatically shared with “Sales Team.”

This ensures that the right people stay informed without any manual steps.

This feature provides a unified, top-down approach to managing meeting visibility, ensuring teams stay informed without manual effort.
Here are the steps to create a Sharing Group:
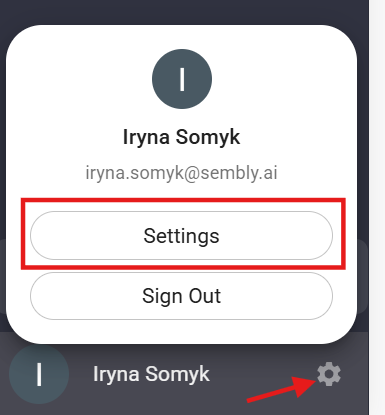
Go to Settings:
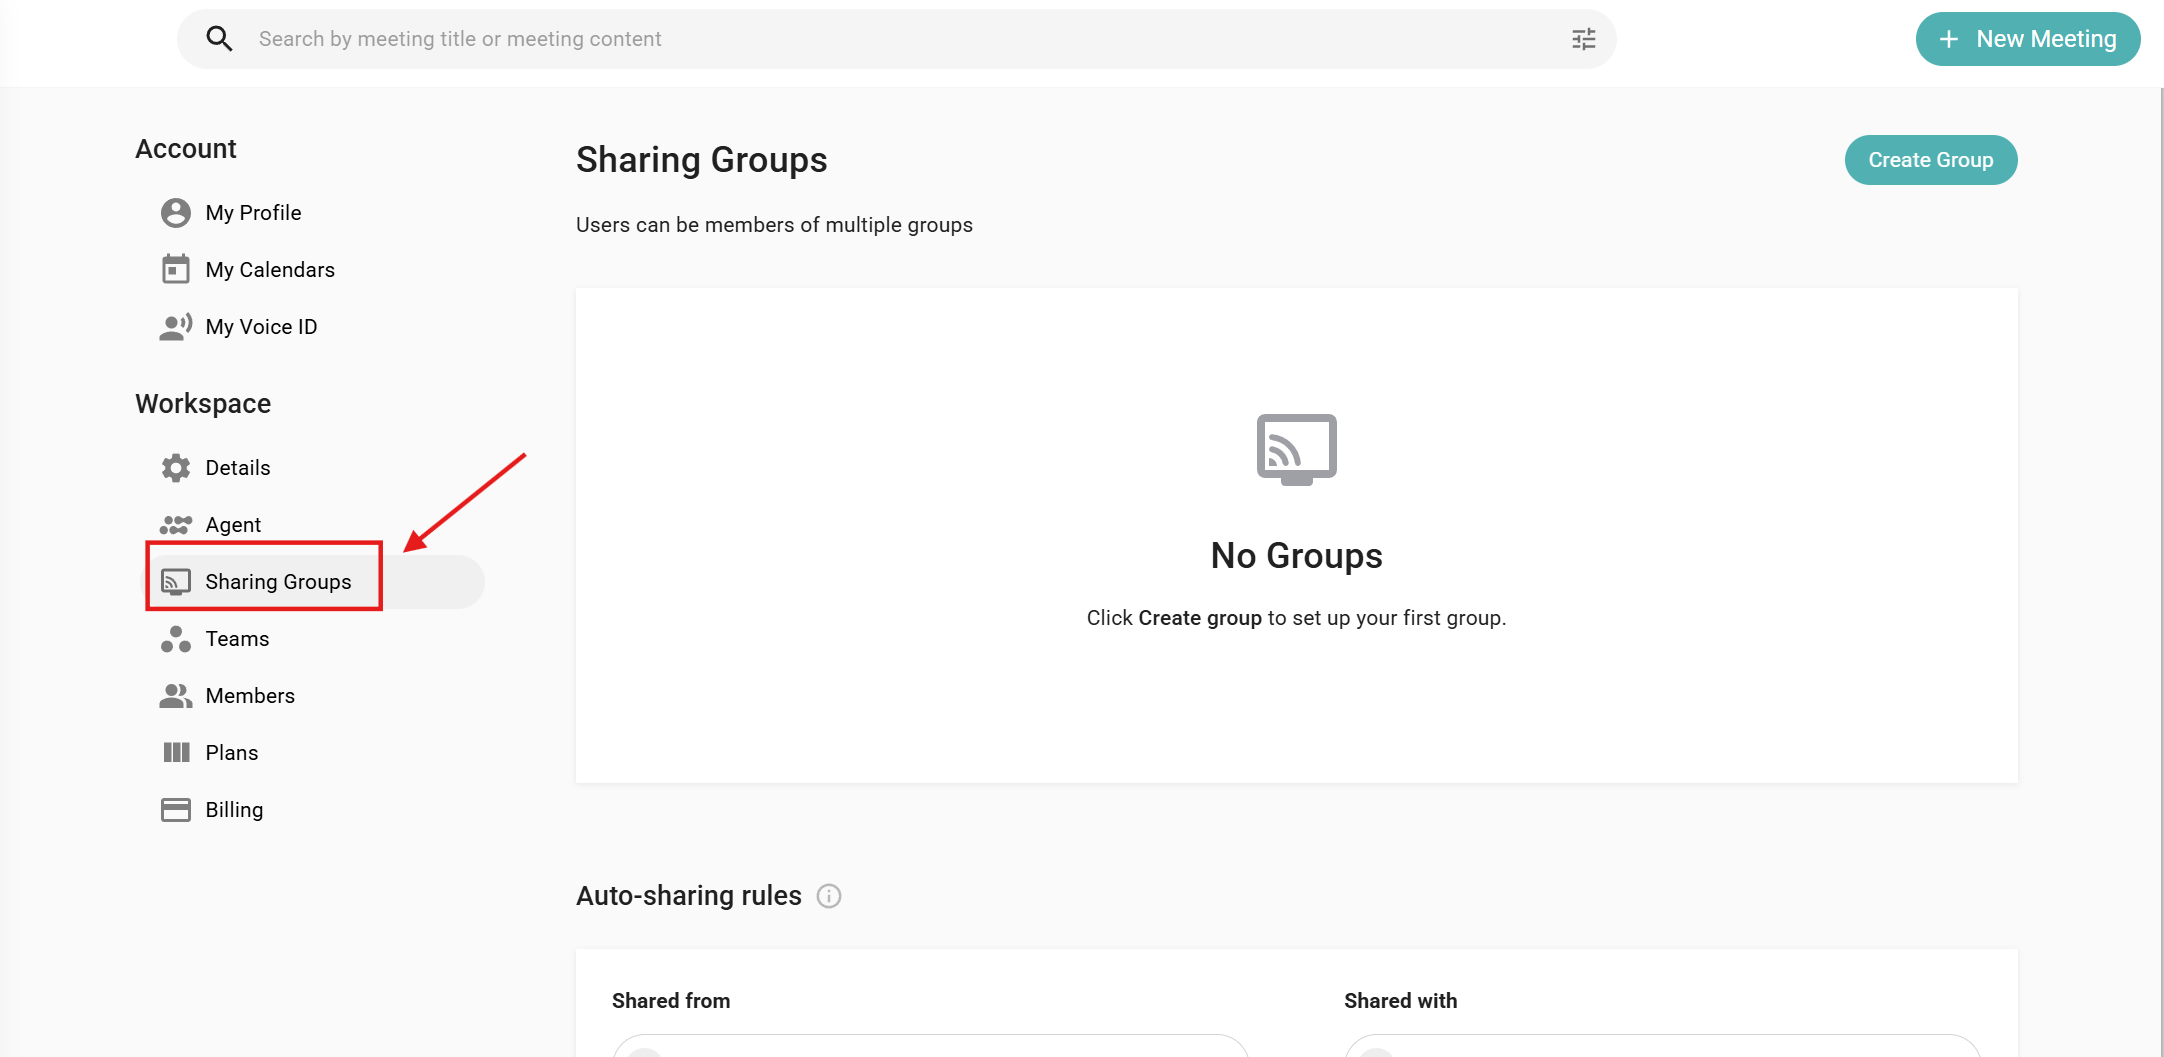
In the Workspace tab, select the Sharing Groups section:
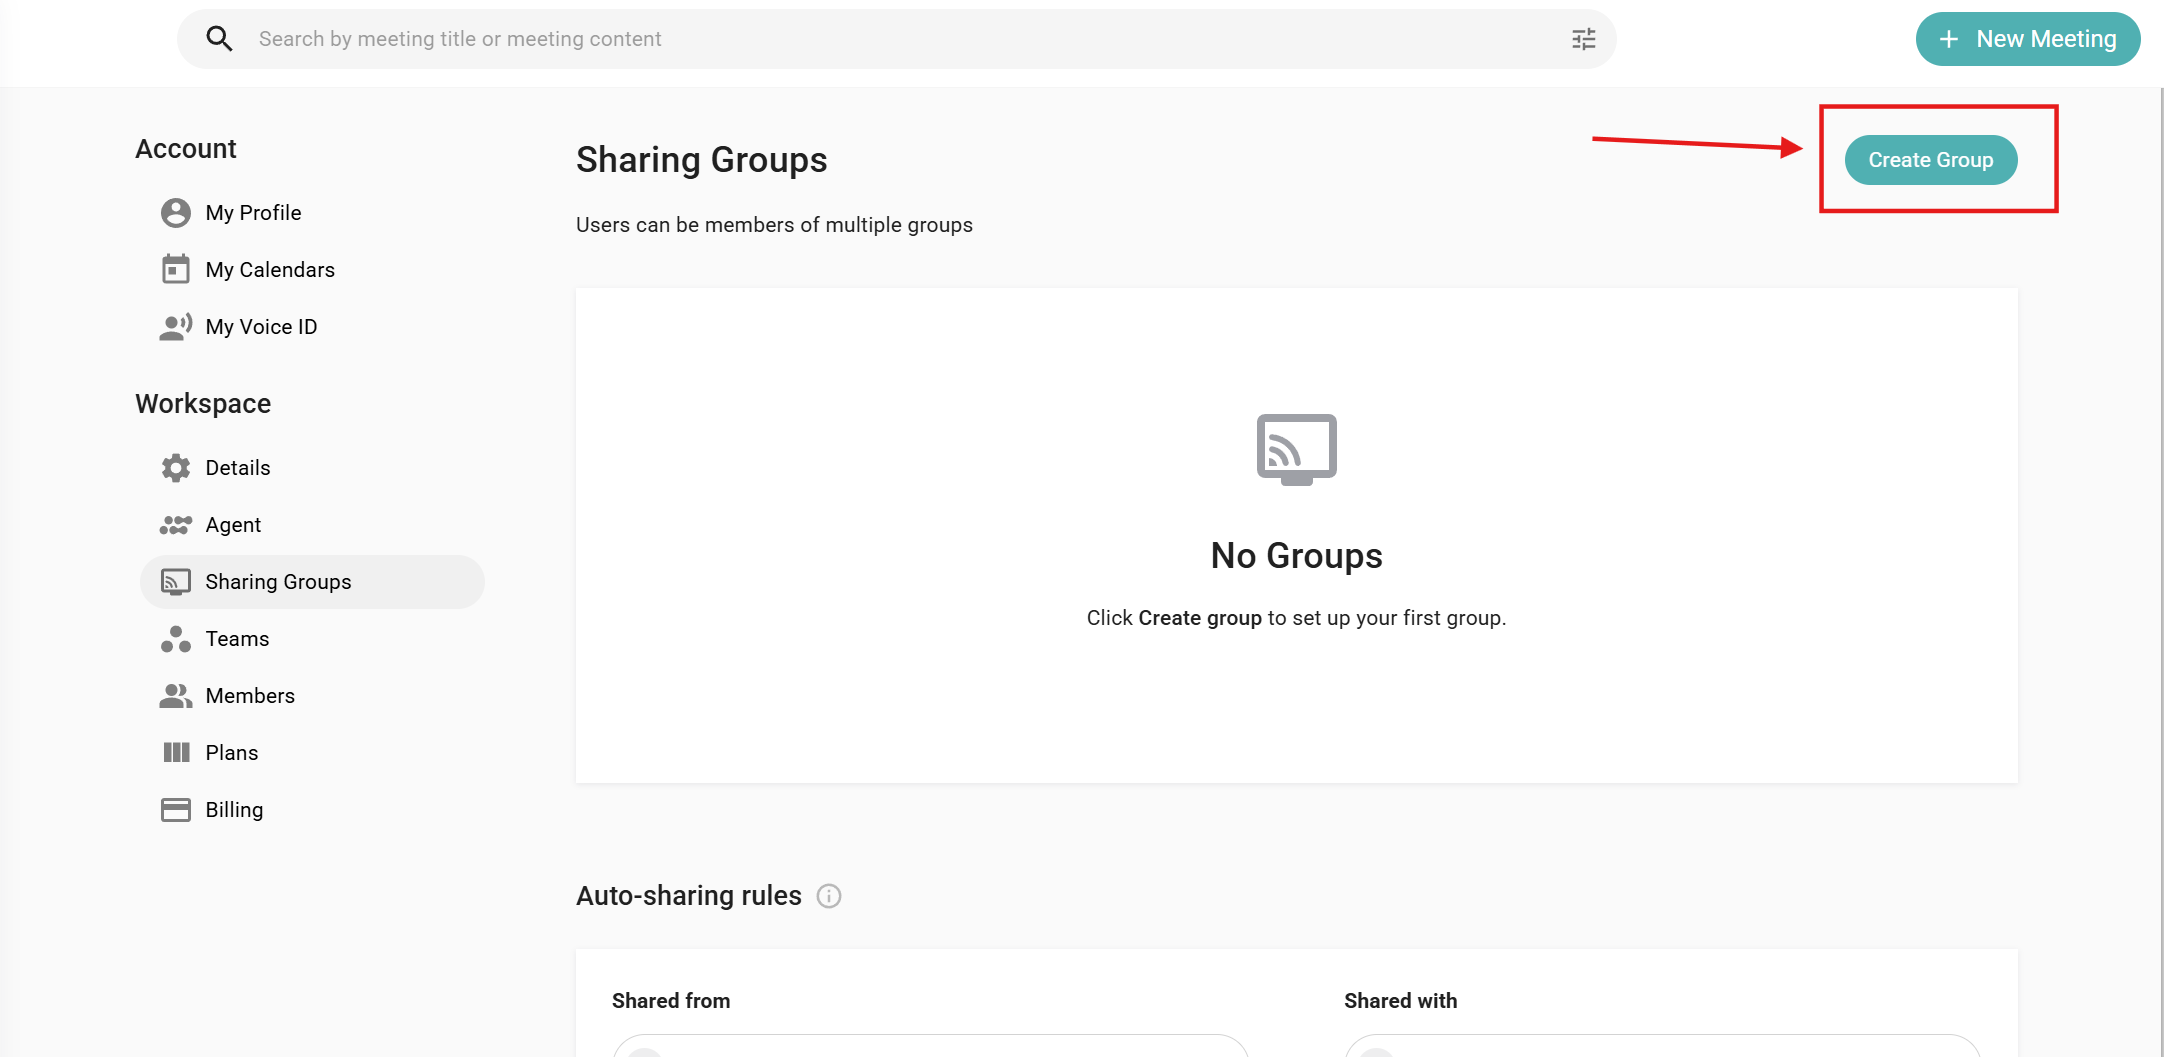
Click on Create Group:
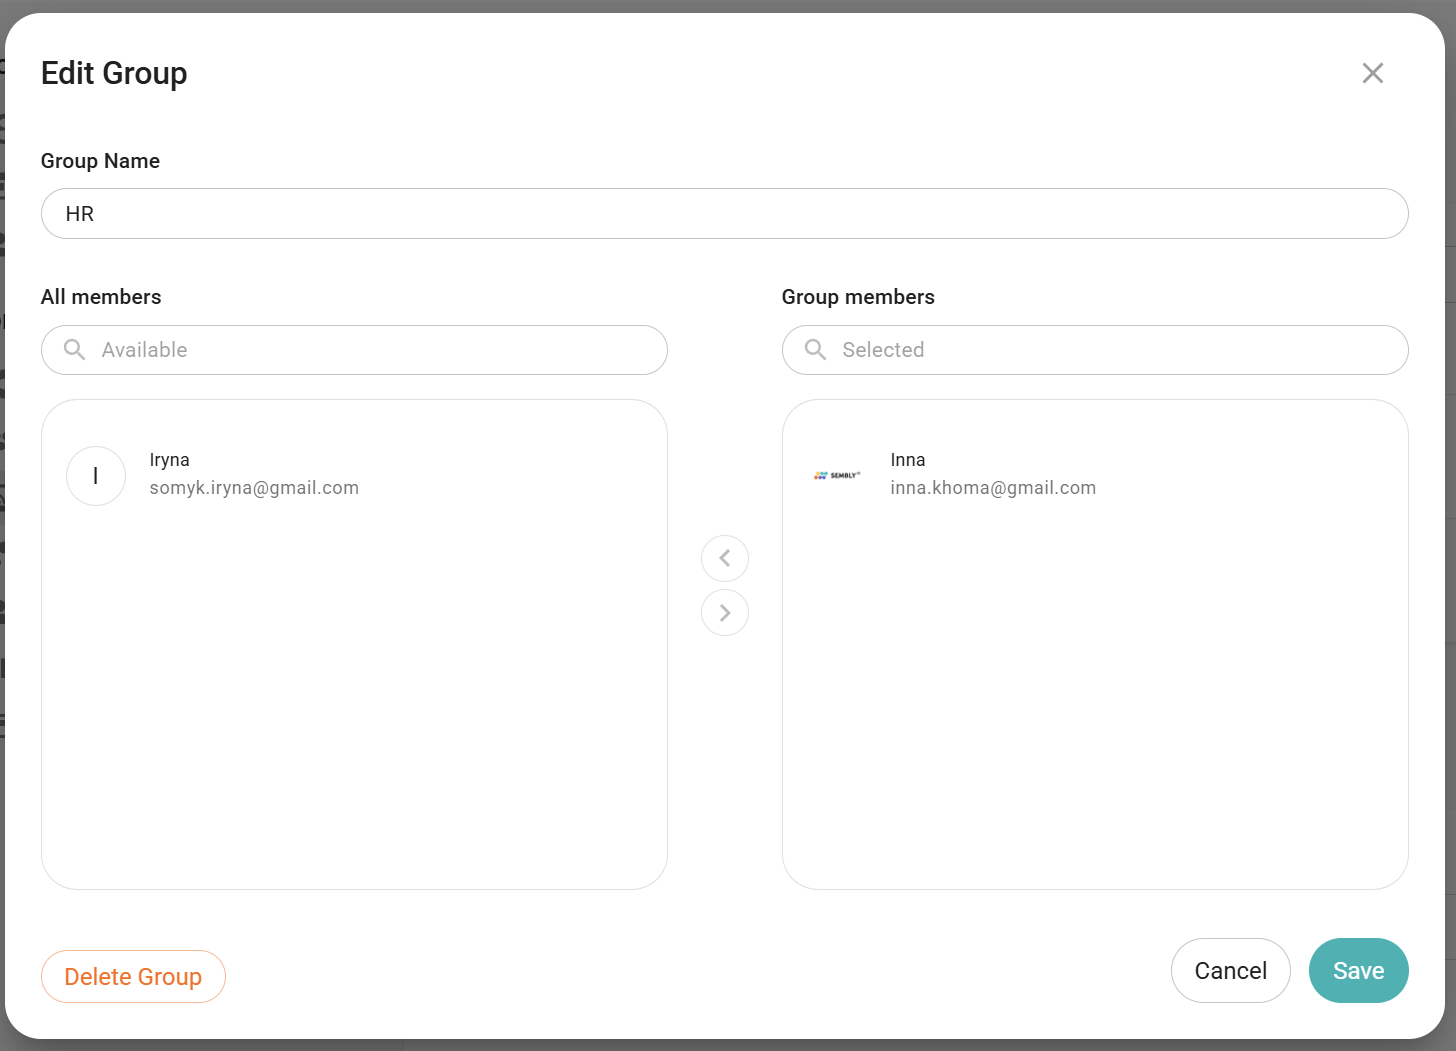
A pop-up opens where you can name the group and add members to it. To add members to a group, click on any user from the All members list on the left, and they will be moved to the Group members list on the right.
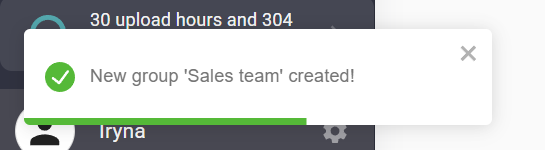
A small pop-up in the lower-left corner of your screen indicates successful group creation, and the group will appear in the list.
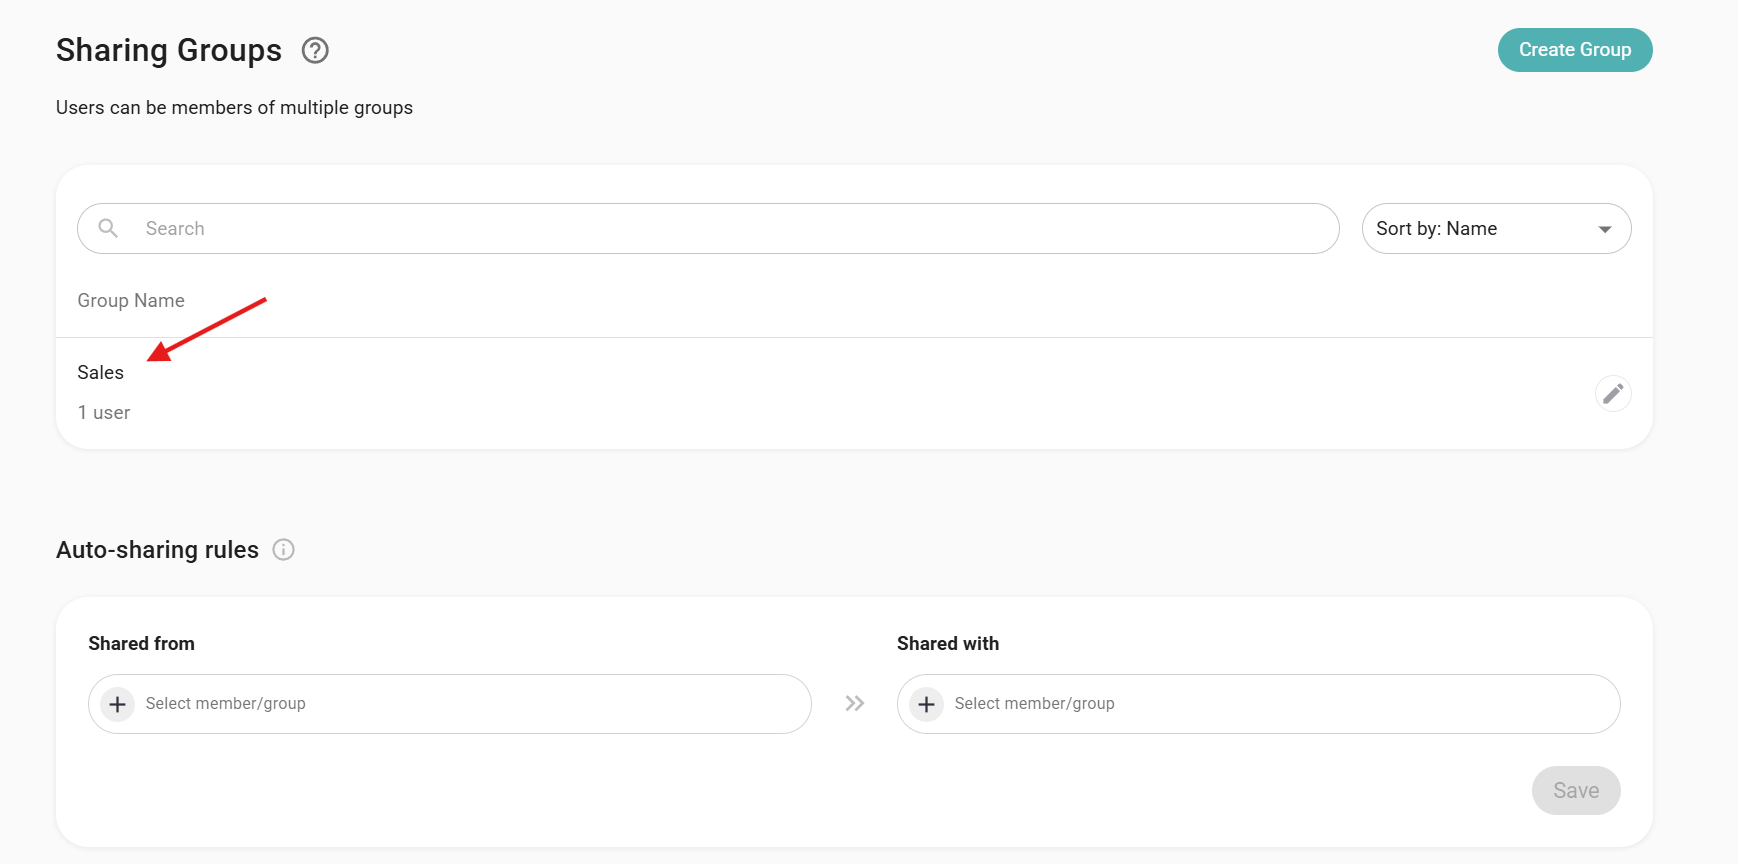
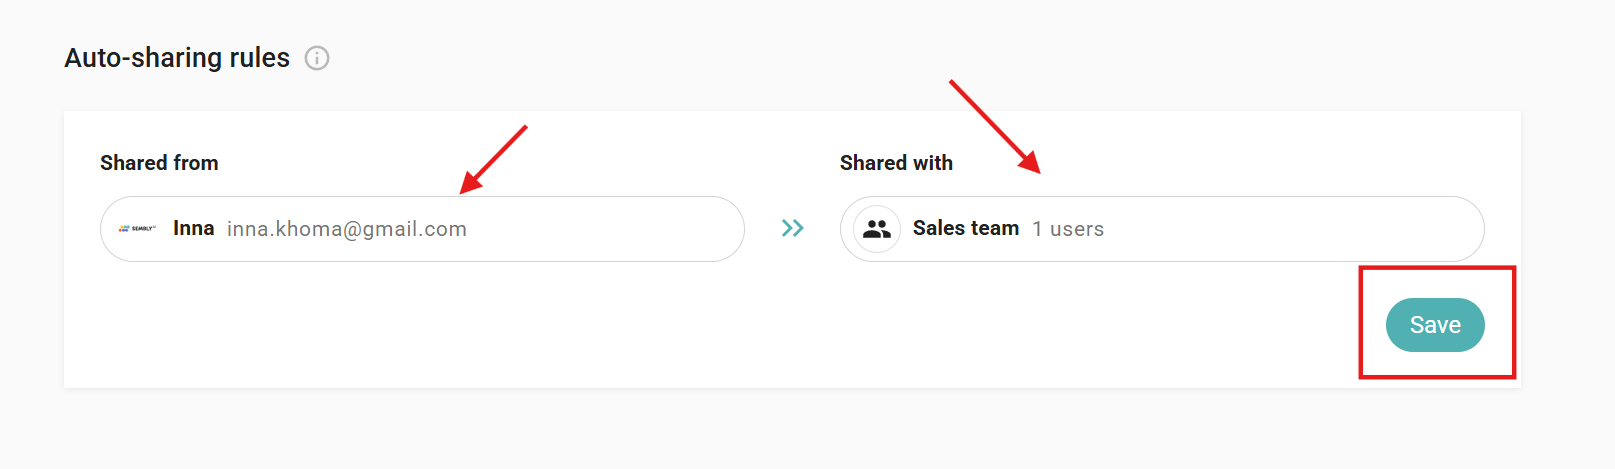
The next step is to set up the Auto-sharing rules. Choose which member or group meetings you want to auto-share with other users/groups. For example, you have a member who needs to share customer interview meetings with the Sales team. You choose the appropriate user and choose who their meetings will be shared with. After you are done with your selection, please press the Save button.
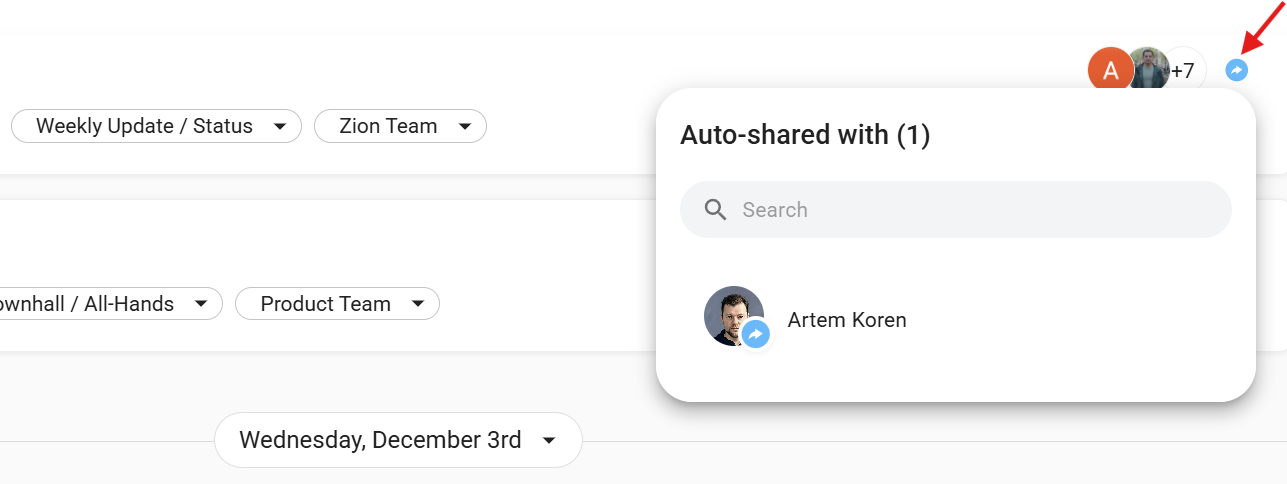
7. All new completed meetings in the Meetings list that fit the auto-sharing rules will have a small blue icon on the right side of them. When hovering over the icon, you will see who the meeting will be auto-shared with.
Go to Settings, then in the Workspace tab, press Sharing groups.
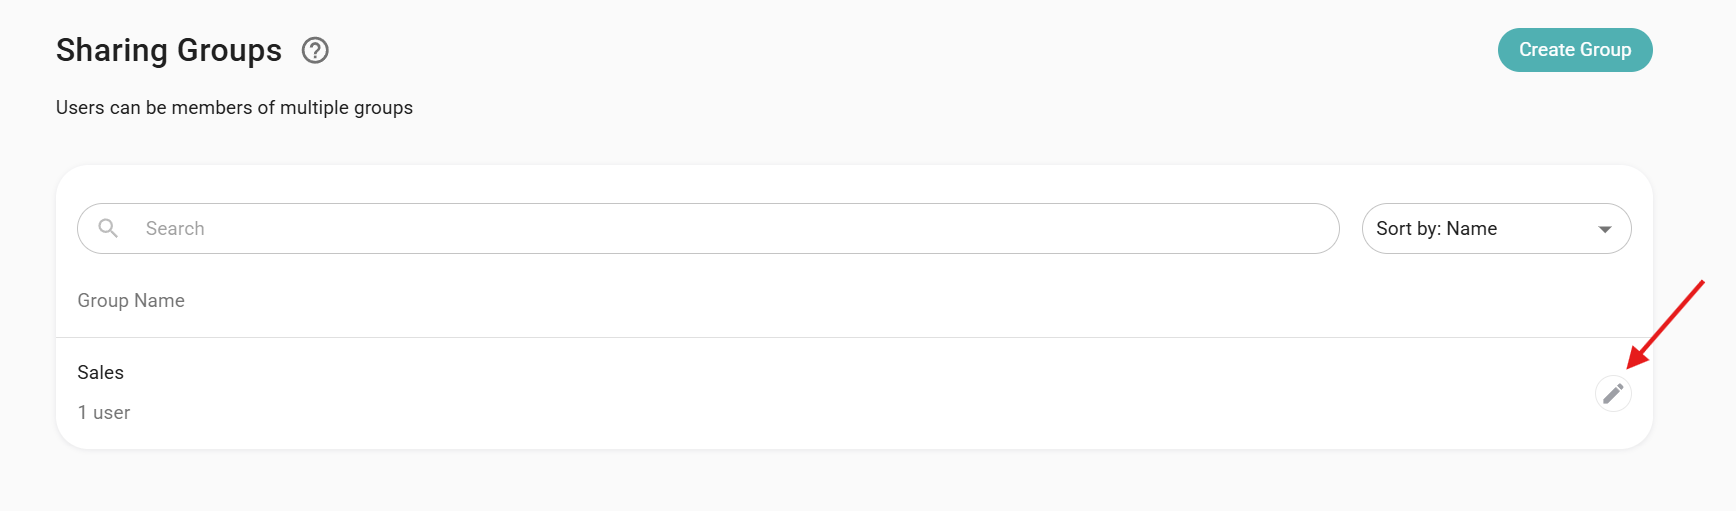
In your Group list, select the group you need to edit, then press the pencil icon to the right of the group.
You can change the group name and add or remove members.
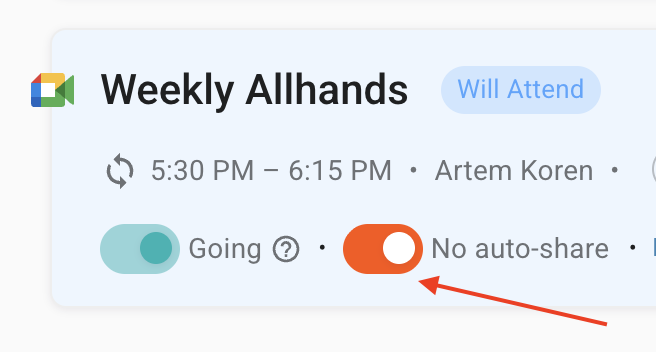
Users in a Sharing Group can choose to disable sharing for their own individual meetings:
On the meeting list, toggle the No auto-share button ON if you do not wish to share the meeting.
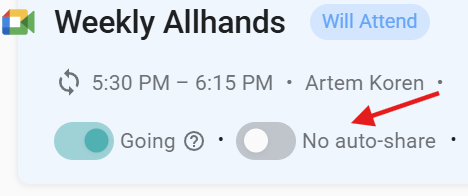
Keep the toggle OFF if you want to share the meeting.
Workspace Admin can create exceptions for a whole group.
In Sharing Groups, scroll down until you see Auto-Shared exceptions
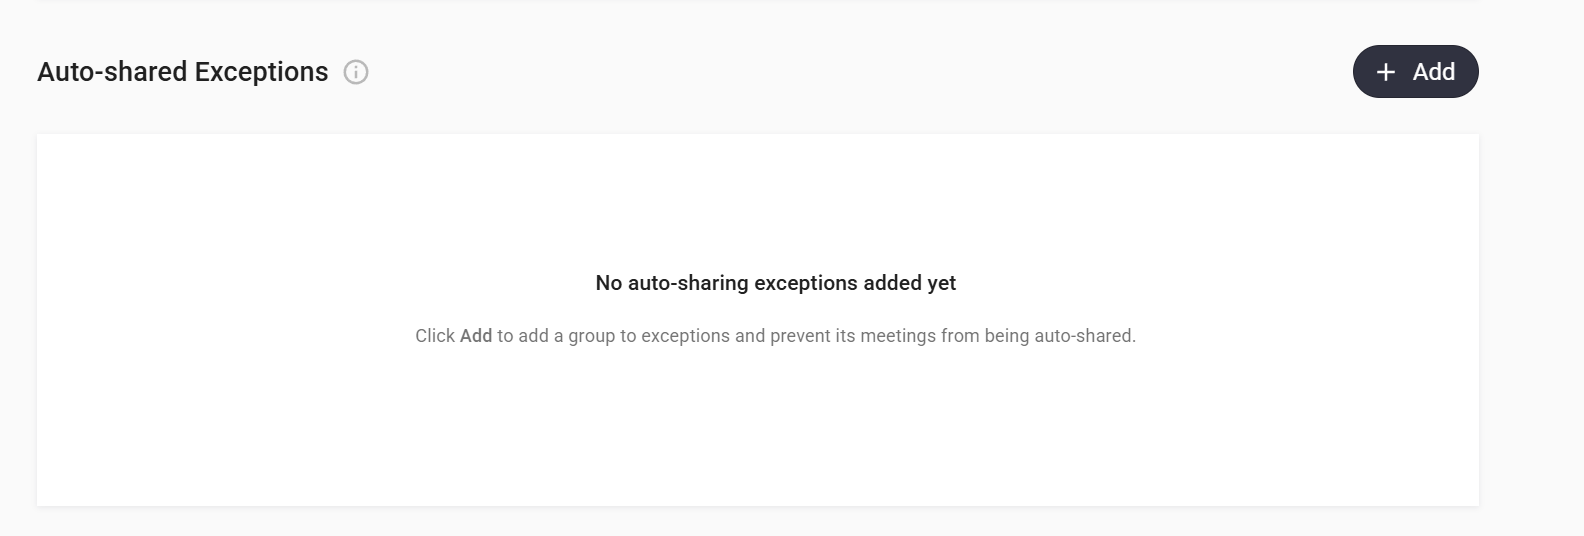
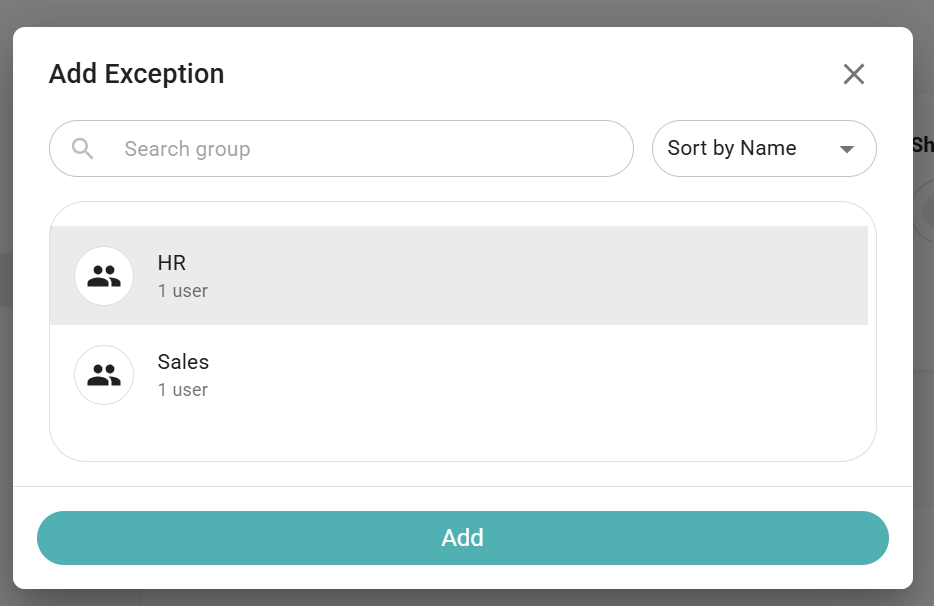
Press Add and choose a Group in the list
After that, the chosen Group will be saved in the Auto-shared exceptions list
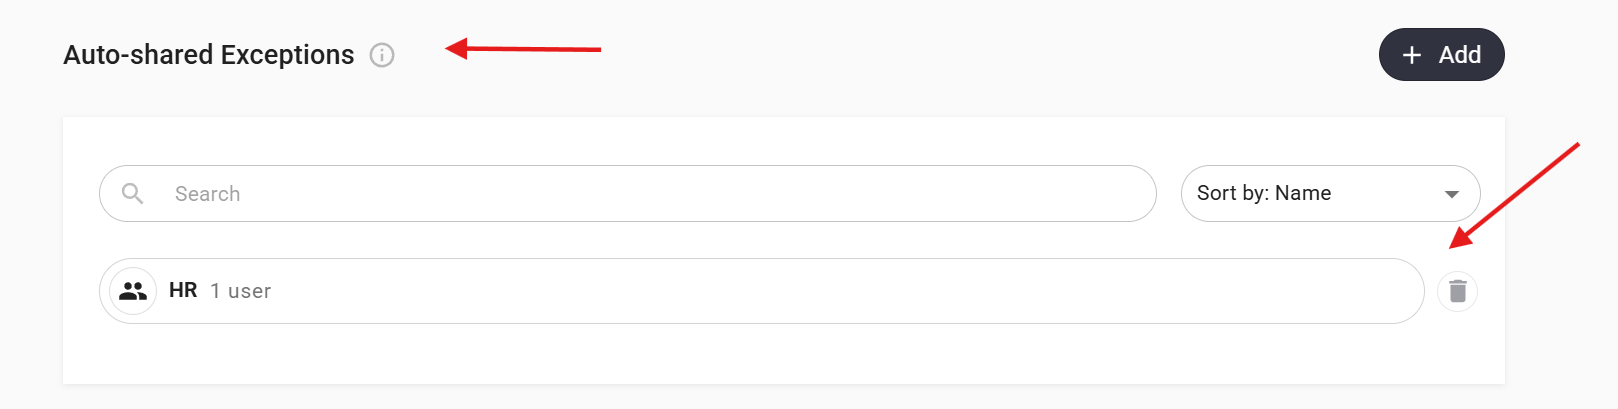
Choose a group from the list that you want removed. Press the pencil icon to the right of it.
In the Edit Group pop-up, press the Delete Group button in the lower left corner.
You will be asked if you are sure you want to proceed with the deletion.
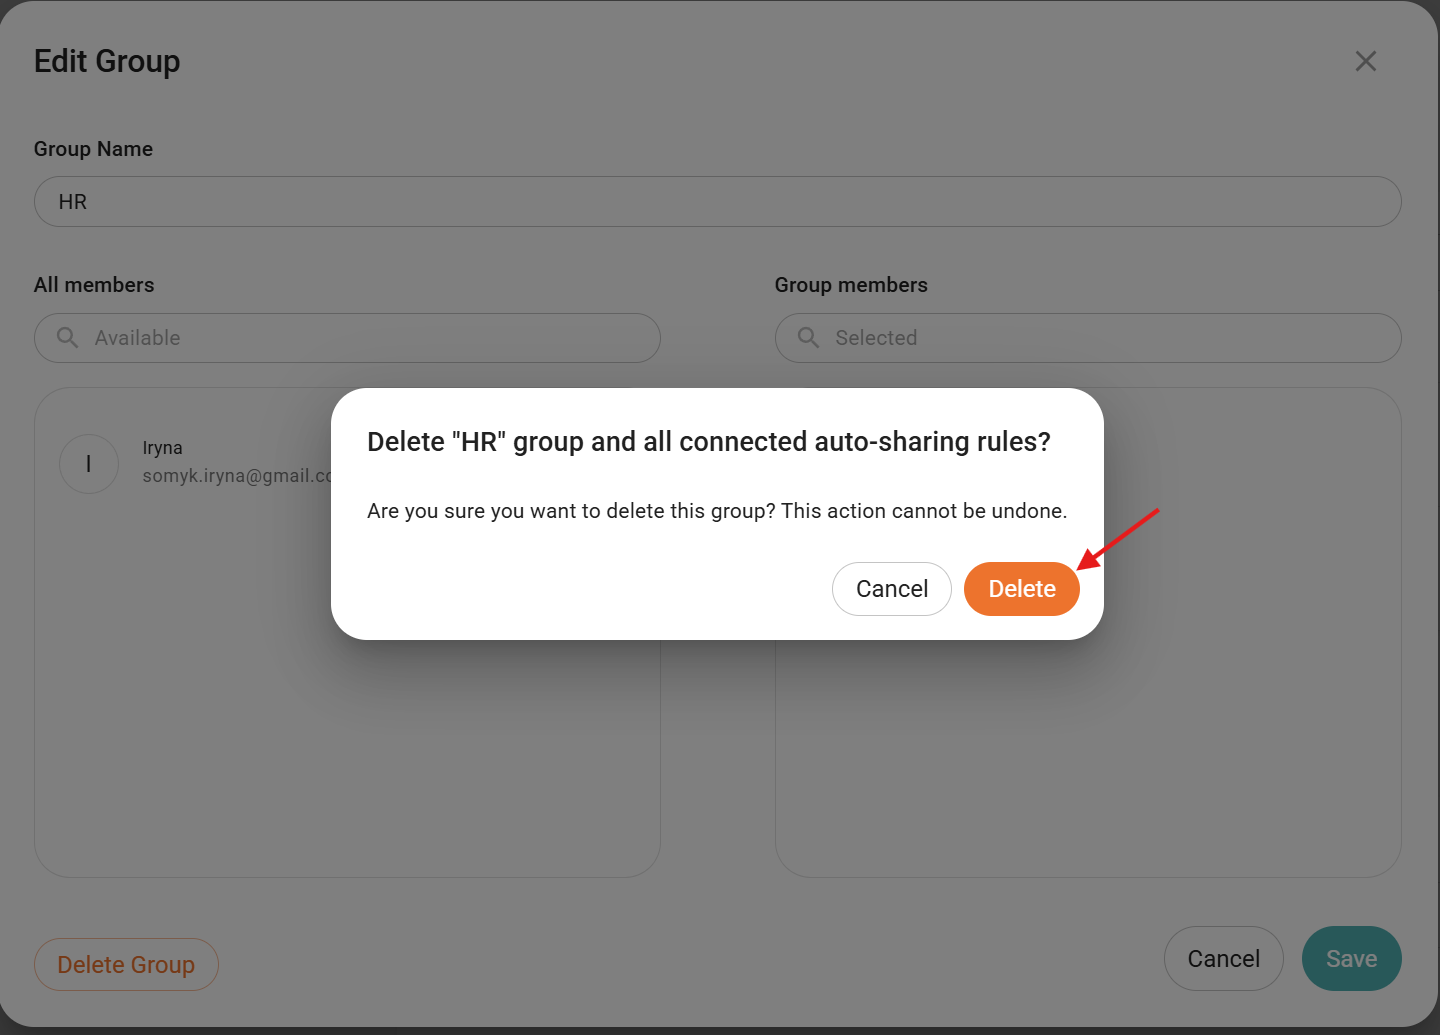
After you press the Delete button, the Group will be removed, along with the Auto-sharing rules that were set up with it.
Choose which rule you want to remove.
Press the trash icon to the right of it.
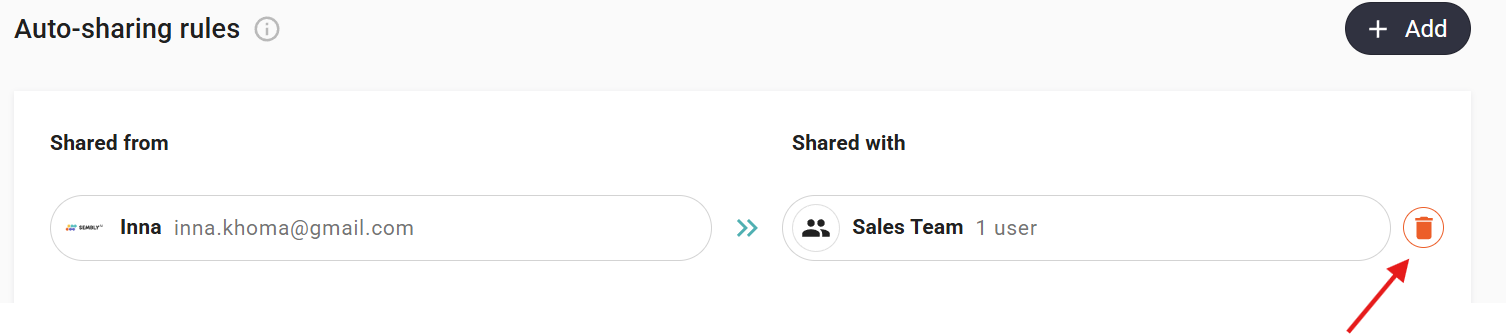
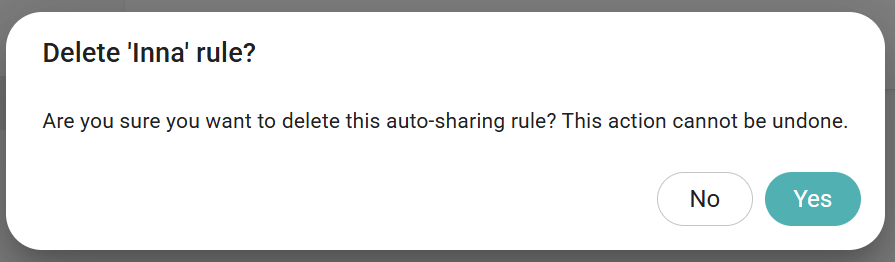
You will see a pop-up tab asking if you are sure you want to remove the rule permanently. After you press the Yes button, the rule will be removed.