LEGACY PLAN: TEAM | TEAM PLUS
Invite team members to your Sembly workspace to collaborate on meetings and share insights.
Note: Only Admins can add members to a workspace and assign roles in the Workspace Settings -> Members.
To add members to your workspace, you need to upgrade from Sembly Personal or Sembly Professional to one of the plans mentioned above. In the Sembly Team plan and Sembly Team Plus plan, you can invite up to 40 workspace members. Should you have a team of more than 40, contact our sales team.

You will be able to add new members and give them roles: Workspace Admins or regular members.
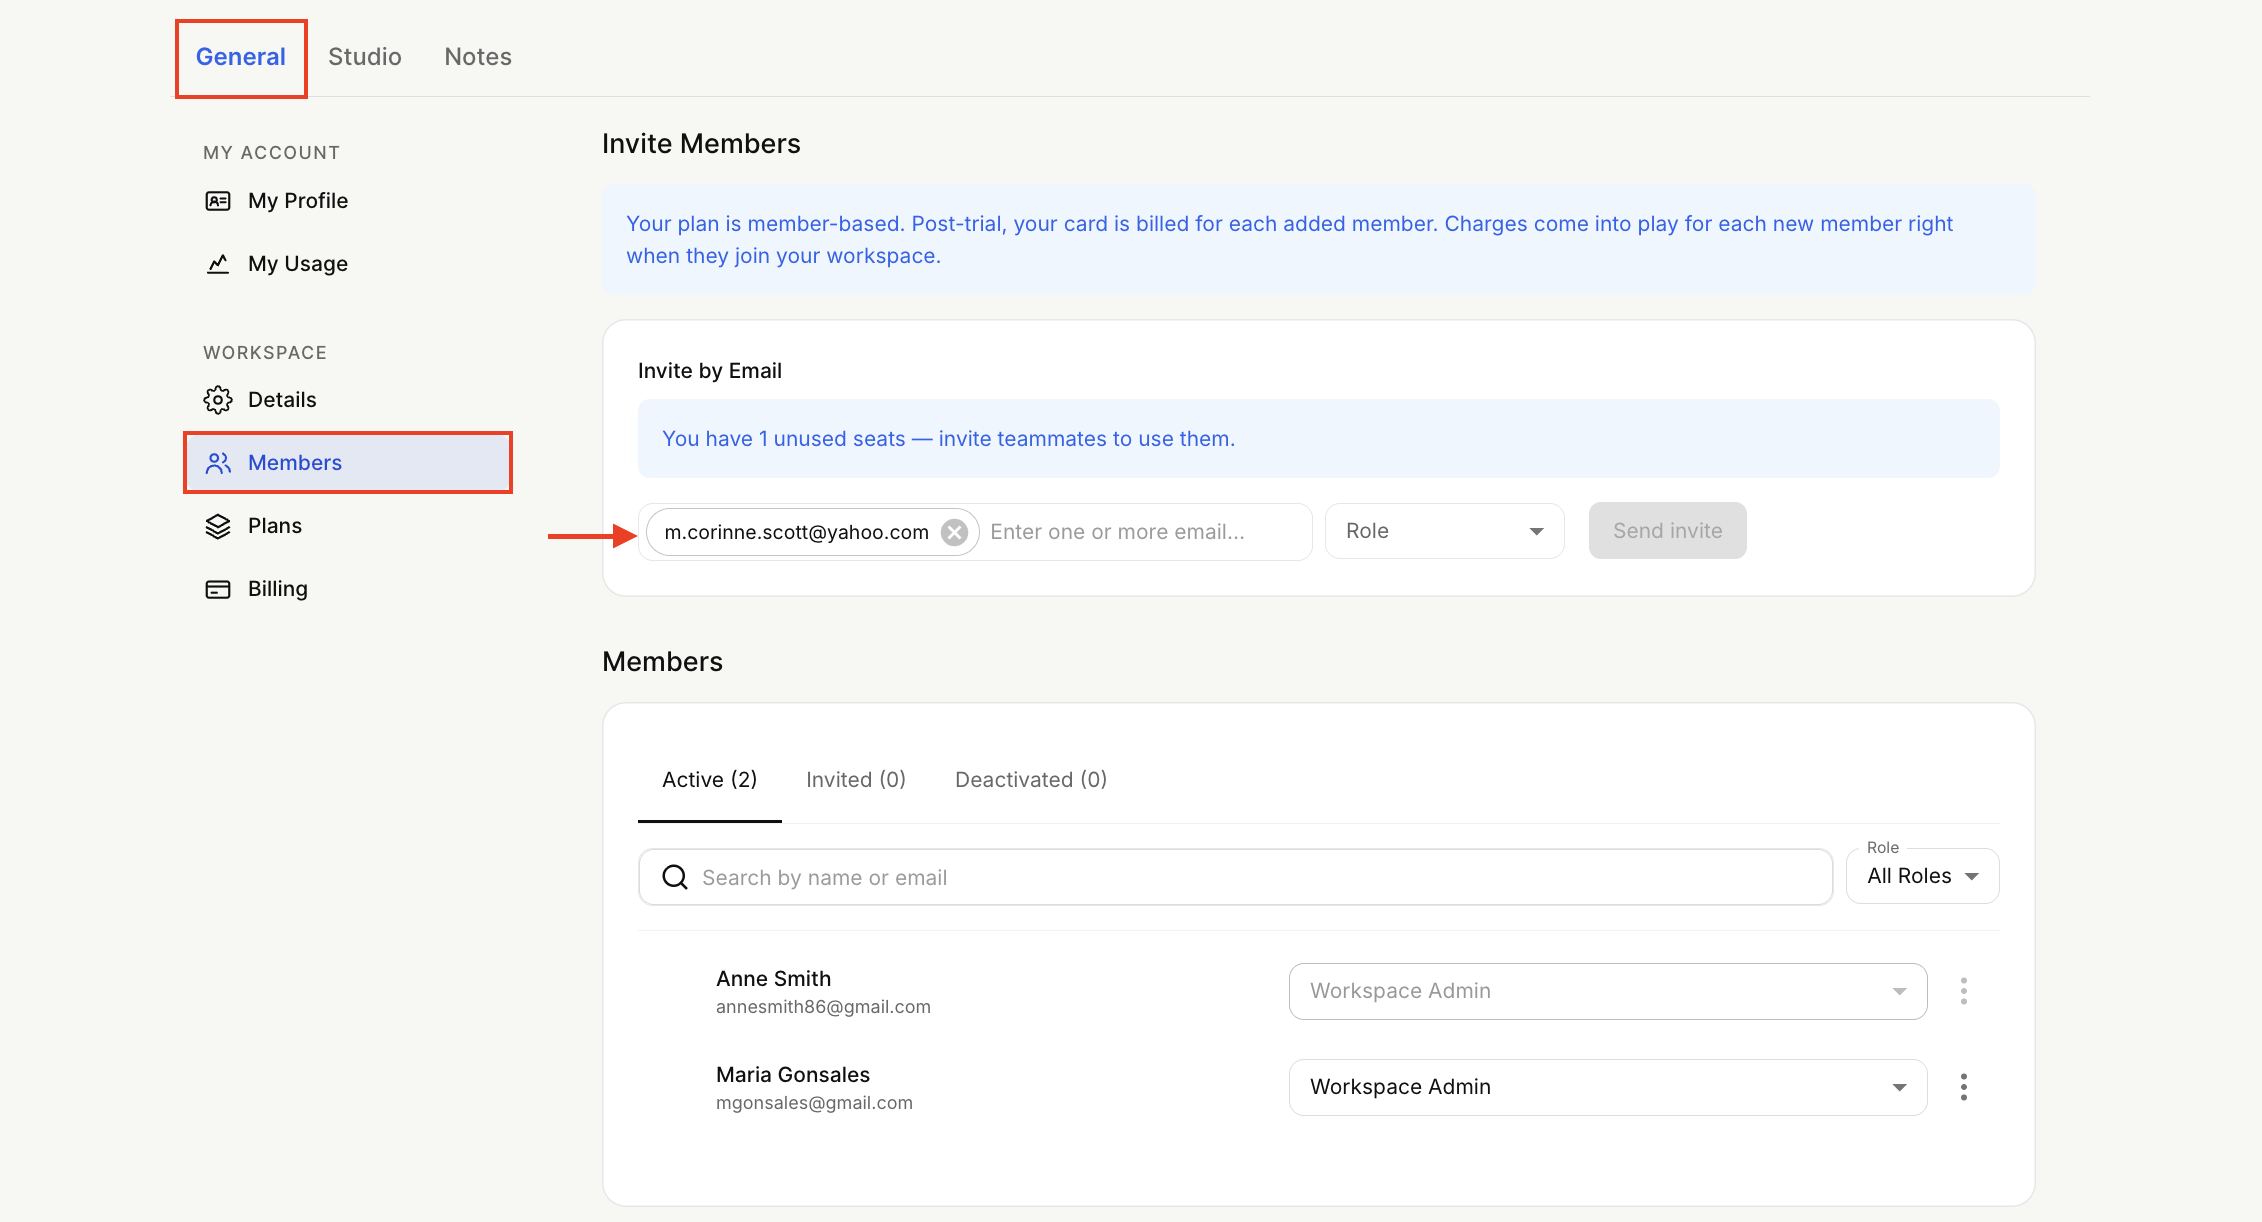
Open the dropdown by clicking your avatar at the bottom of the sidebar menu to open Settings → General → Members.
Type the email address into the Invite by Email field.
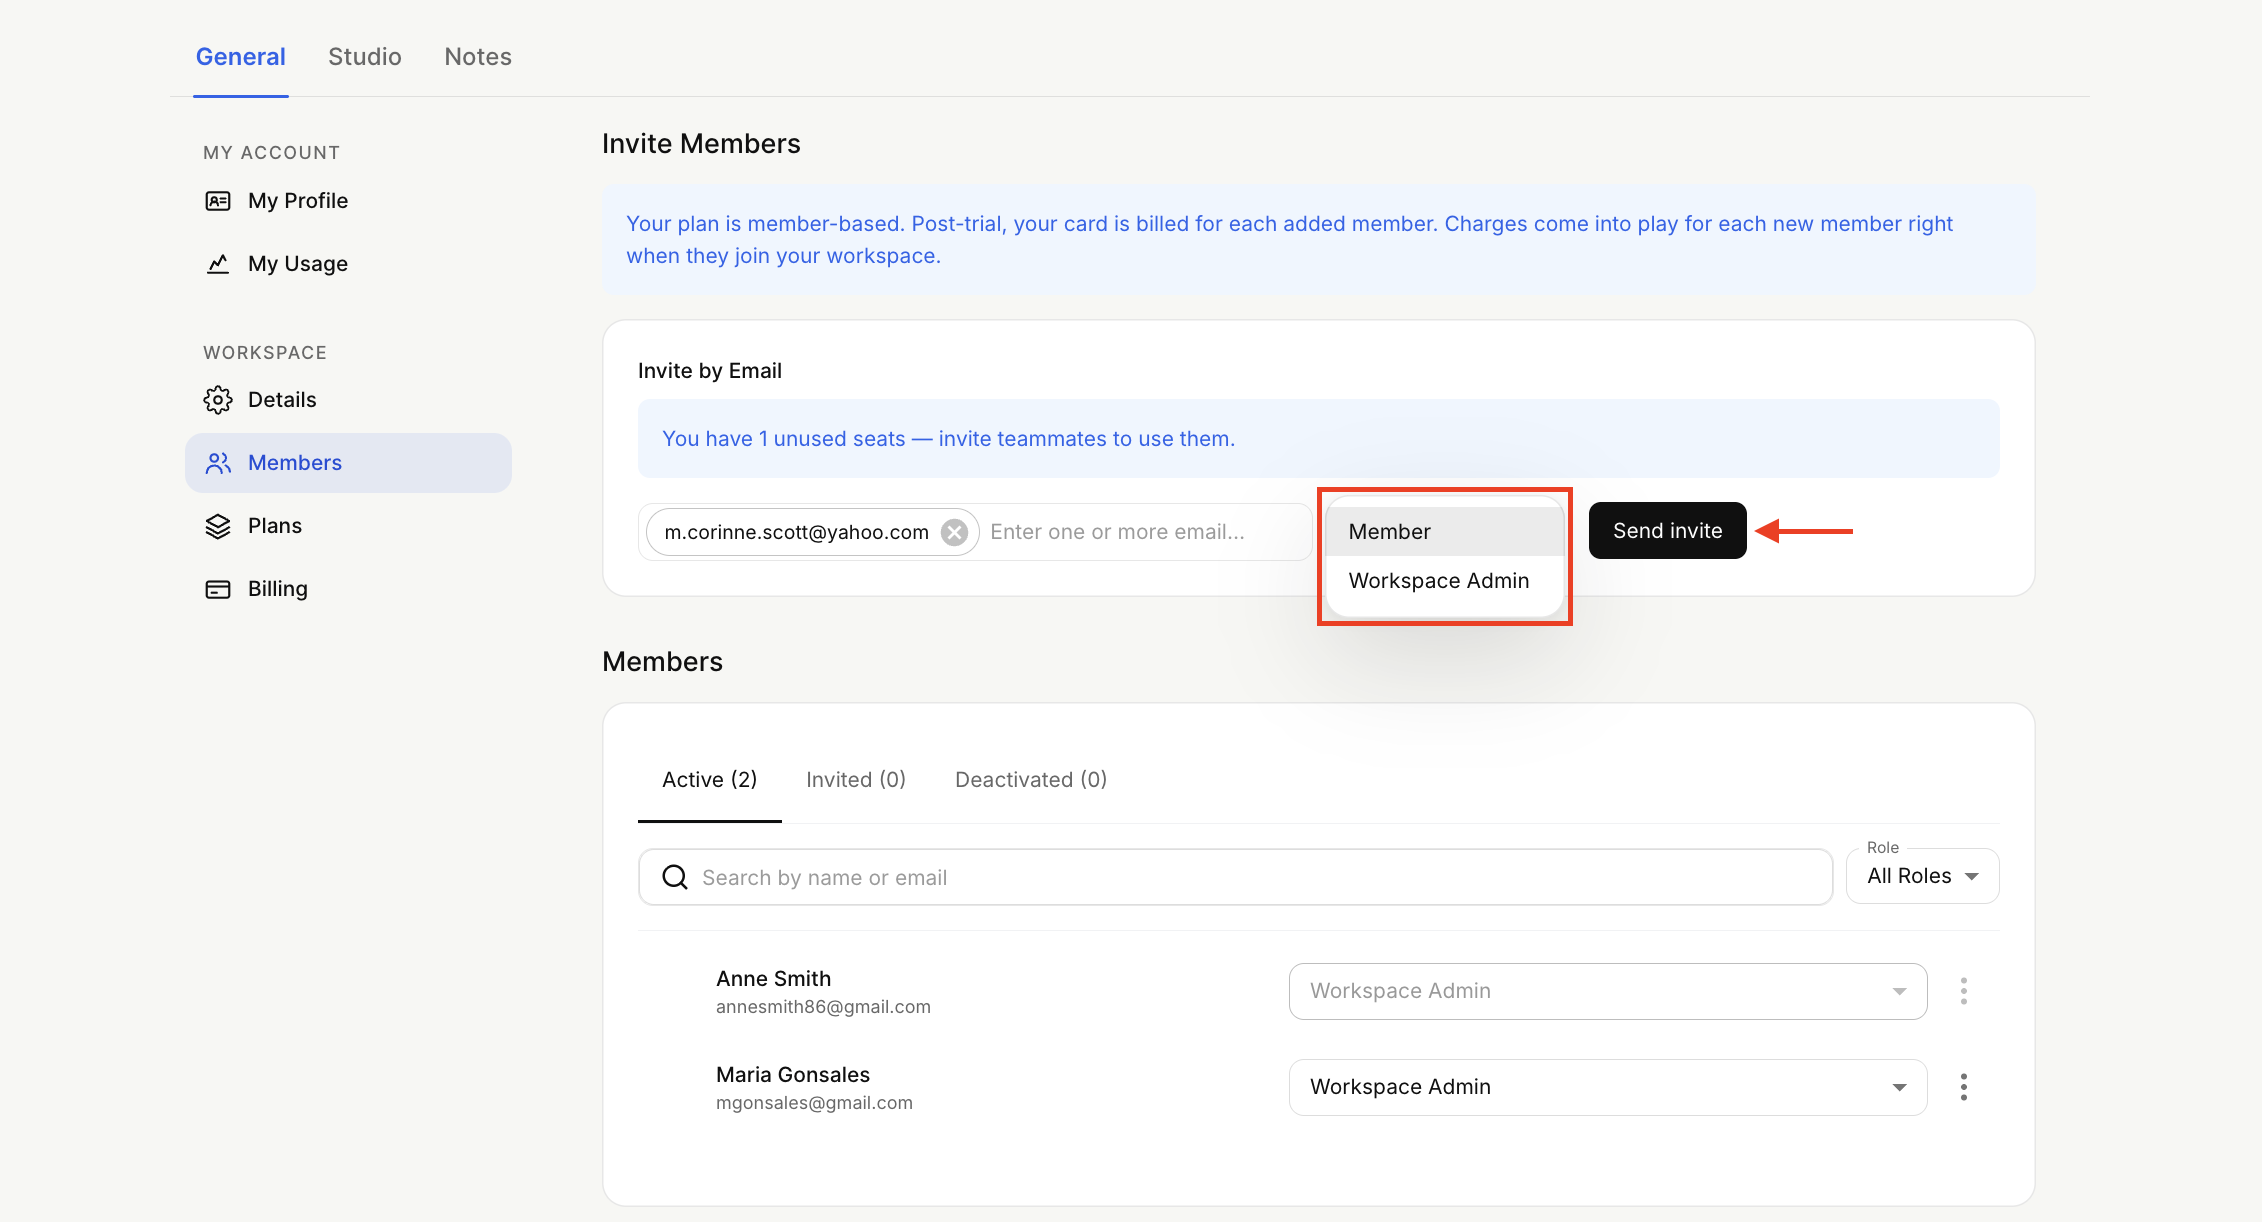
Select the role you want for the user and click Send Invite. Only Workspace Admins can add new members and edit roles.
The invite receiver will be able to register a brand new Sembly account by following the instructions in the email and becoming a part of your workspace. A user who already has a Sembly account can join your workspace and become part of your team in Sembly. Forward them this guide for a smooth onboarding.
Note that an invitation link expires in 14 days.
The invite will contain an automatically generated workspace name containing your name. If you wish to change it, go to the Workspace Details section and specify the desired workspace name.
If you need to cancel an invitation link, click the Cancel Invite button to remove it instantly. Afterward, confirm your choice. The invitee will no longer be able to use the old invite link to join your workspace.
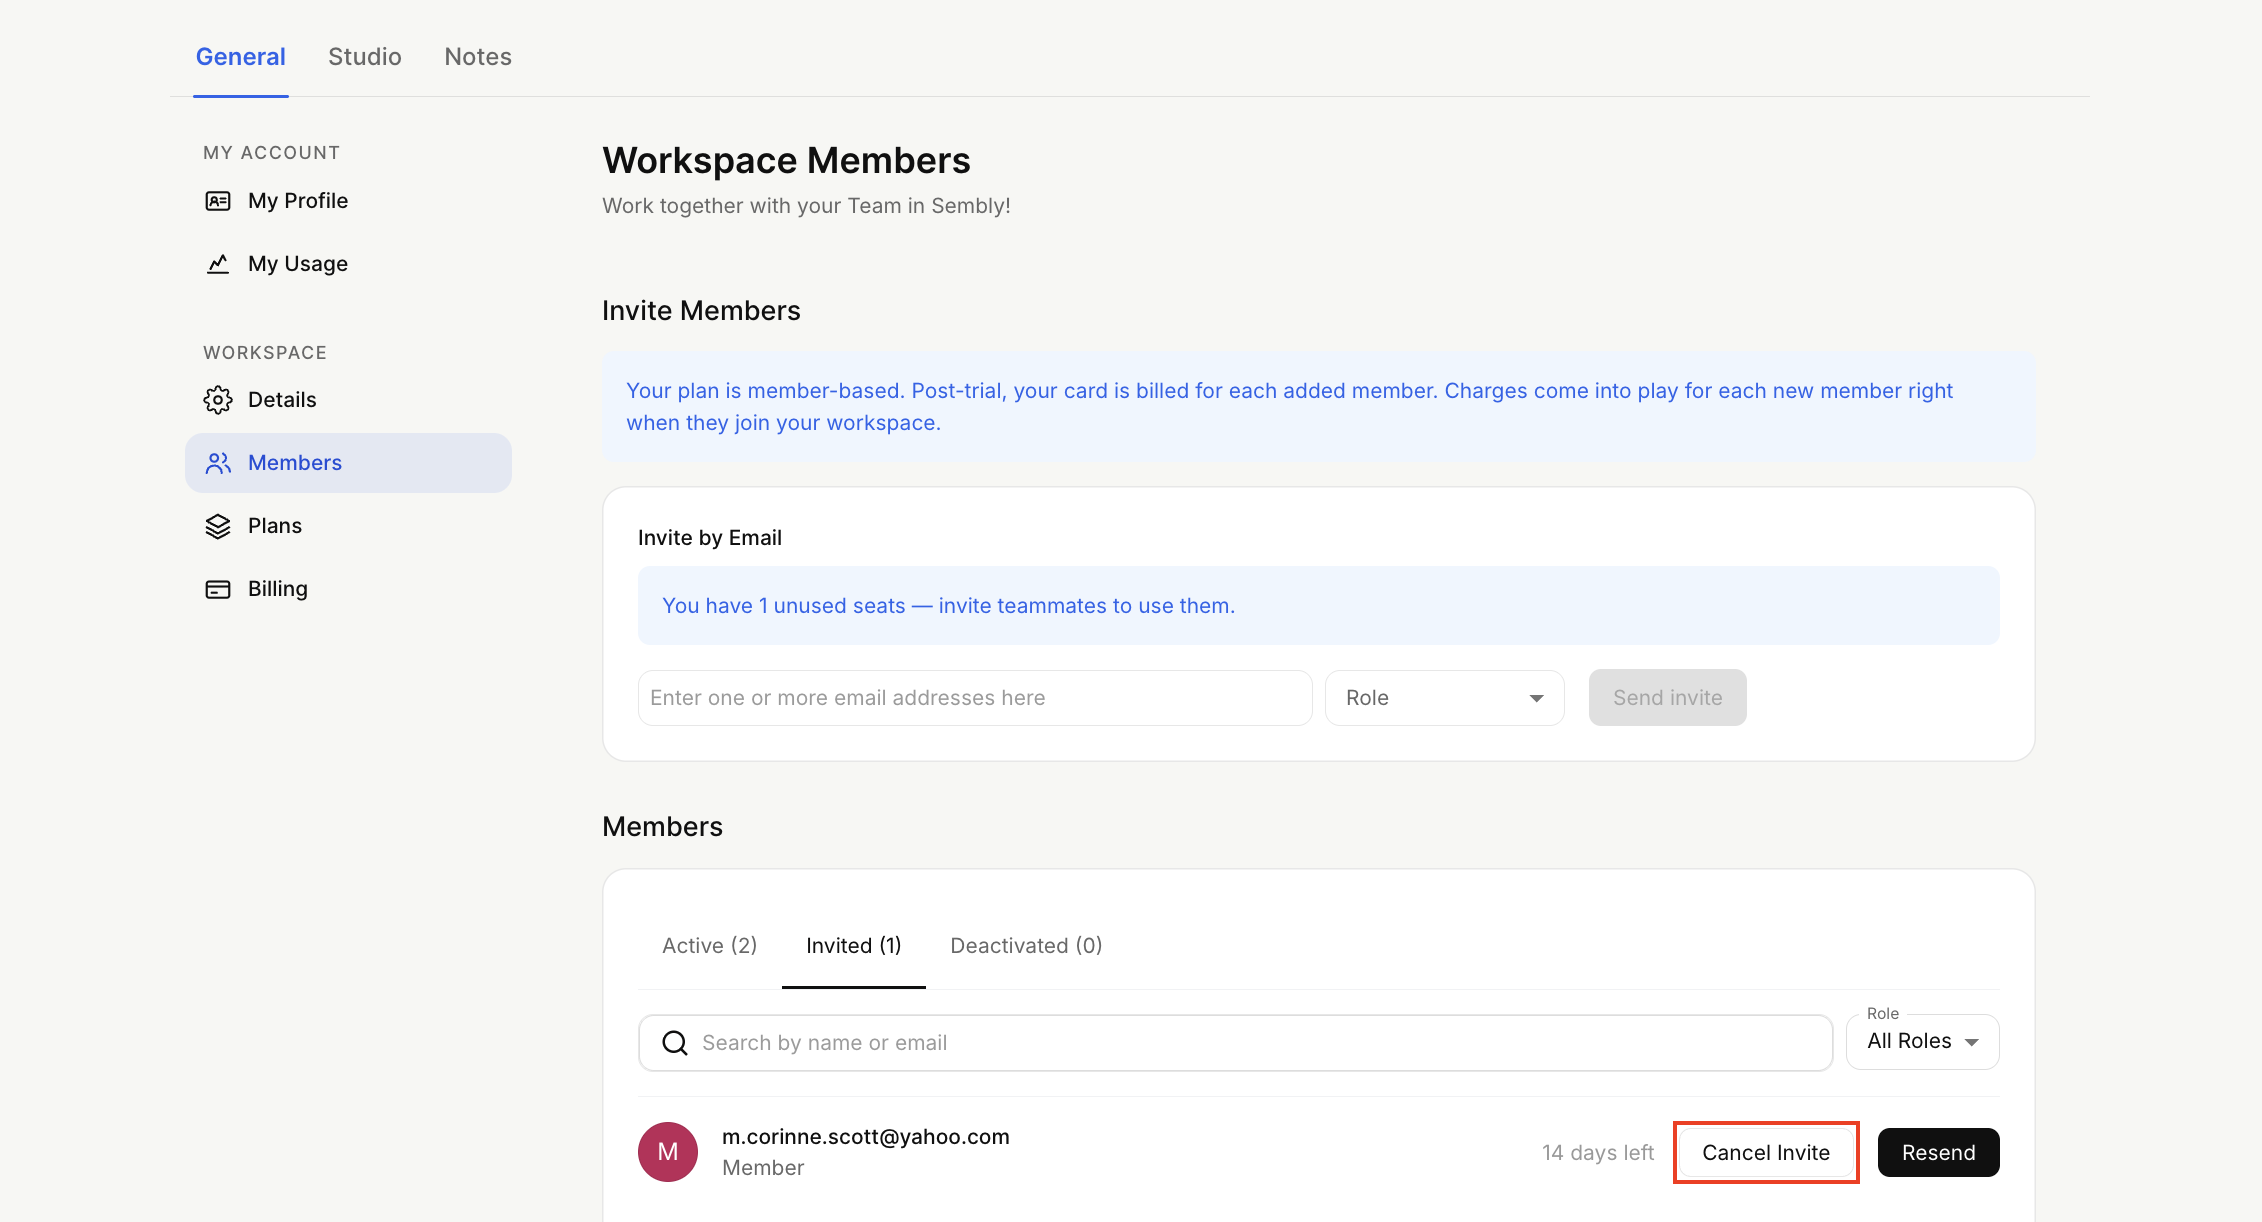
If the link has already expired, you can resend the invitation by clicking the Resend button.
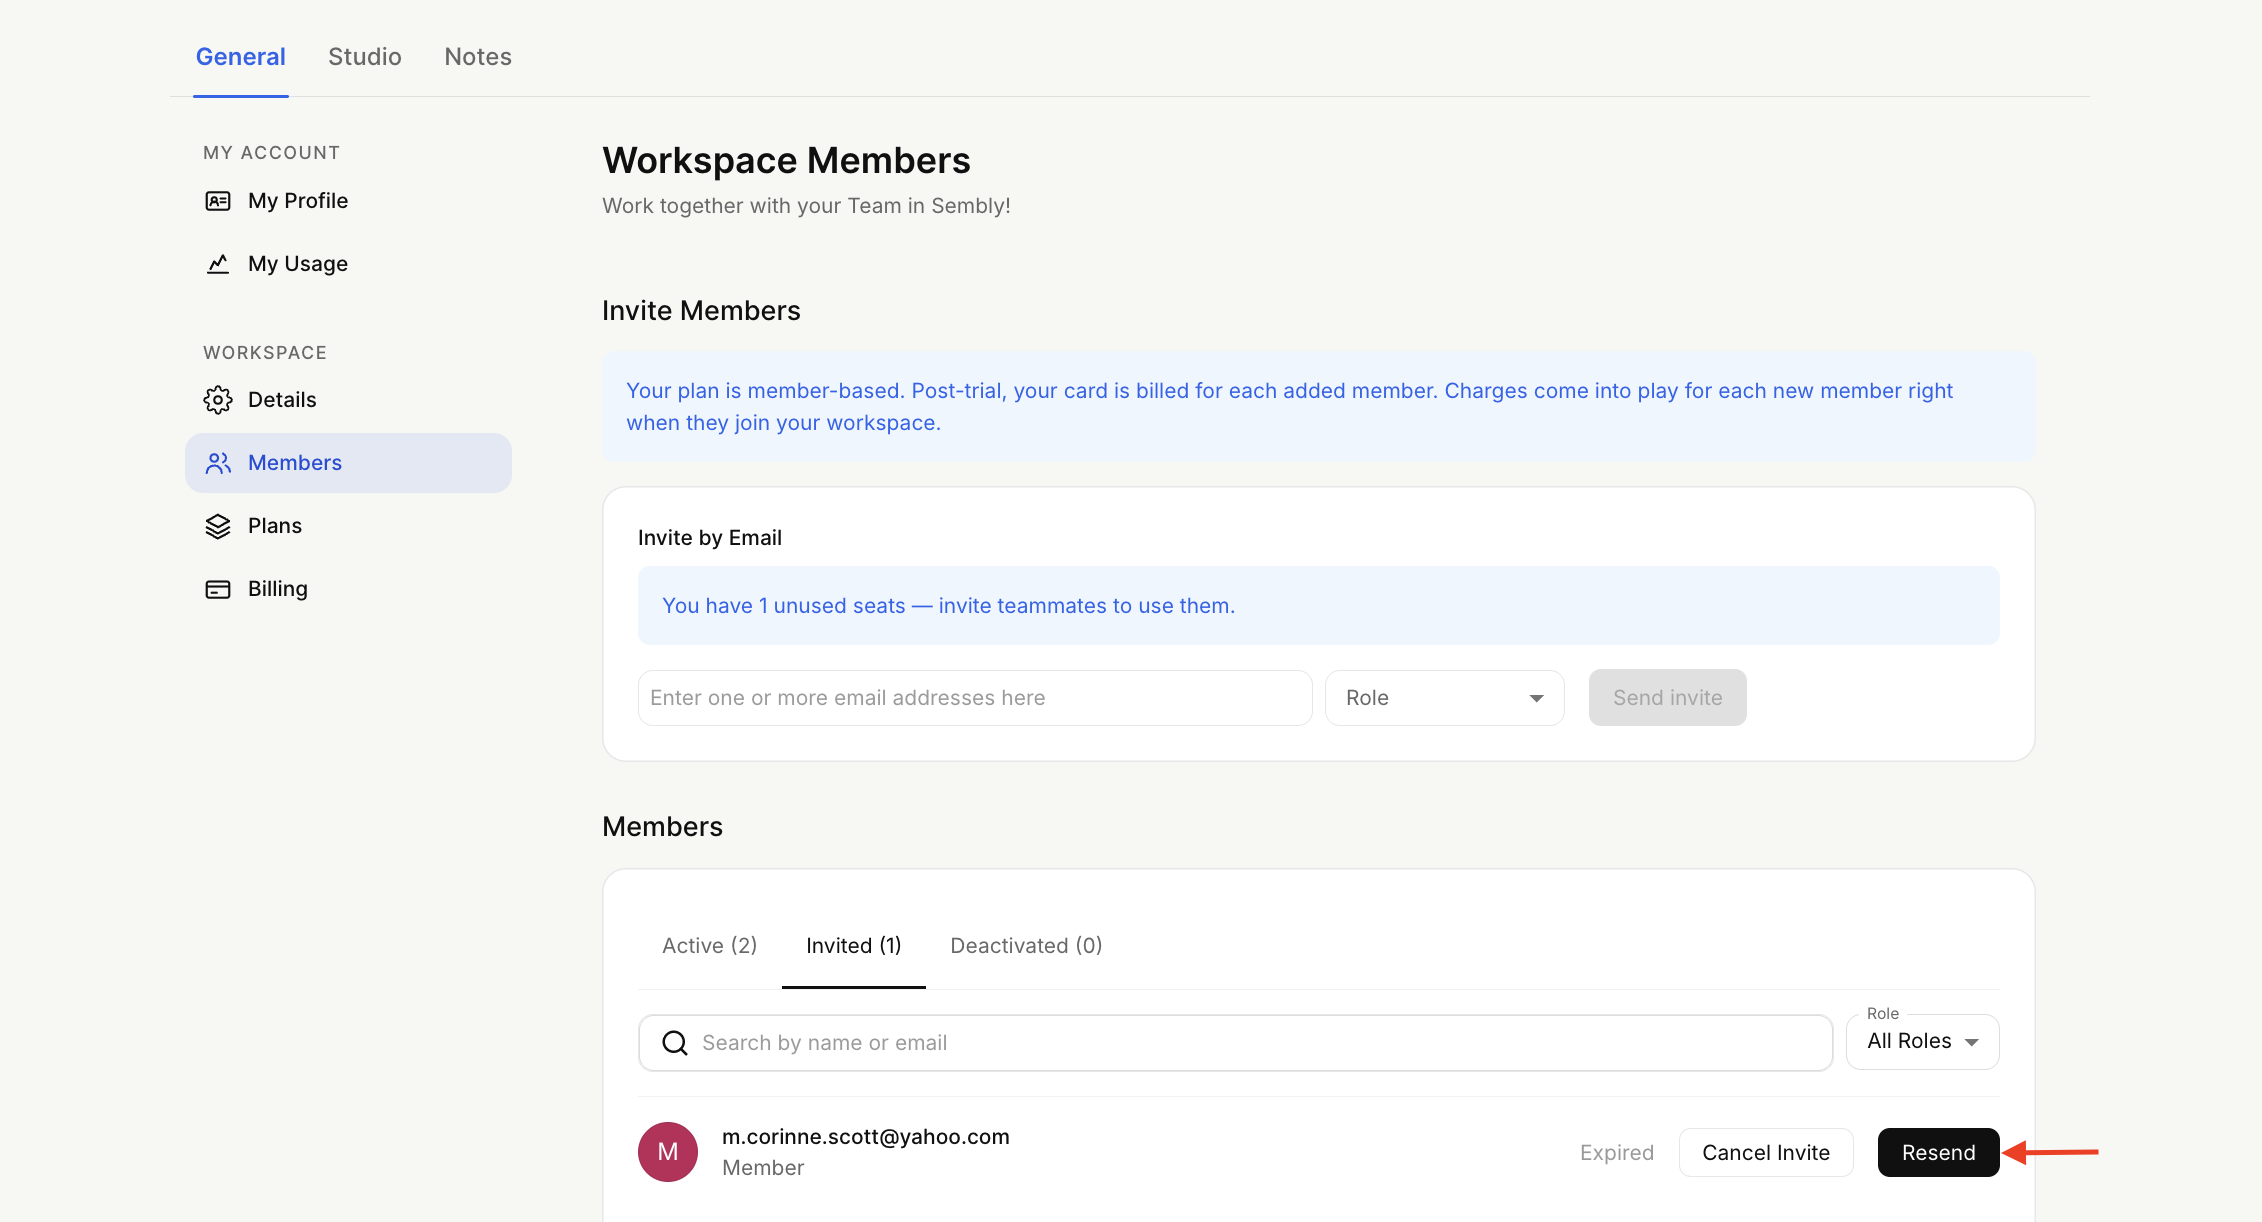
In the Members section, you can switch between tabs to see the lists of users who are Active, Invited, and Deactivated.

Active - members who accepted the invite and joined your workspace; admins can change roles here, deactivate members, and delete them.
Invited - pending invites; you can use the Resend the invite button any time.
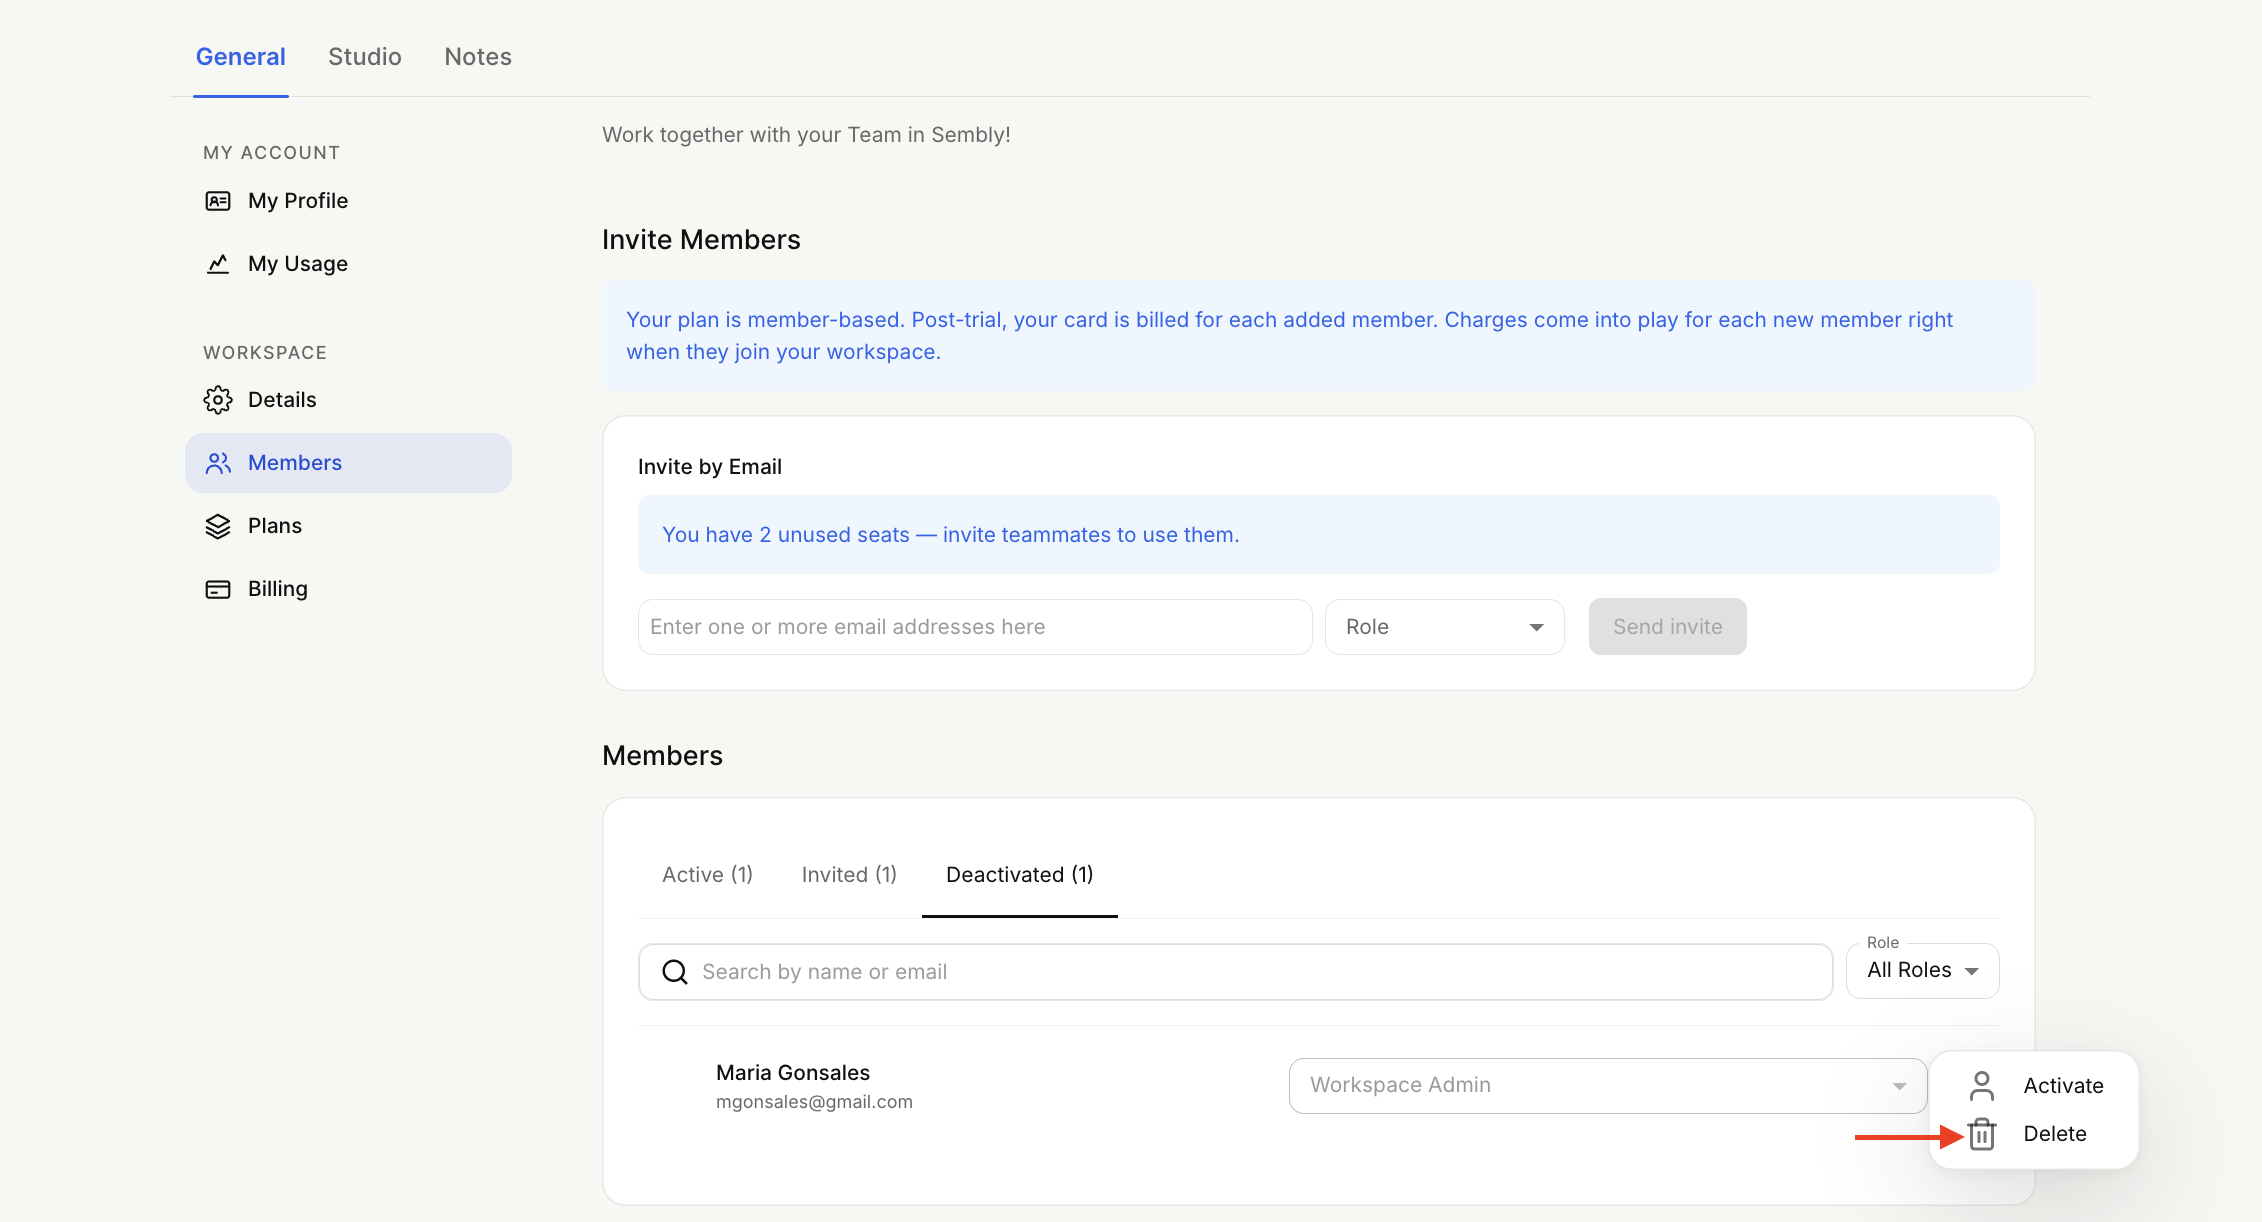
Deactivated - users won't have access to their accounts. You can delete a user by clicking three dots next to the name of user and pressing Delete.
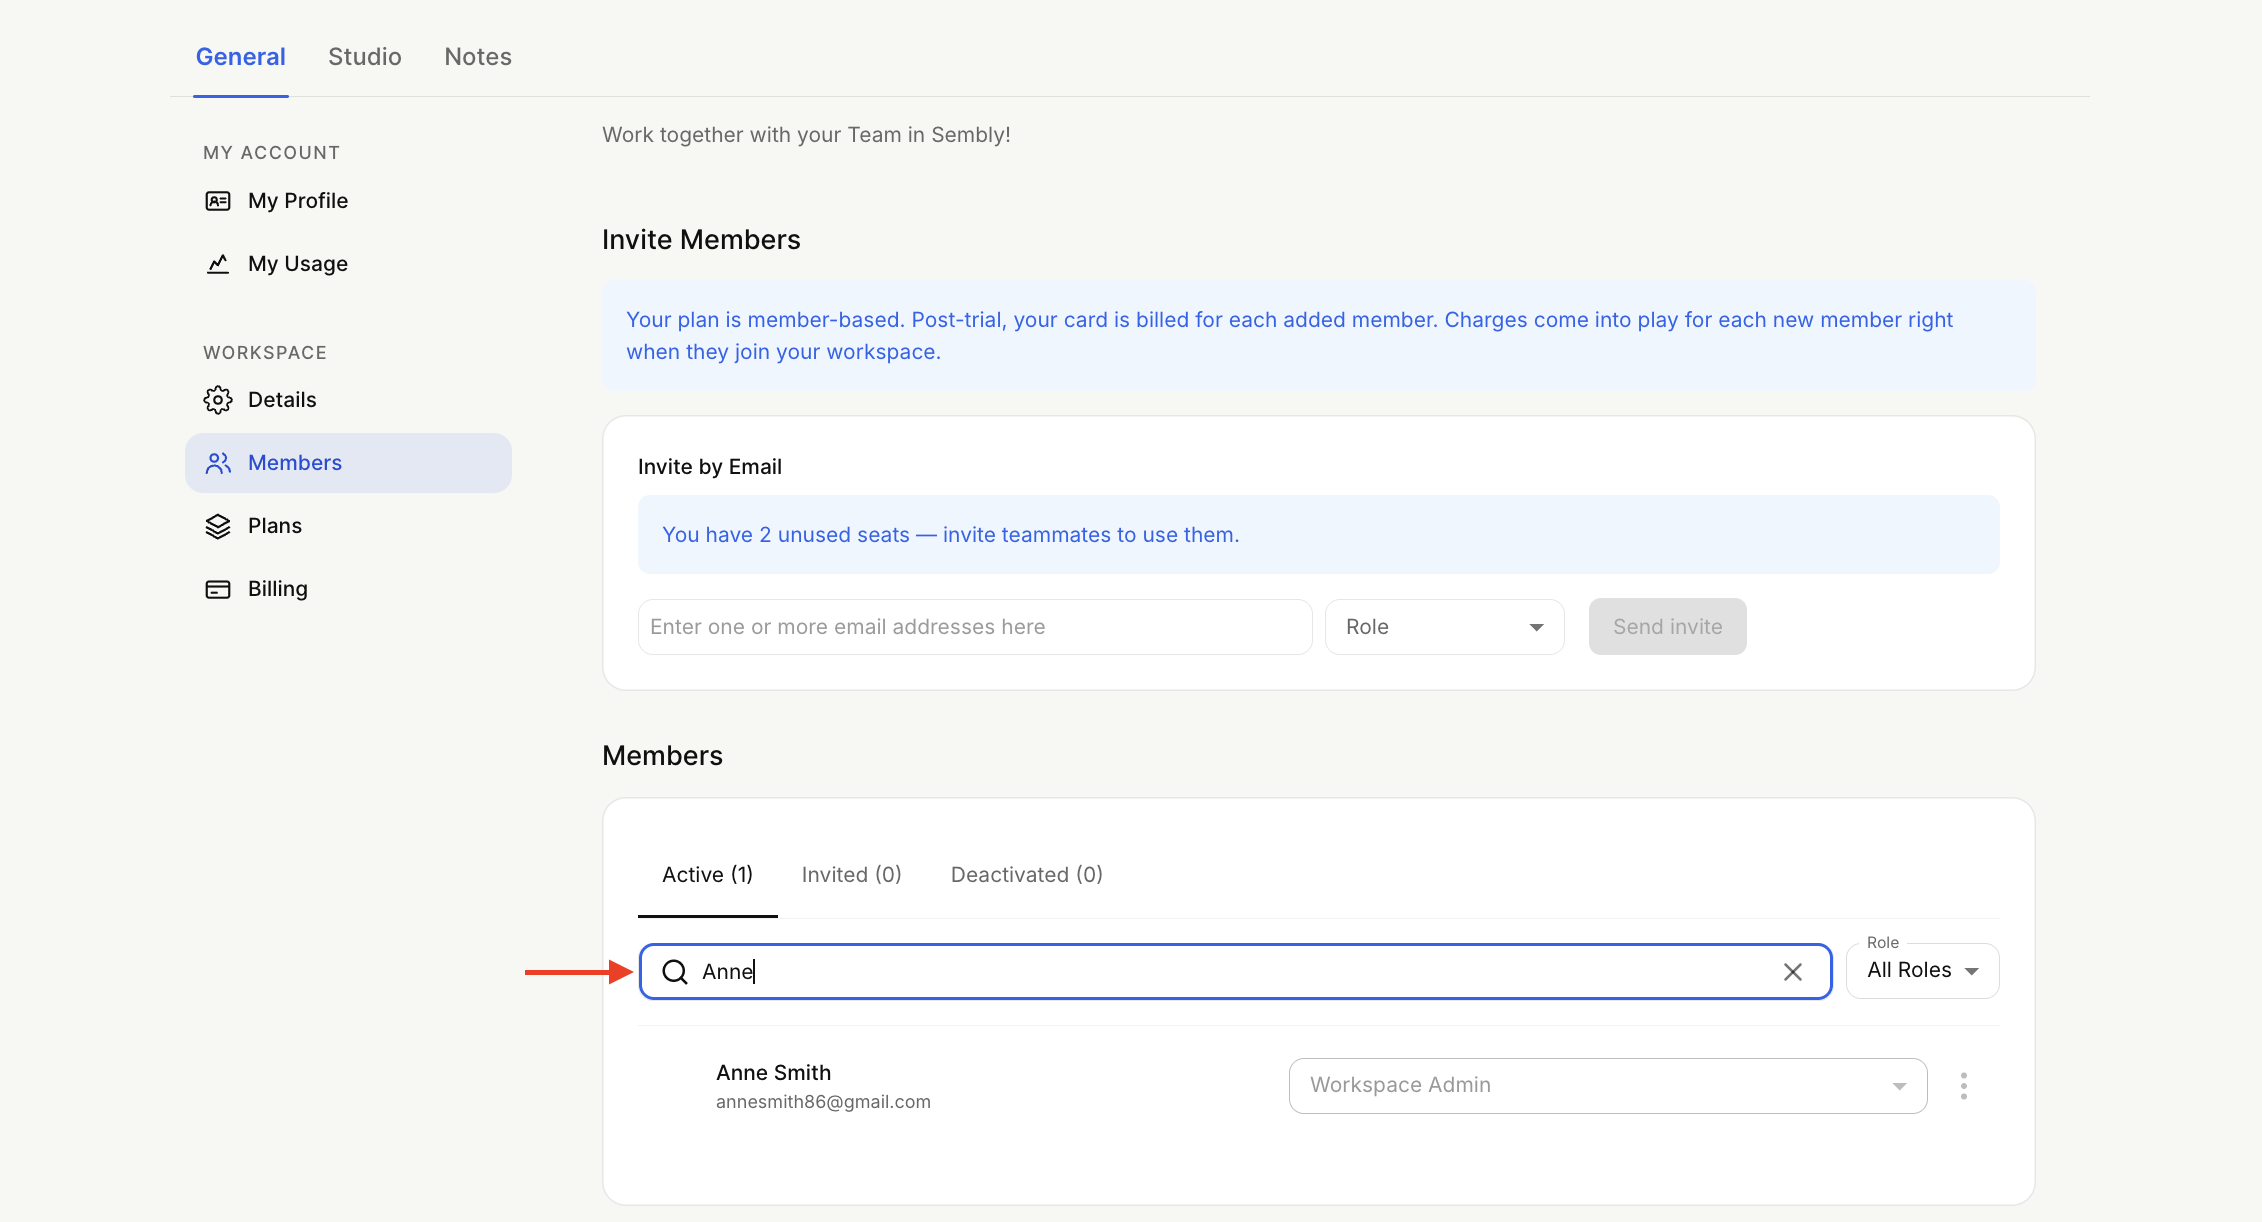
You can search by name or email for the preferred person in your workspace using the search bar.
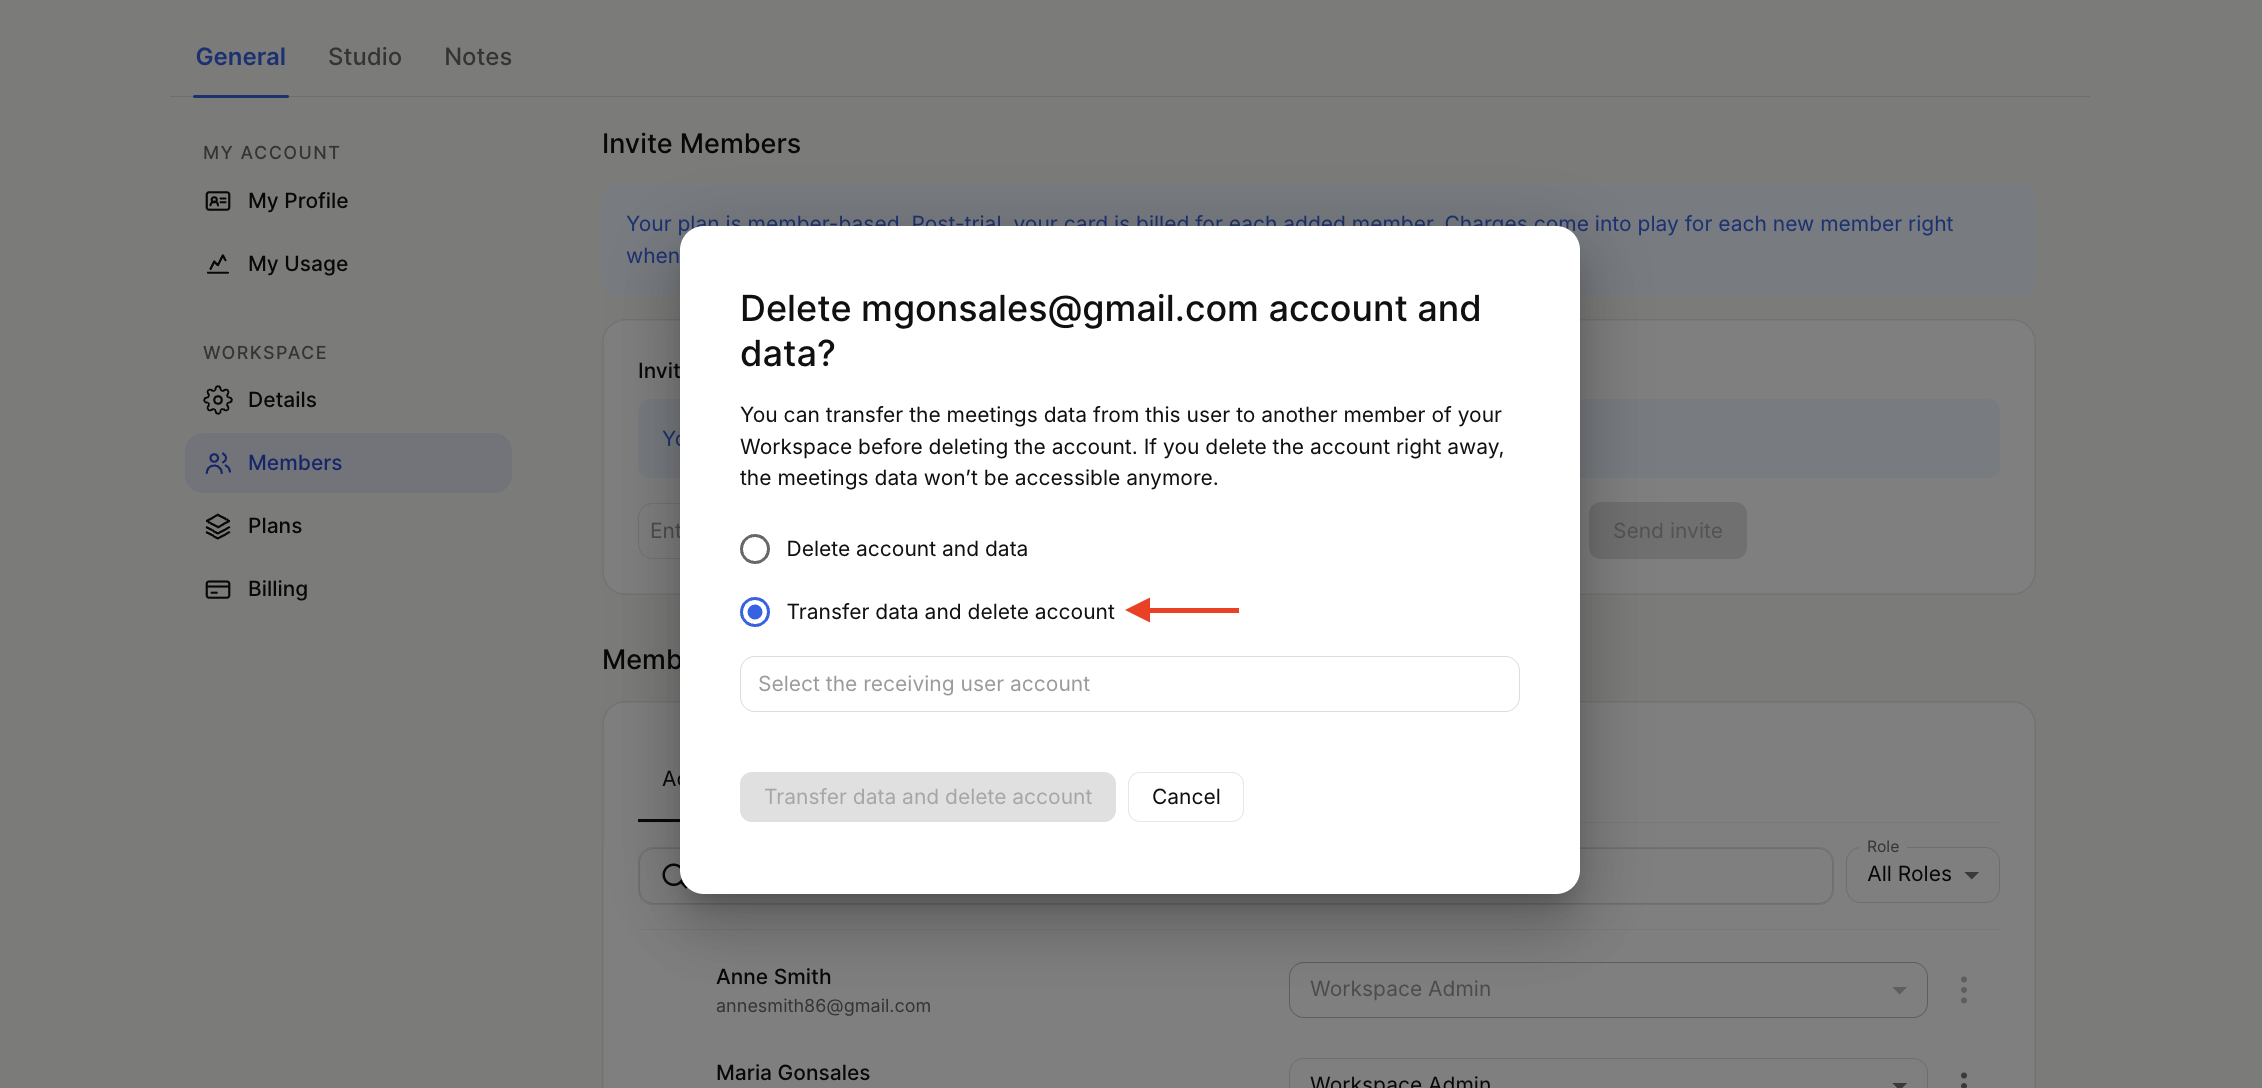
When you start deleting a member, you will have the option to keep the meeting data from that user's account. To keep the data, check Transfer data and delete account, then fill in the email of the member who will receive the data. Make sure to enter the email of an existing Sembly account! Then, proceed with the deletion.
The meeting data will be moved to the new account's home page; matching sessions will merge automatically.