Simply enter a client's website URL and let the system automatically derive their branding — colors, logos, fonts, and other visual elements pulled straight from their site. Assign the extracted branding to any client in your catalog, and remove it just as easily if it no longer fits. A fast, flexible way to keep each client's brand identity accurate and up to date.

Log in to your Sembly account in the US or EU.
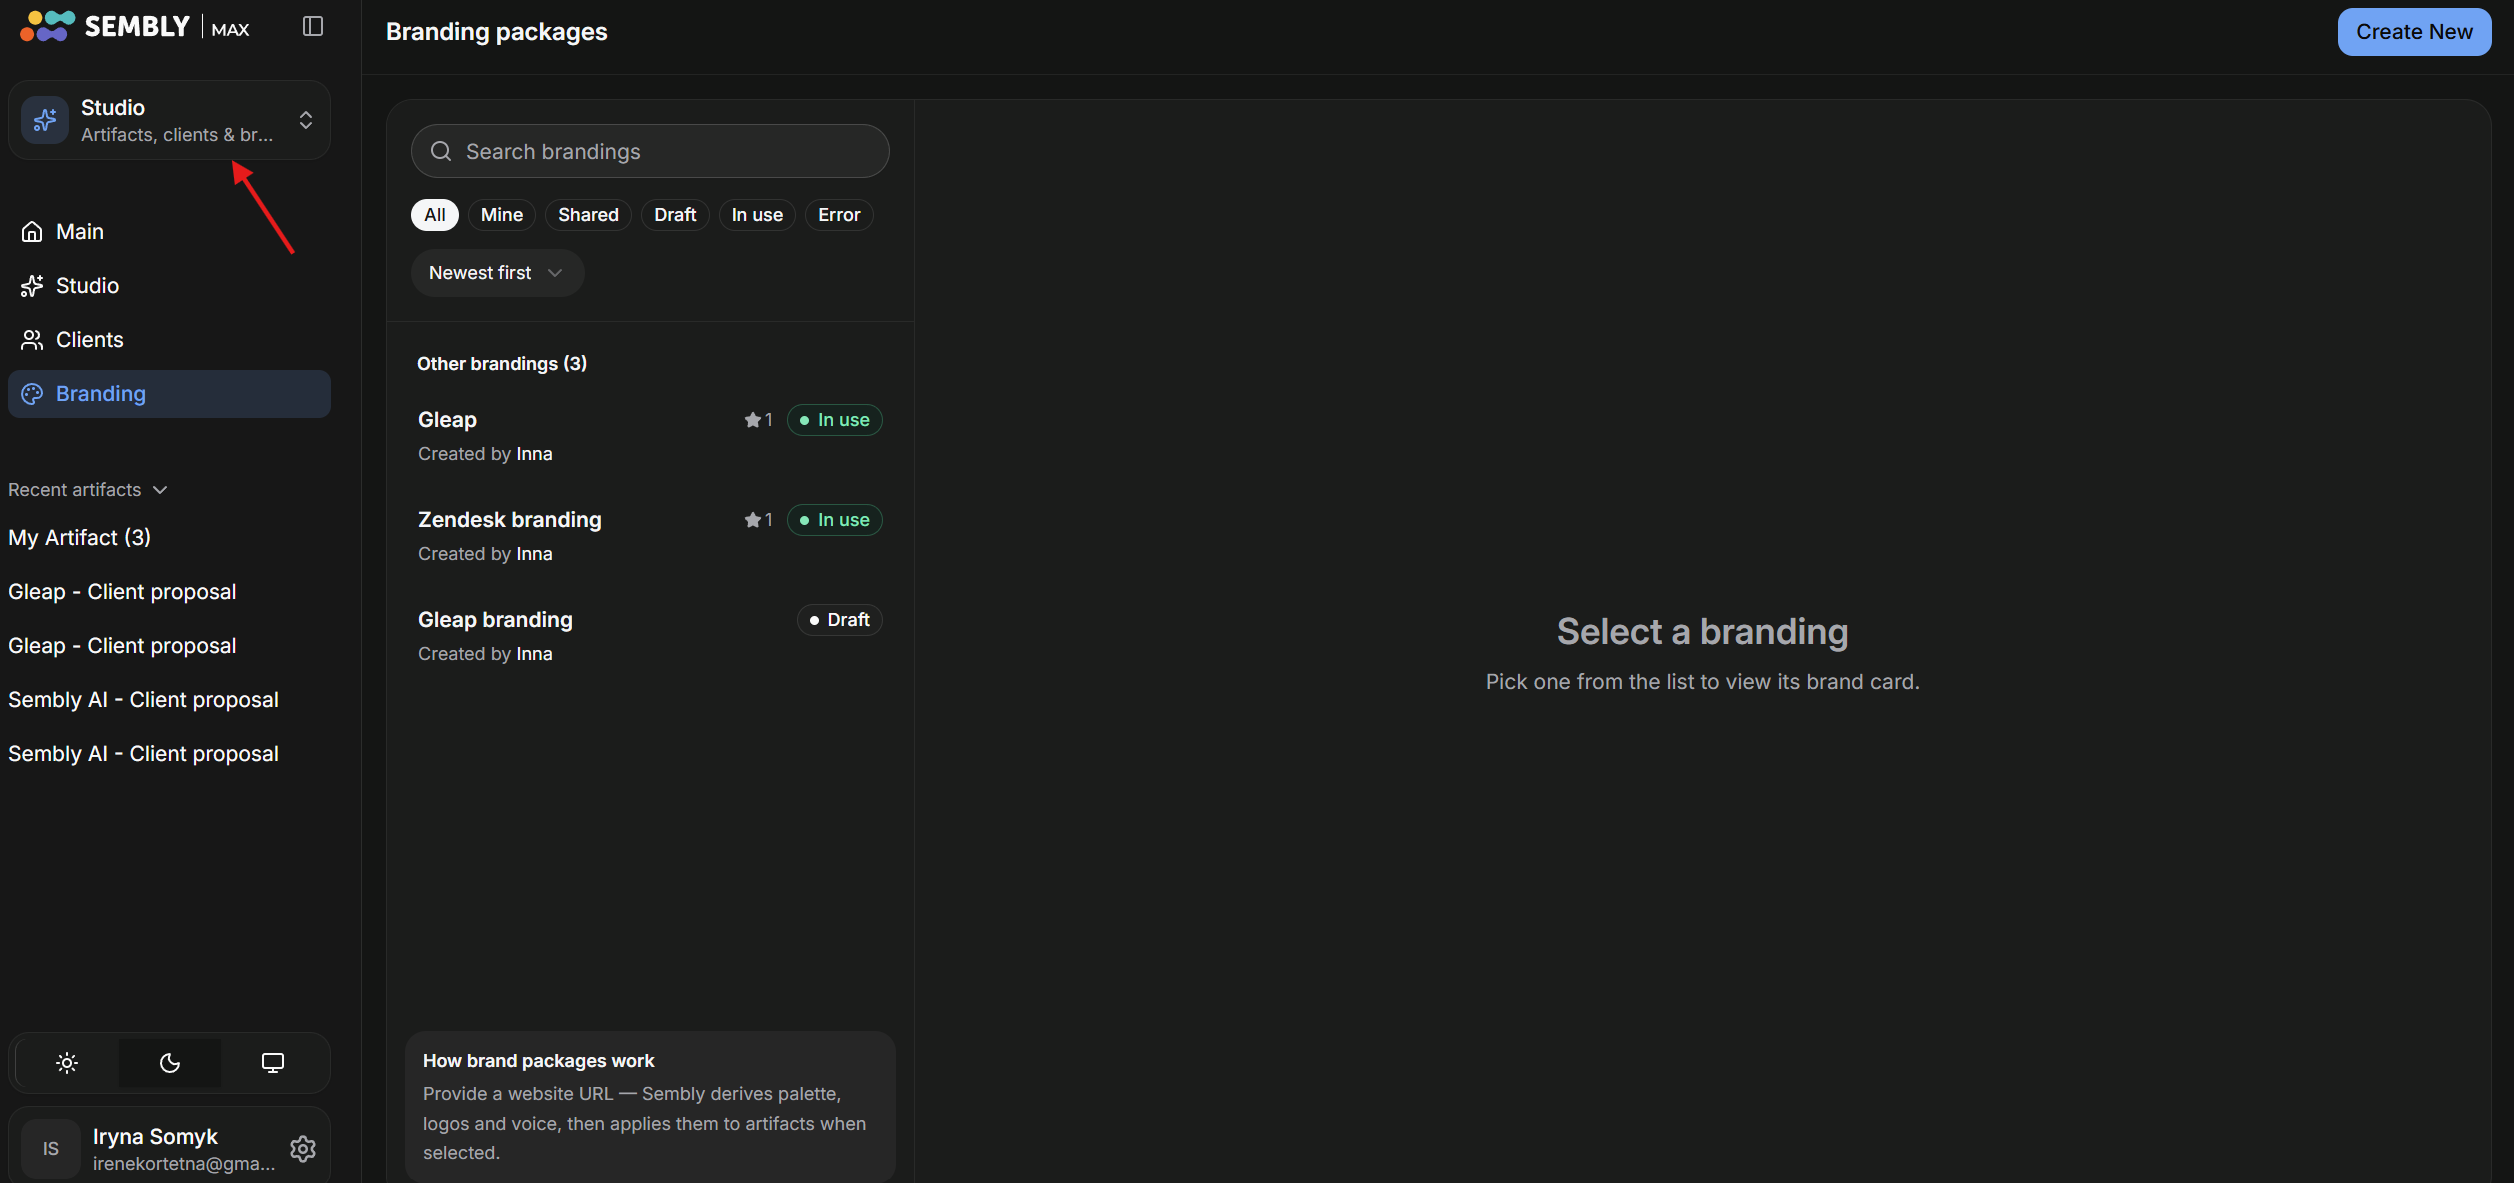
Click on the Studio/Notes button in the top-left corner.
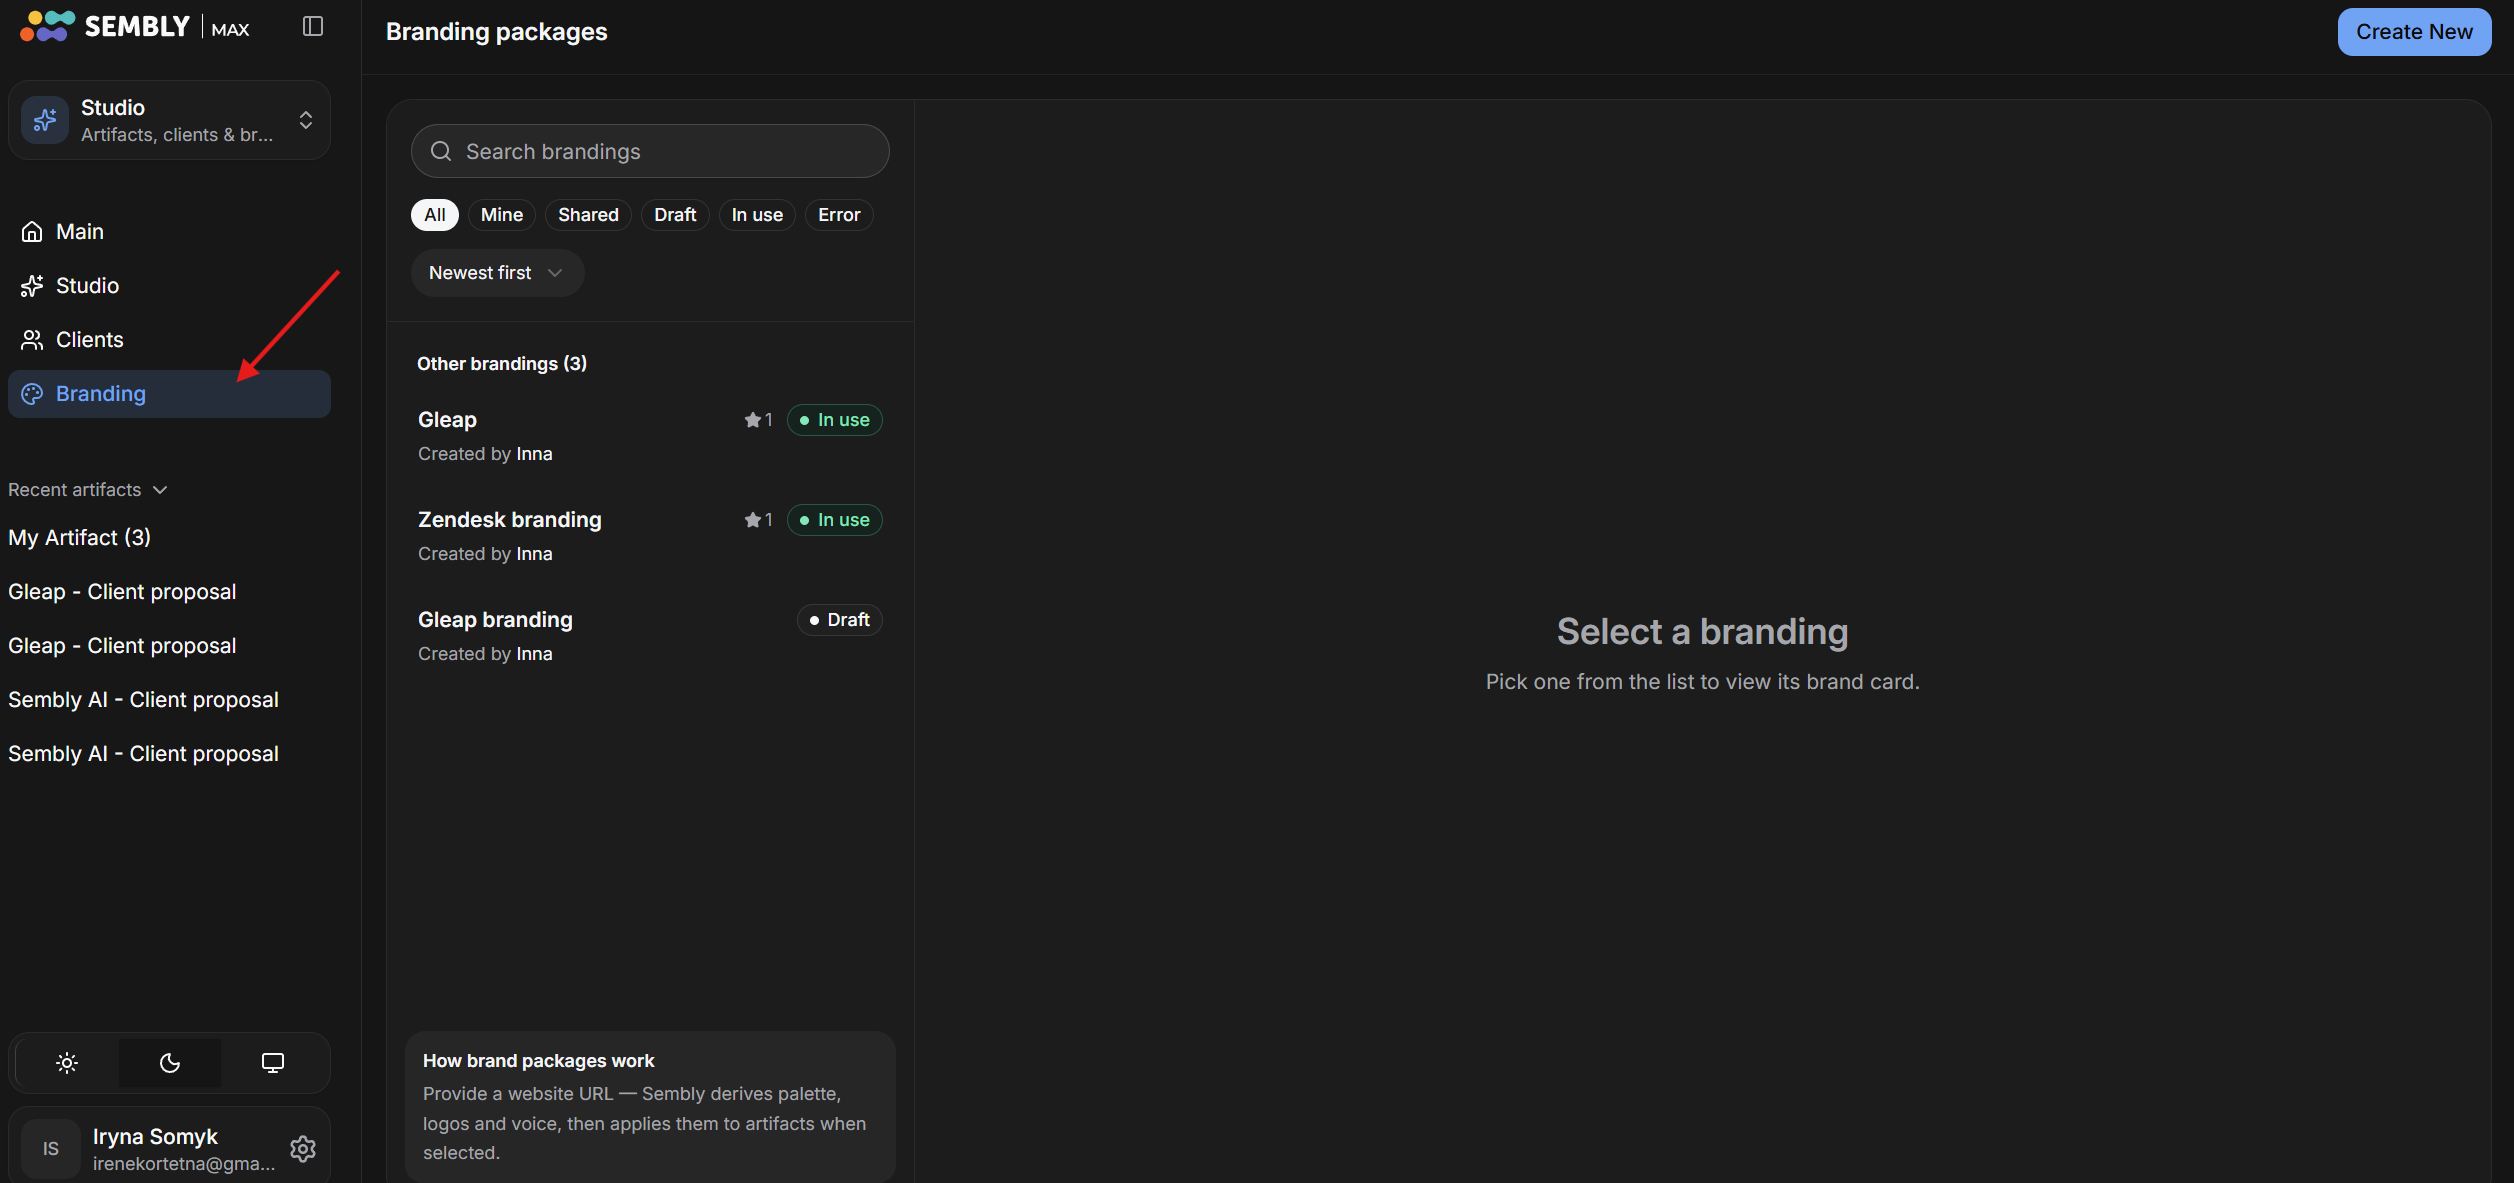
In the left sidebar, press the Branding button.
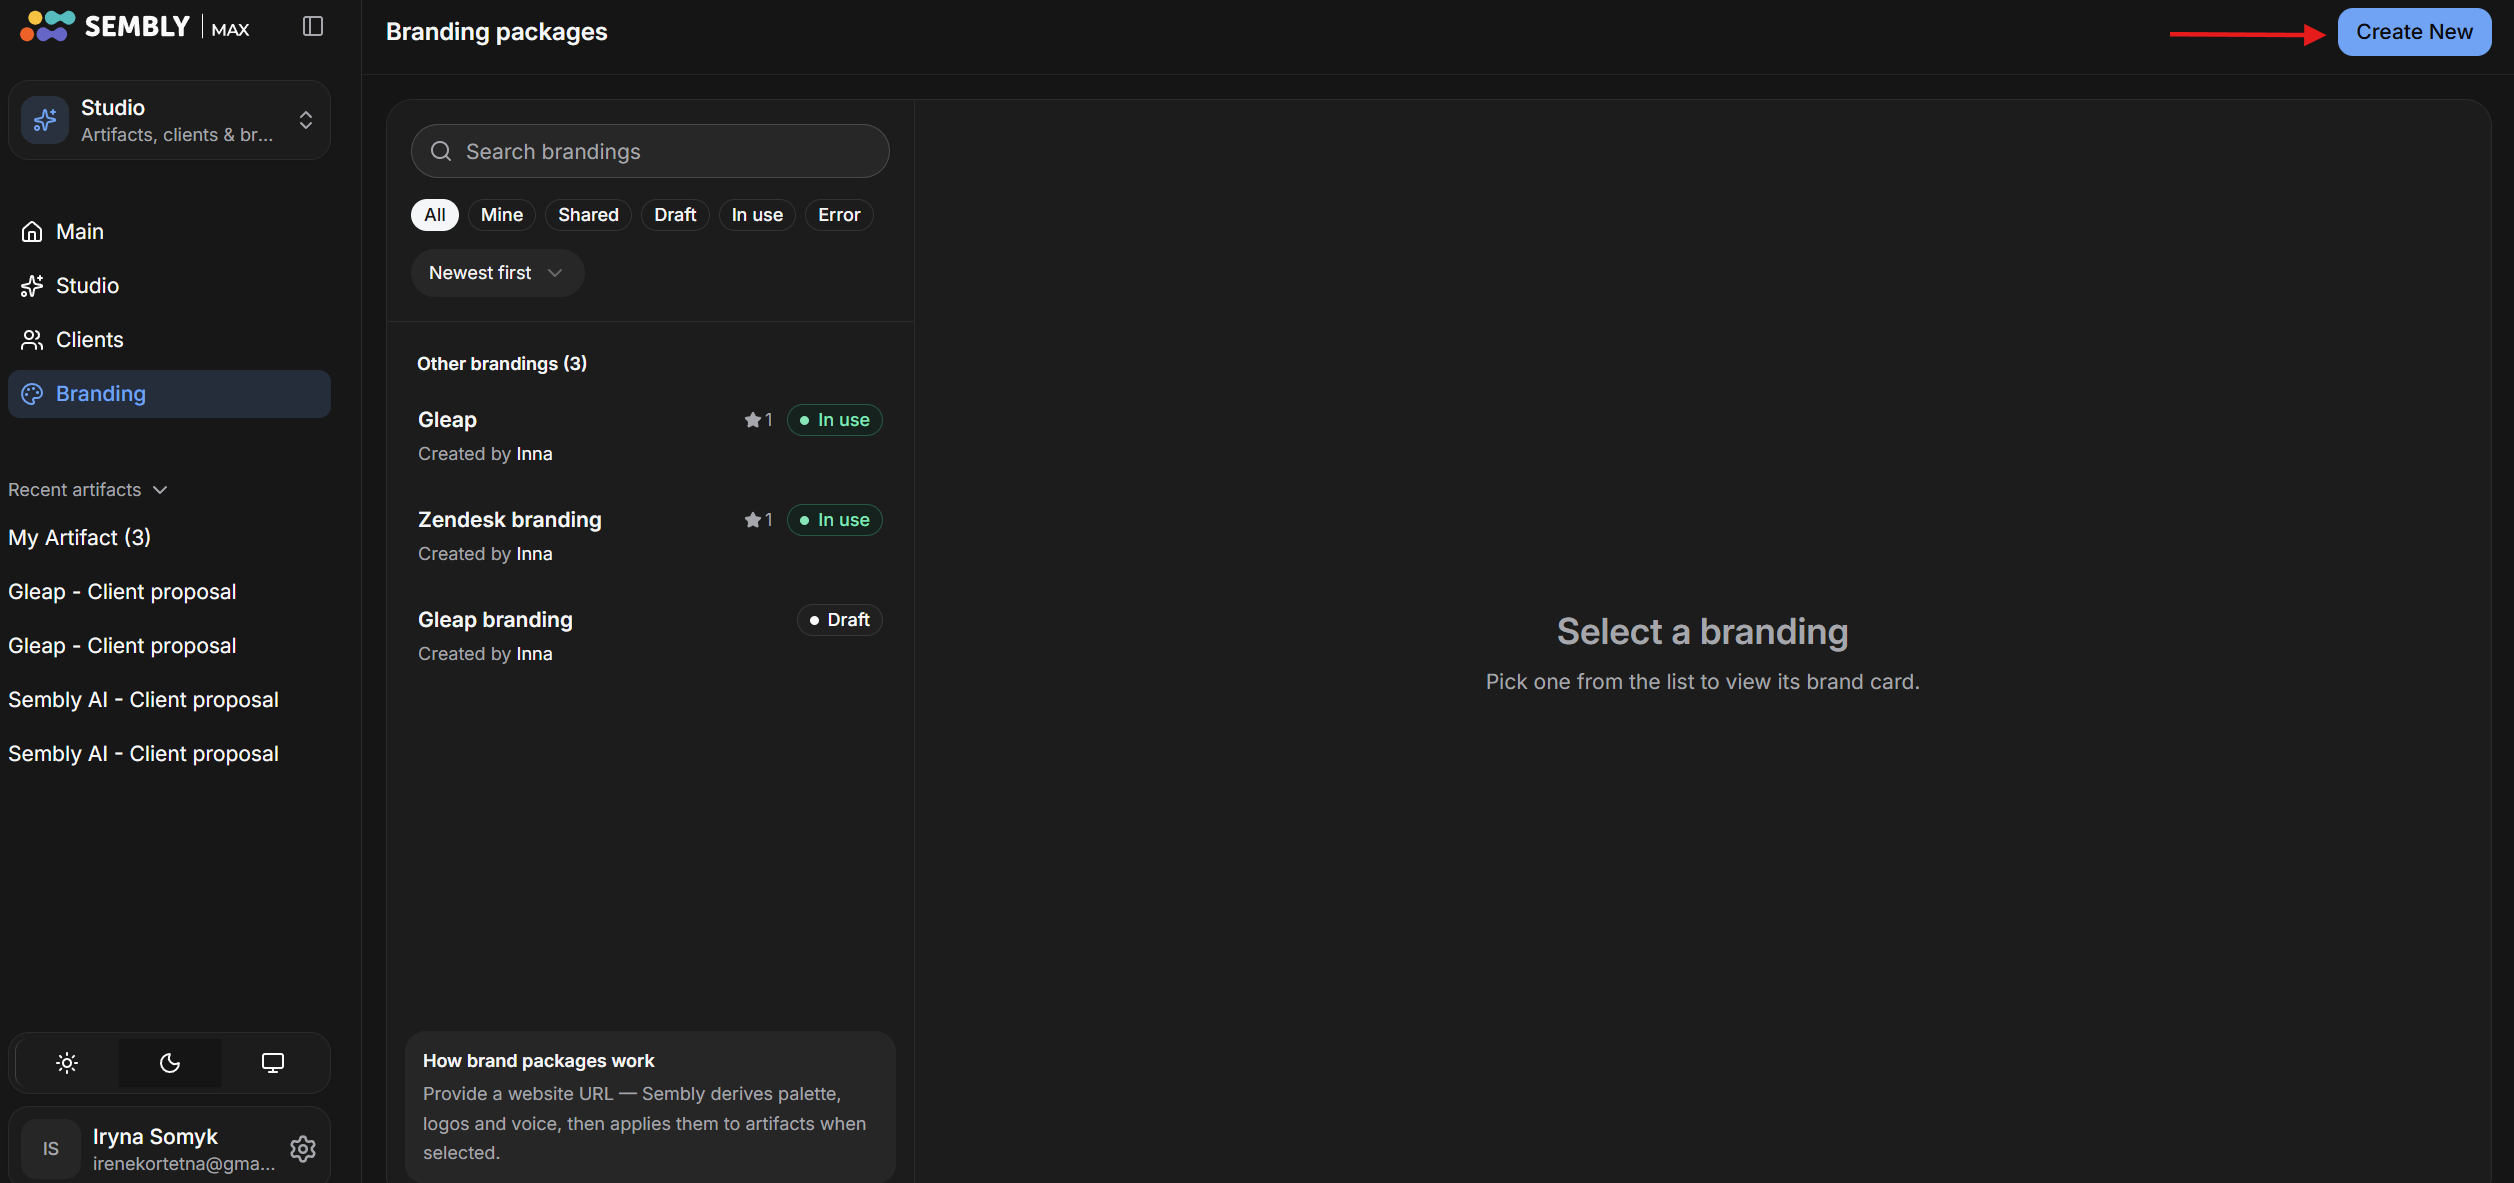
Press the Create New button to create a new Branding.
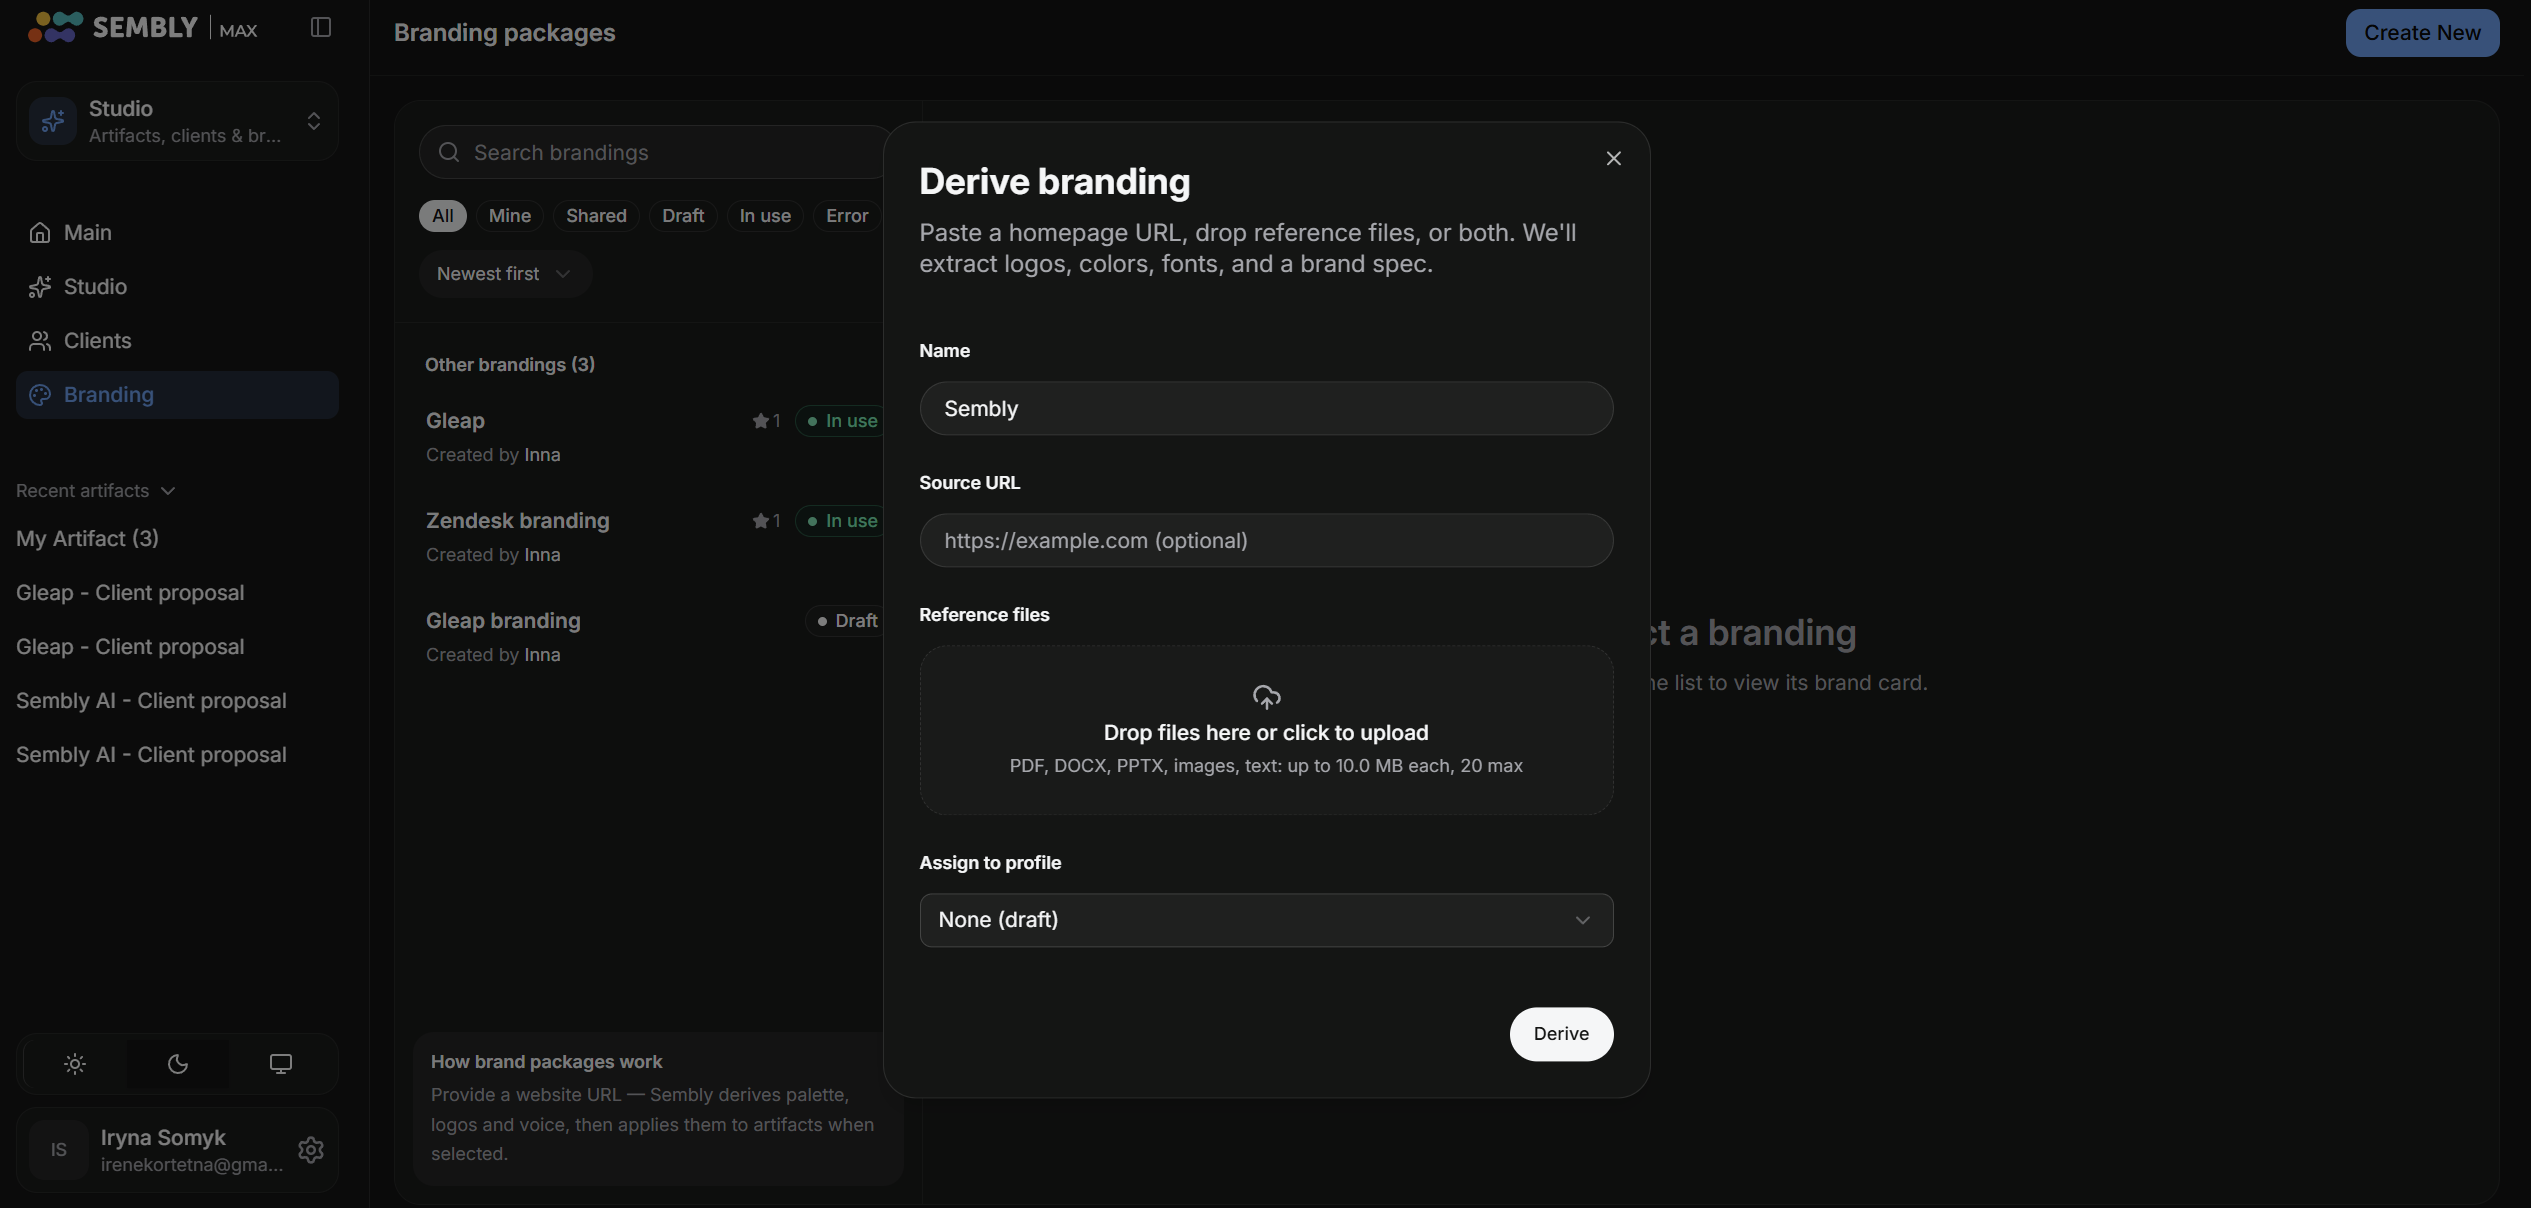
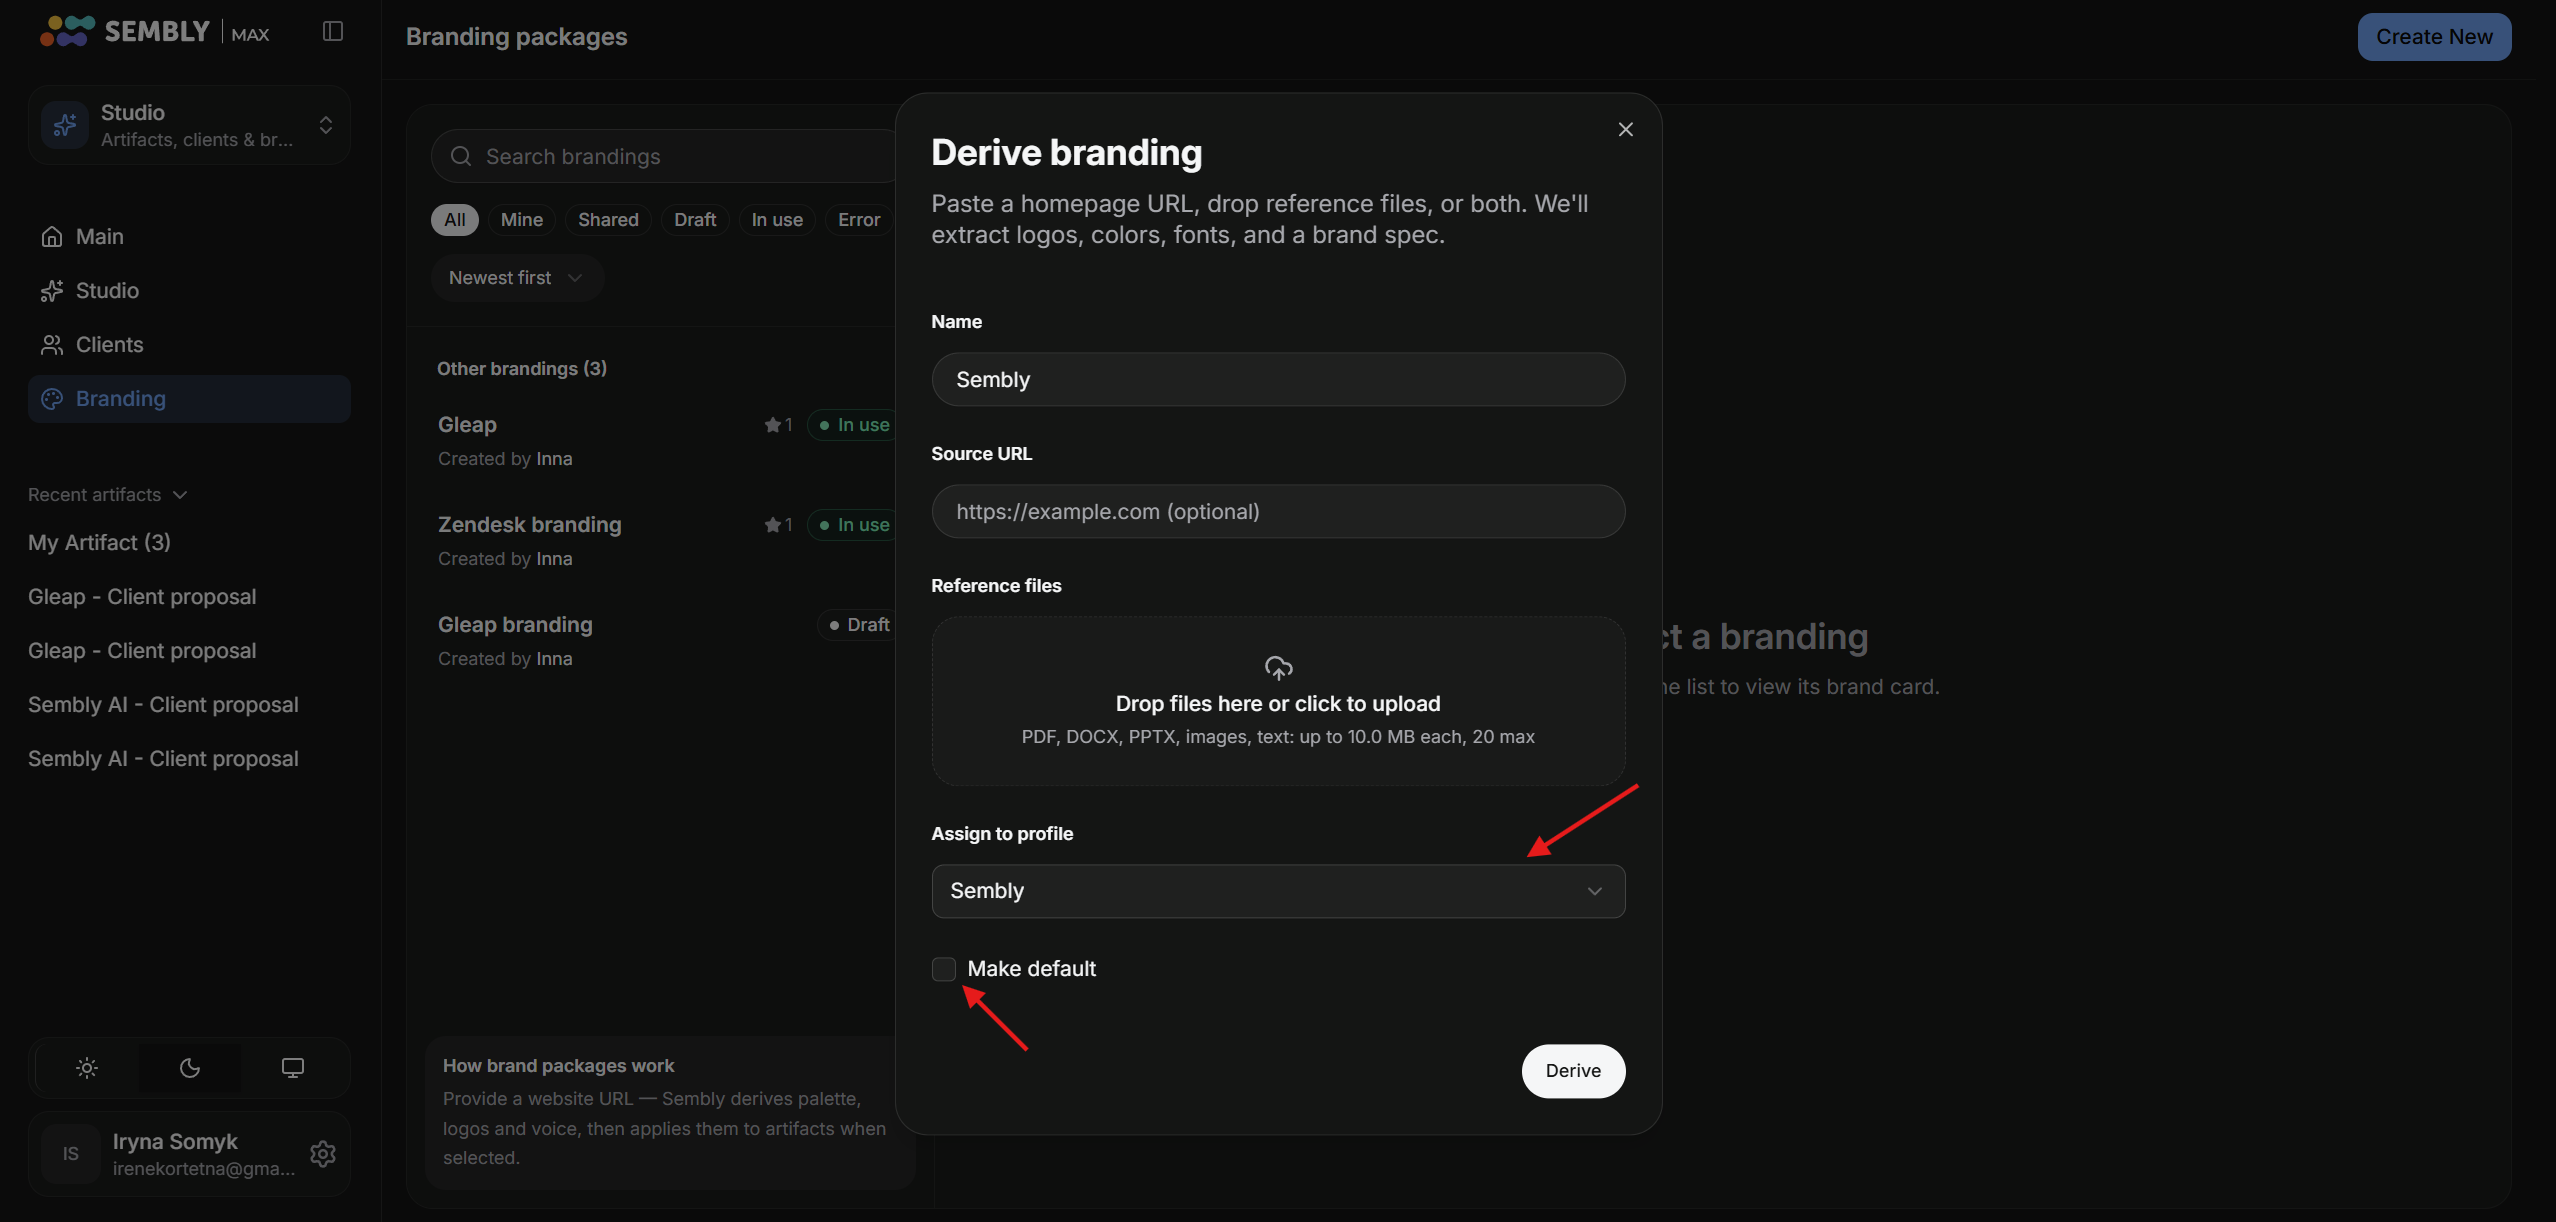
Fill in the Name, Source URL, upload Reference files, and assign it to a profile from the list of existing Clients. You can assign None and keep the Branding in drafts. Then press Derive to finish the process.
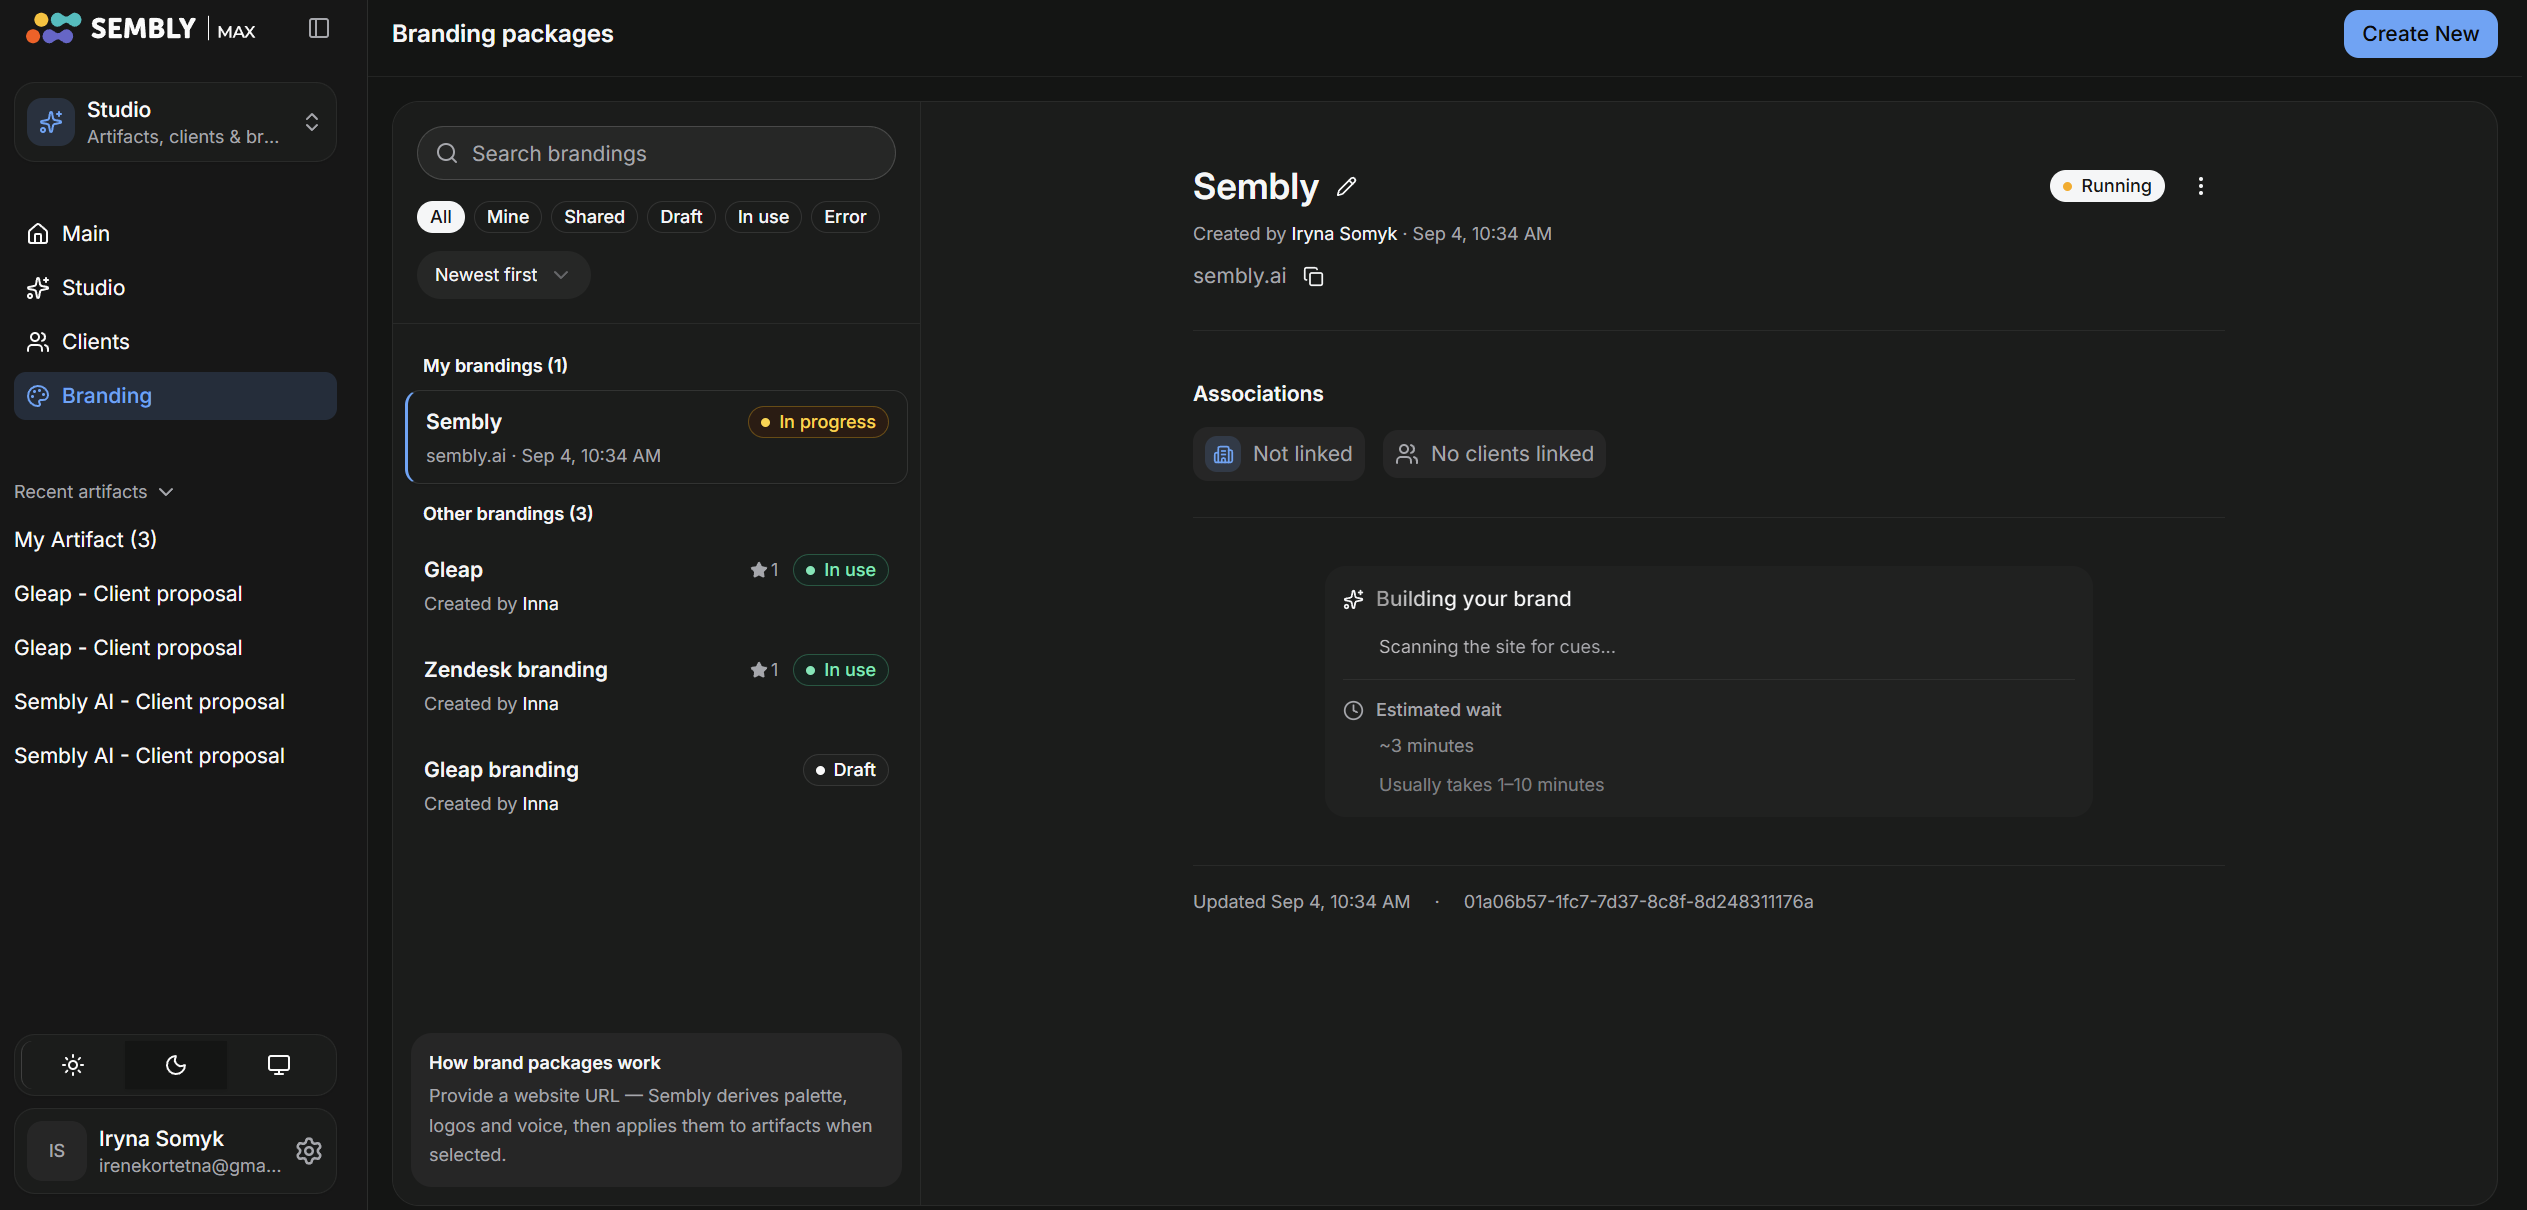
Wait for a few minutes until the system finishes deriving the new branding.
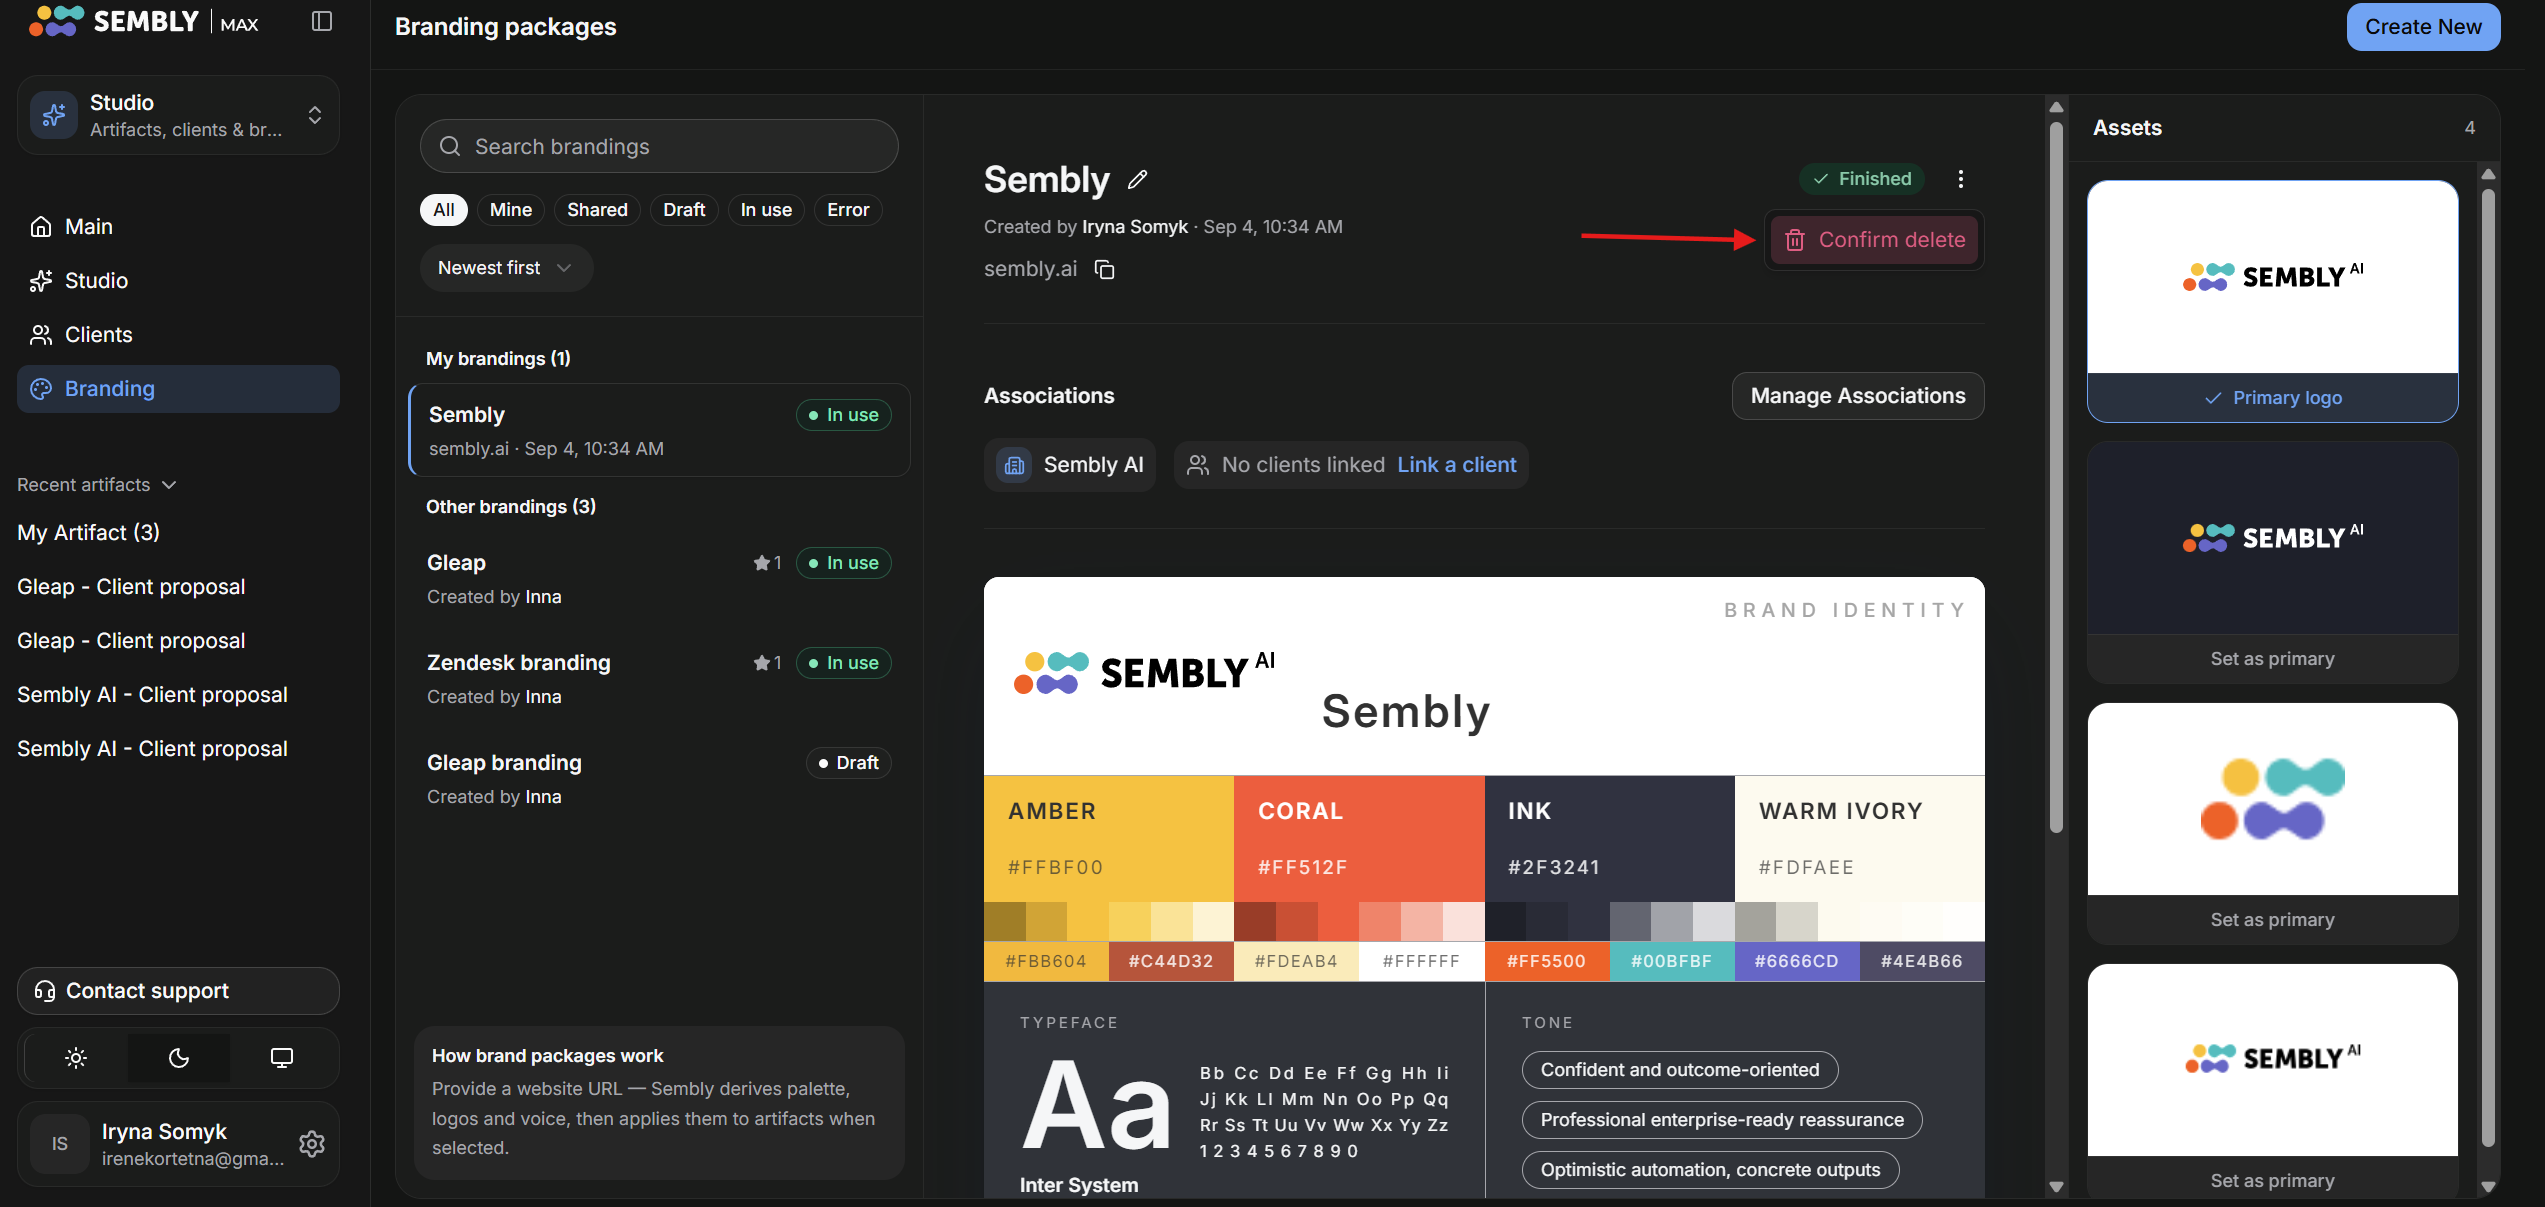
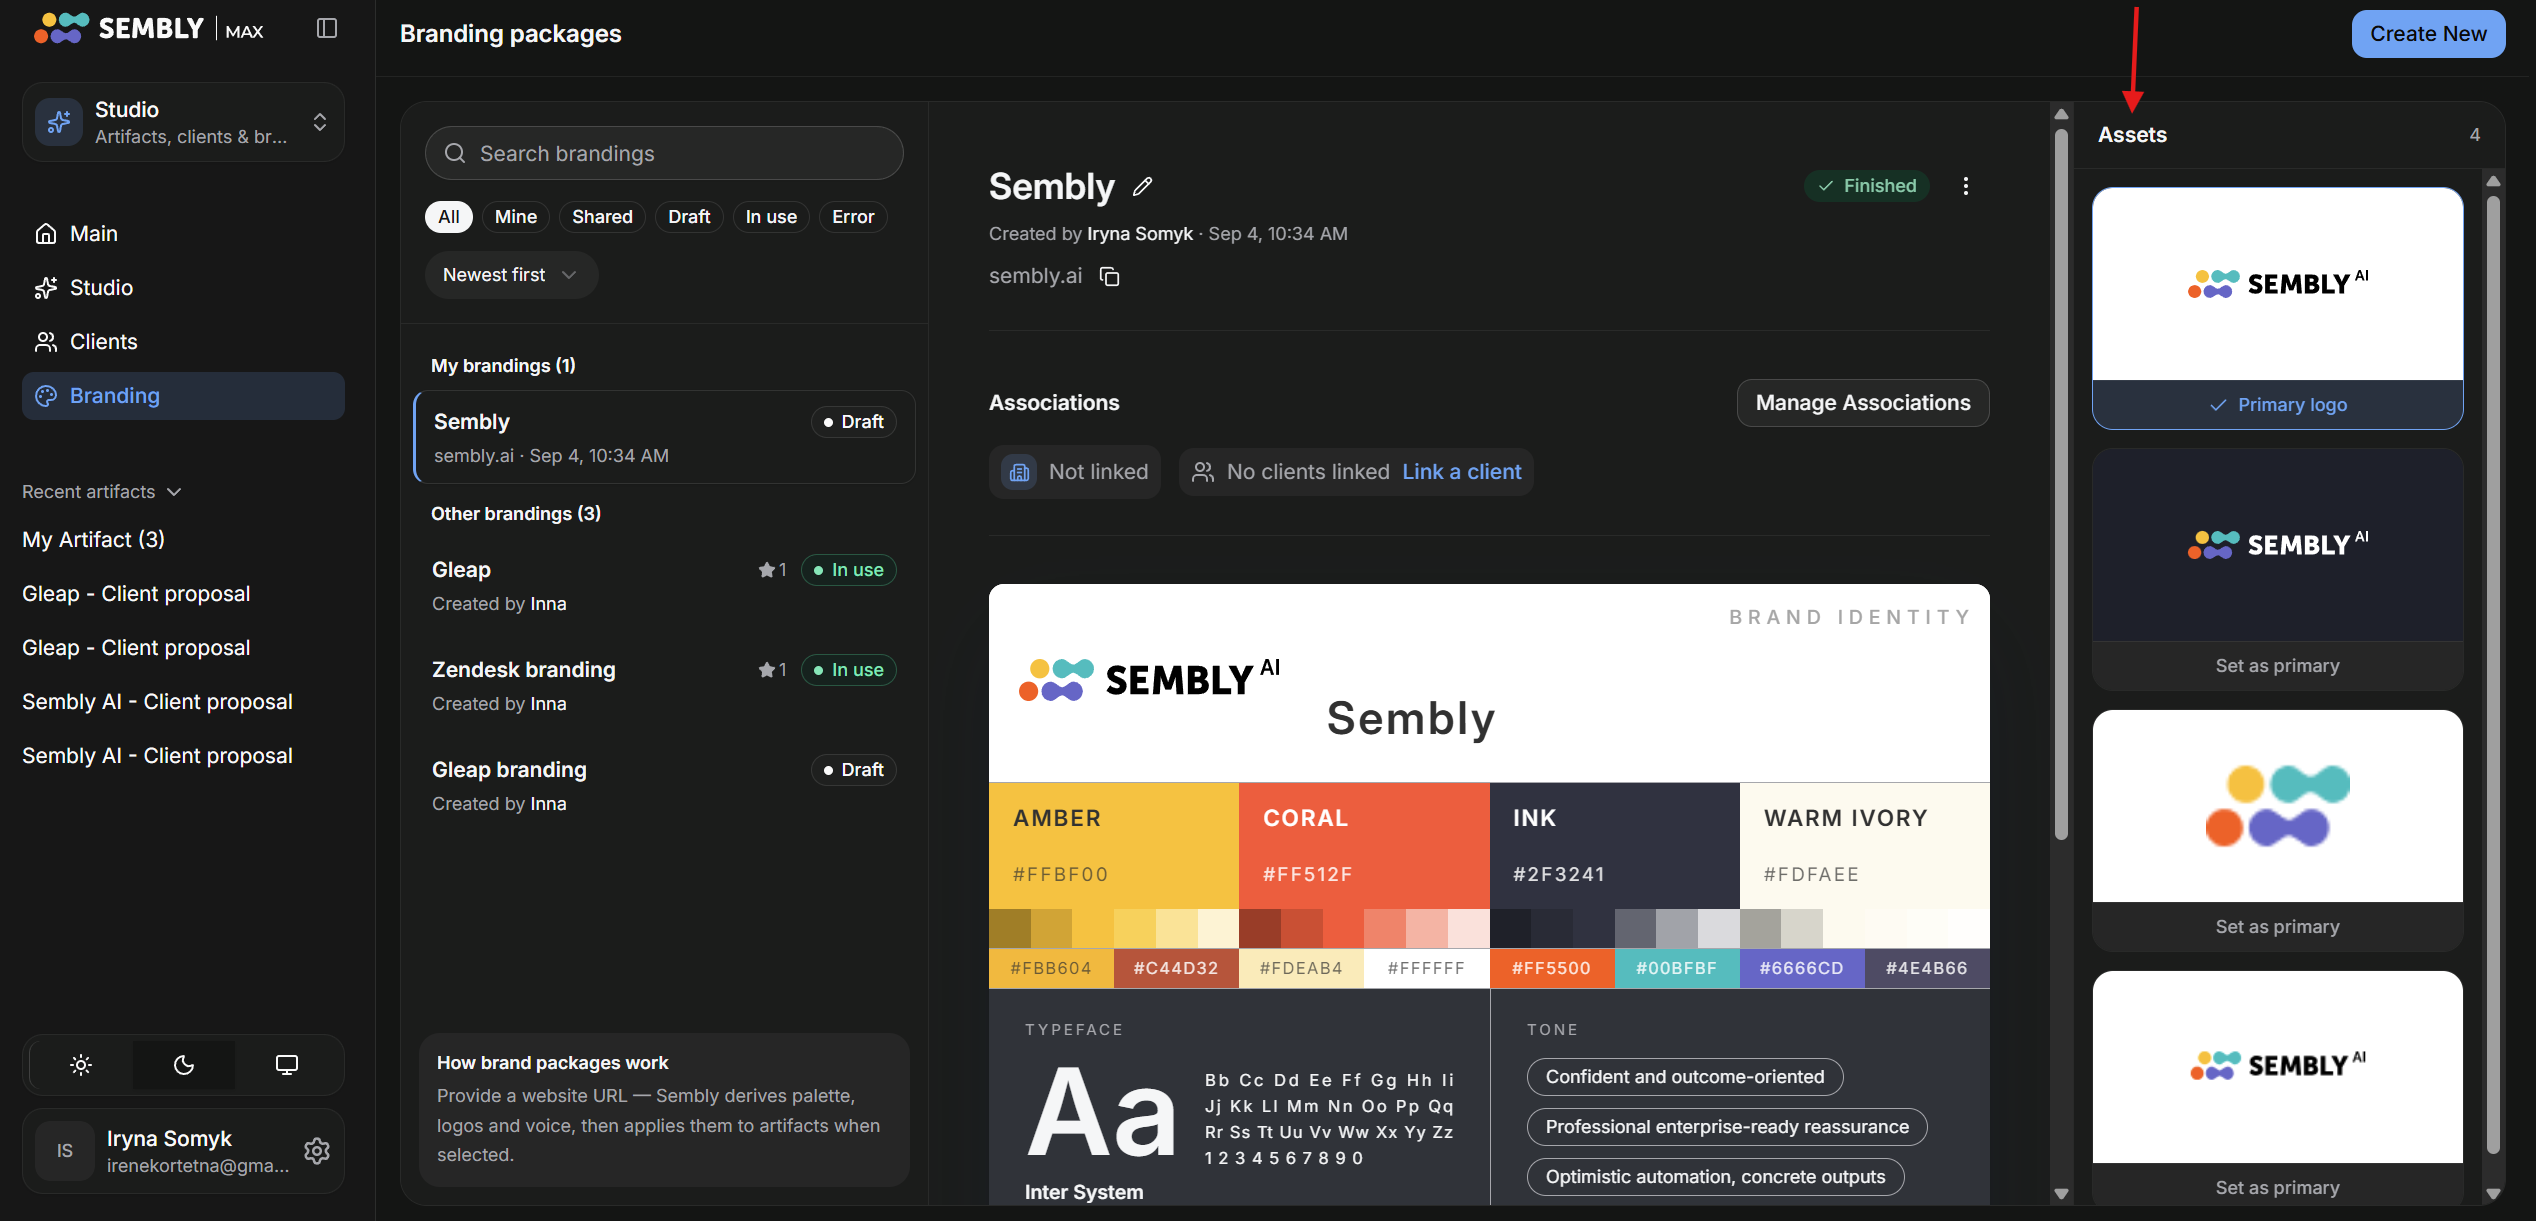
Once it’s finished, you can check the derived branding. You can also set a different primary logo in the Assets bar on the right side, just by clicking on the one you prefer in the list.
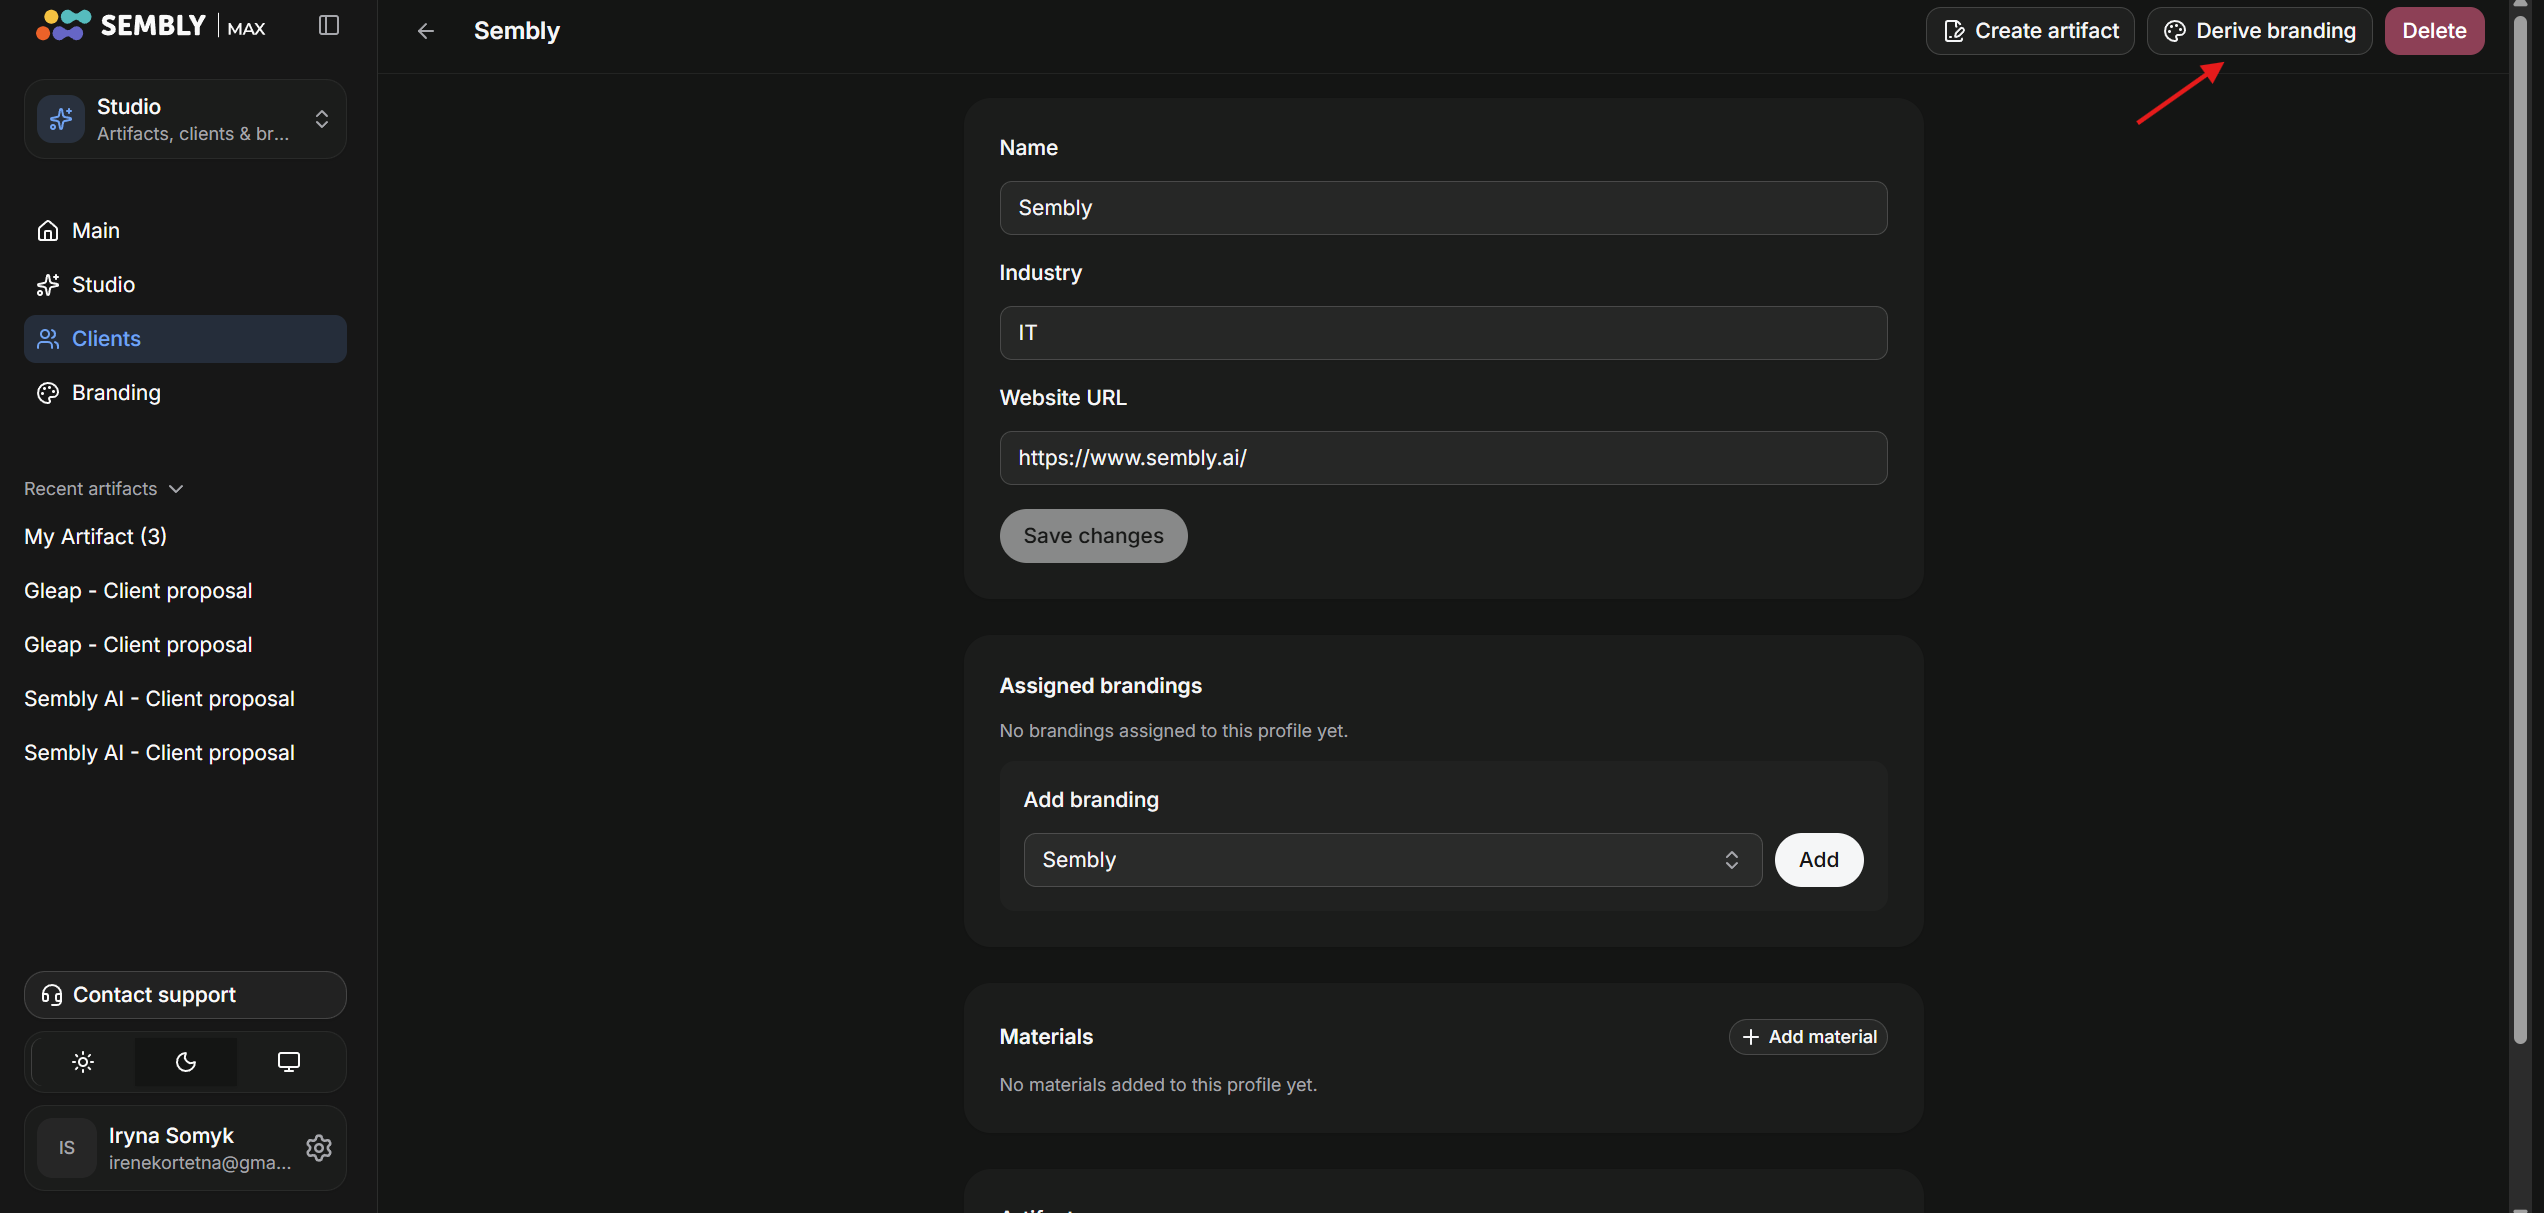
You can also create branding from a client’s profile in the Clients catalog. Click Derive branding and follow the same steps described above.
Go to the Branding page
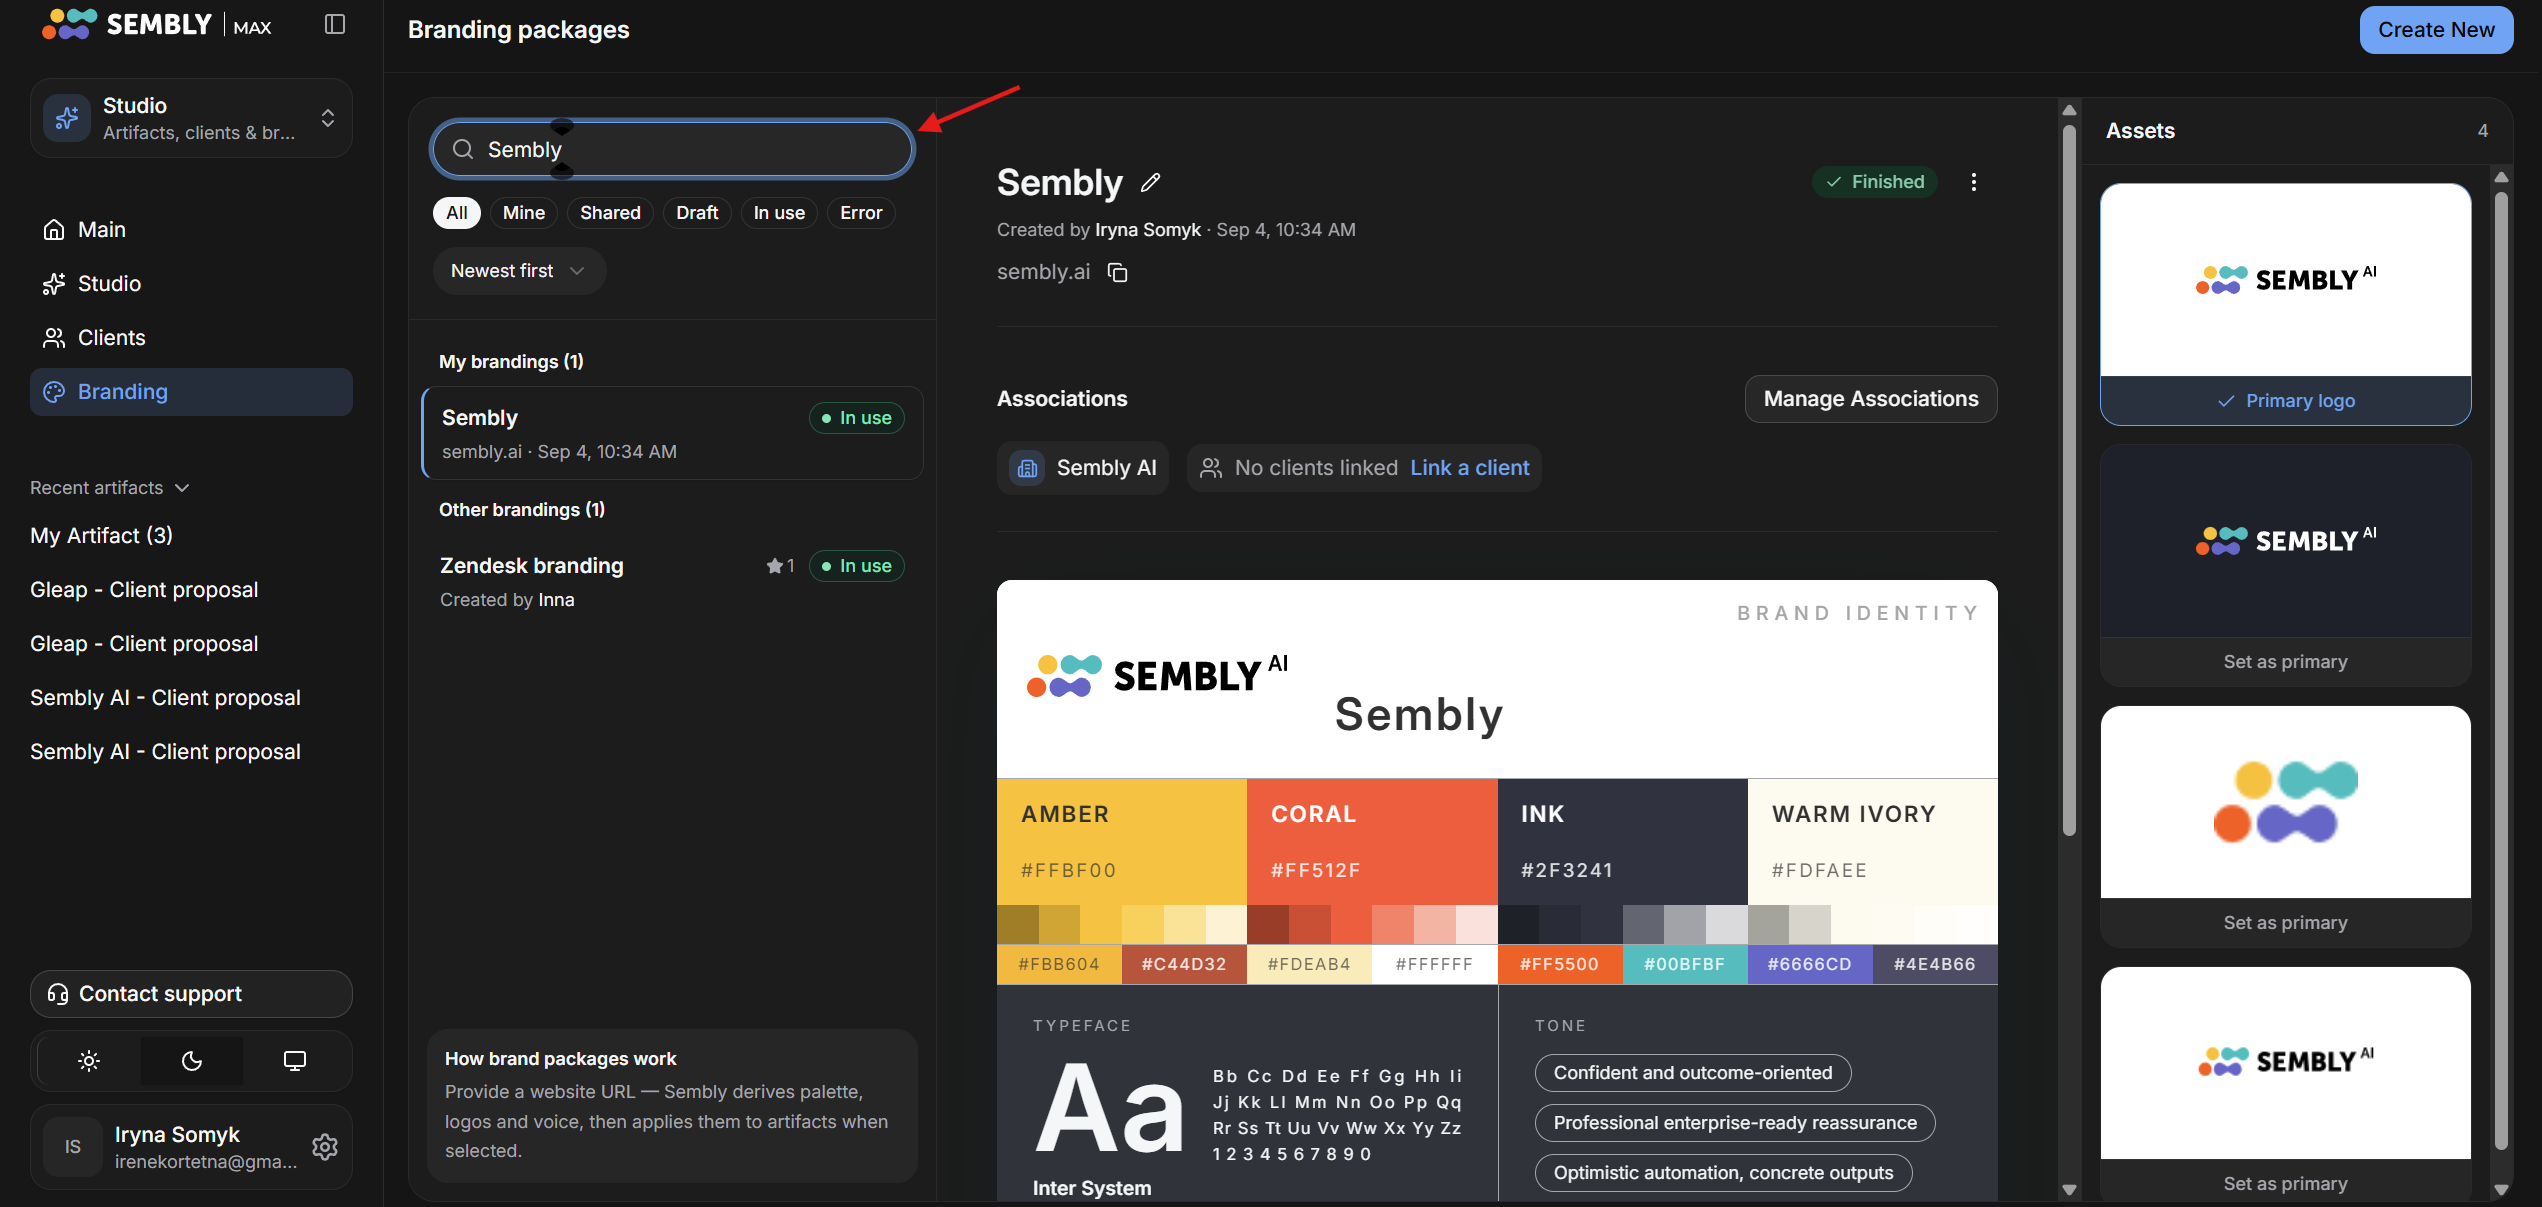
Use the search bar to find the specific branding by name.
Use the Filter to find the branding you need by status. You can also select Newest first or Oldest first to sort by creation time.
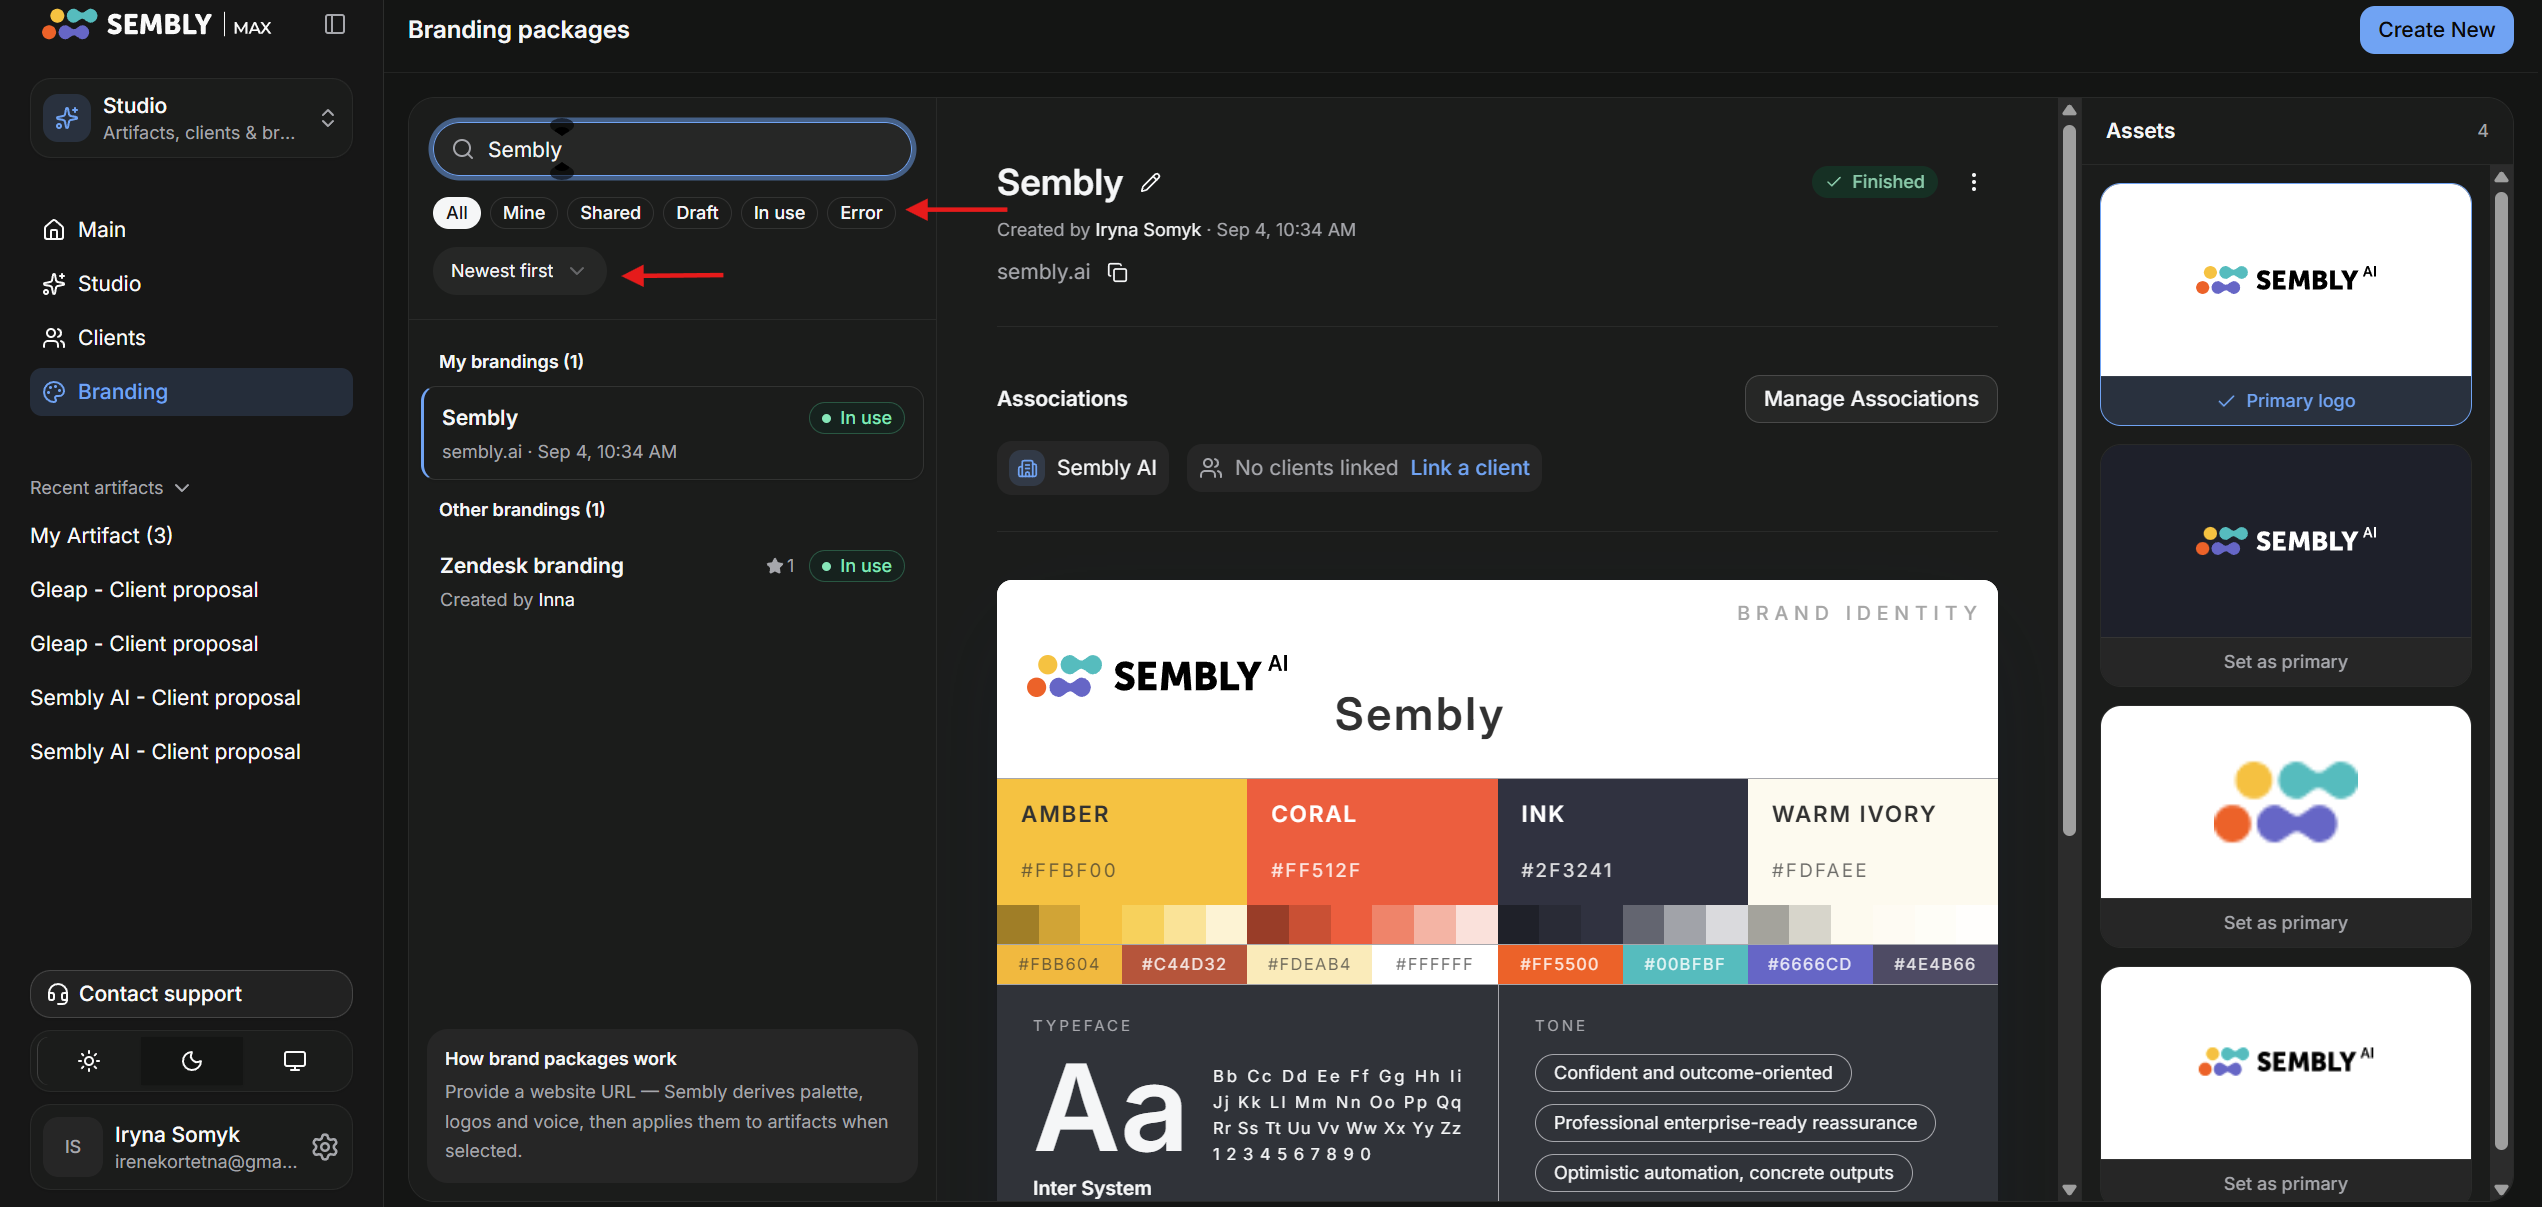
All - shows all the branding made in the Workspace.
Mine - shows only the ones you created.
Shared - all the ones created by other users in the Workspace.
Draft - all the branding that is not assigned to any Client.
In use - all the branding with an assigned Client.
Error - failed branding.
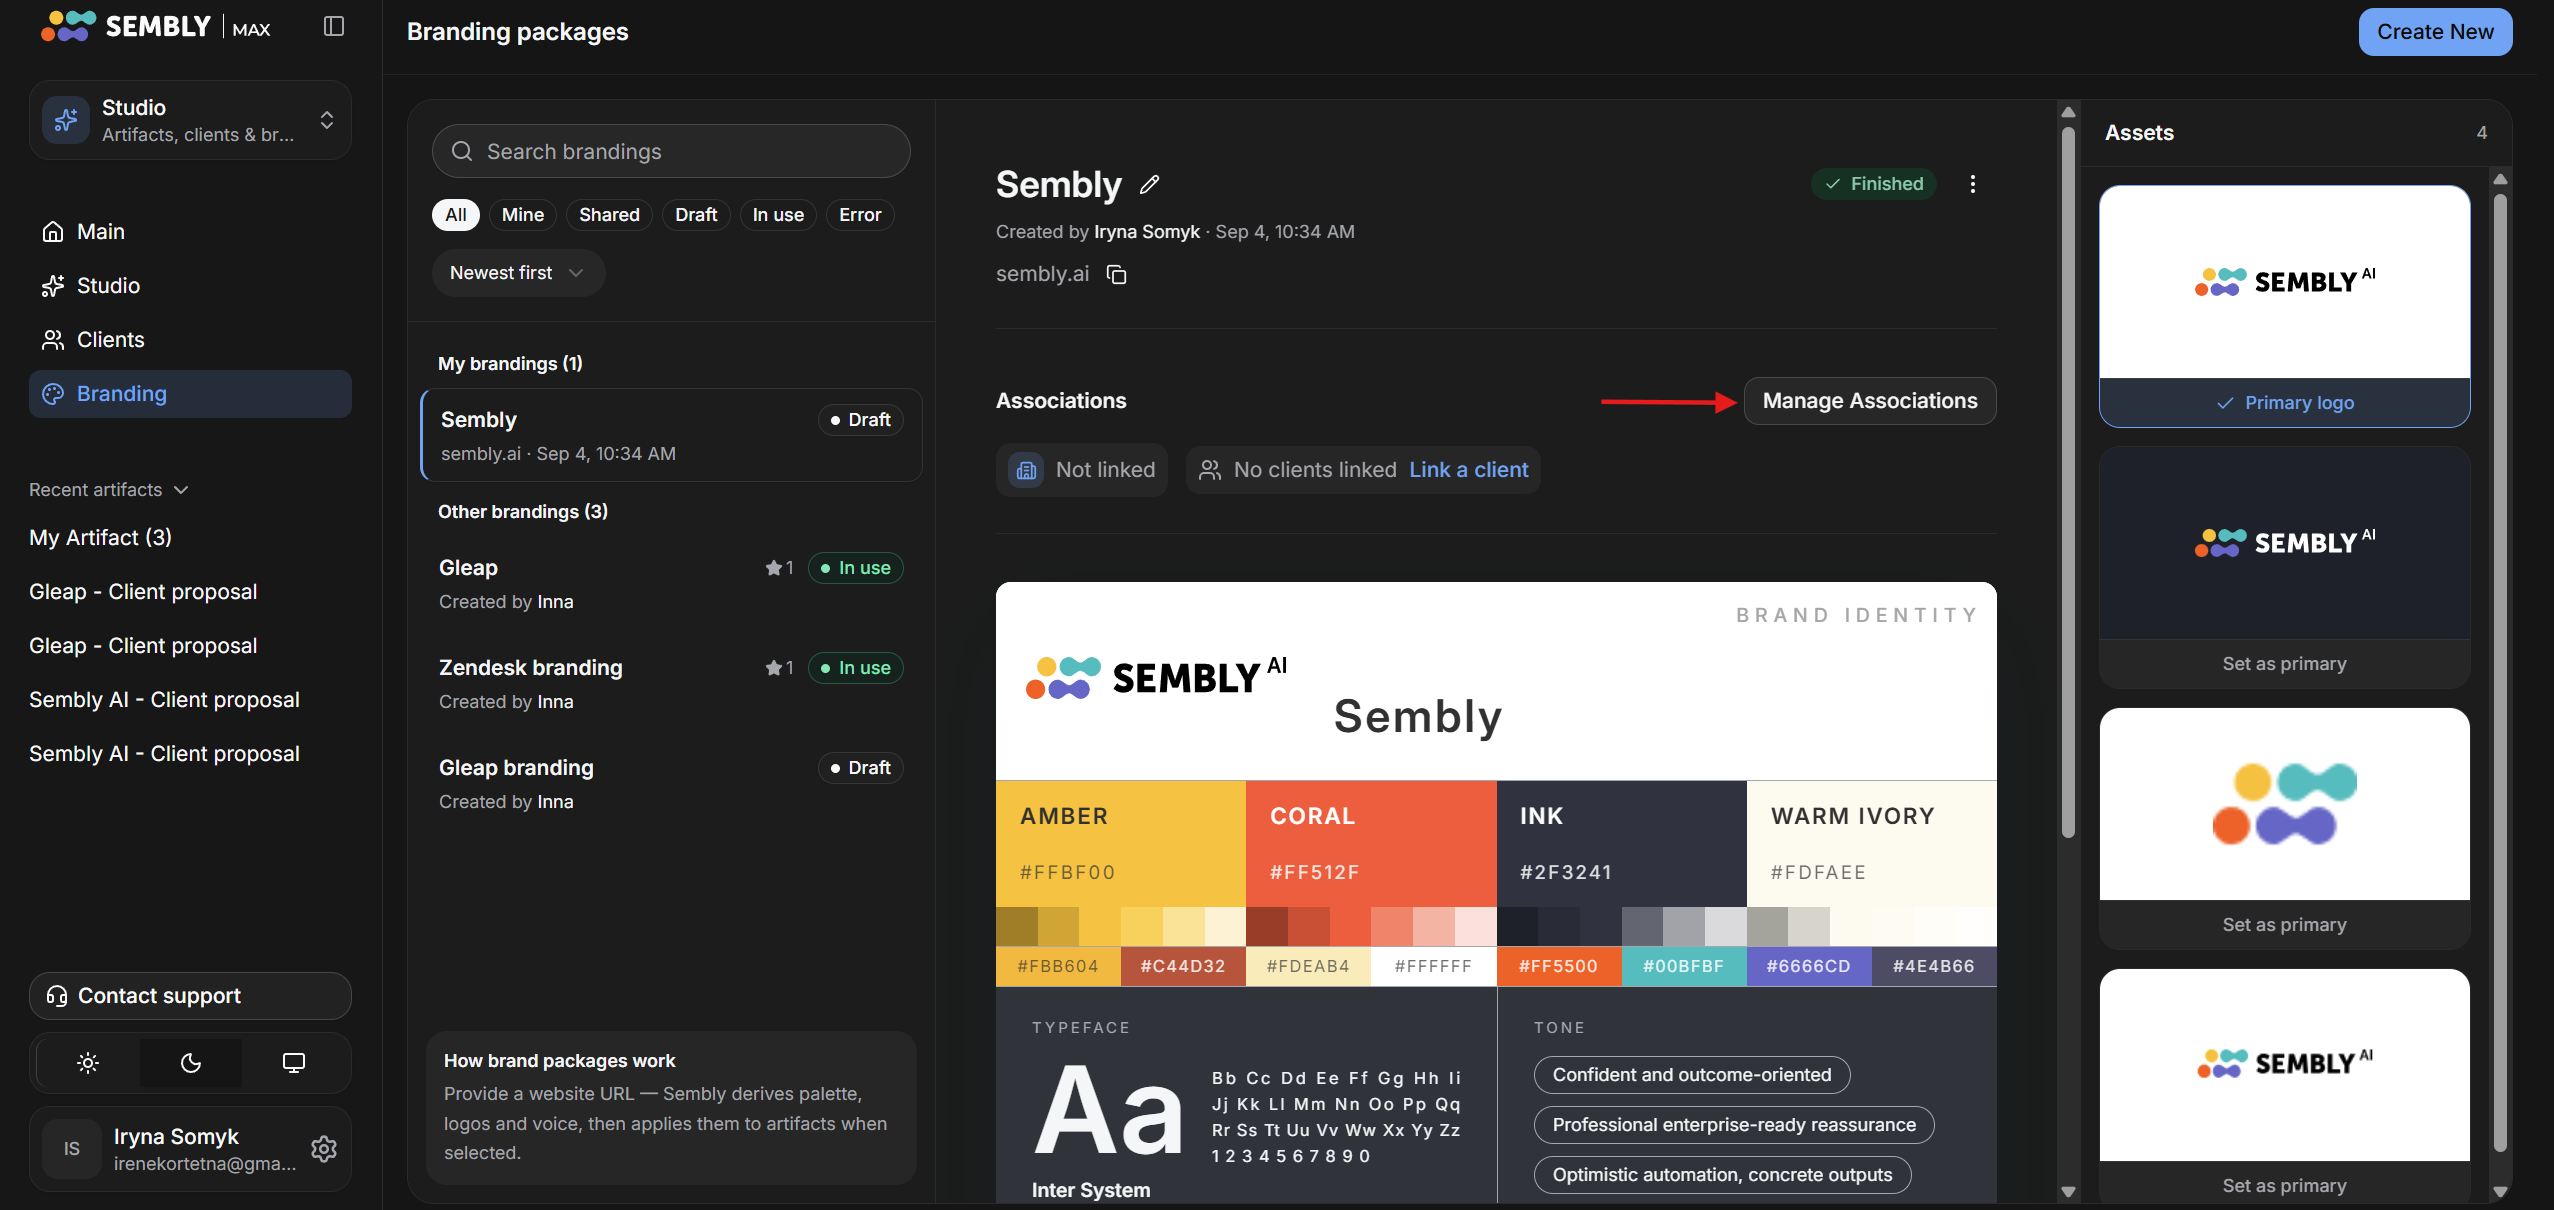
Go to the Branding page and choose any branding in drafts.
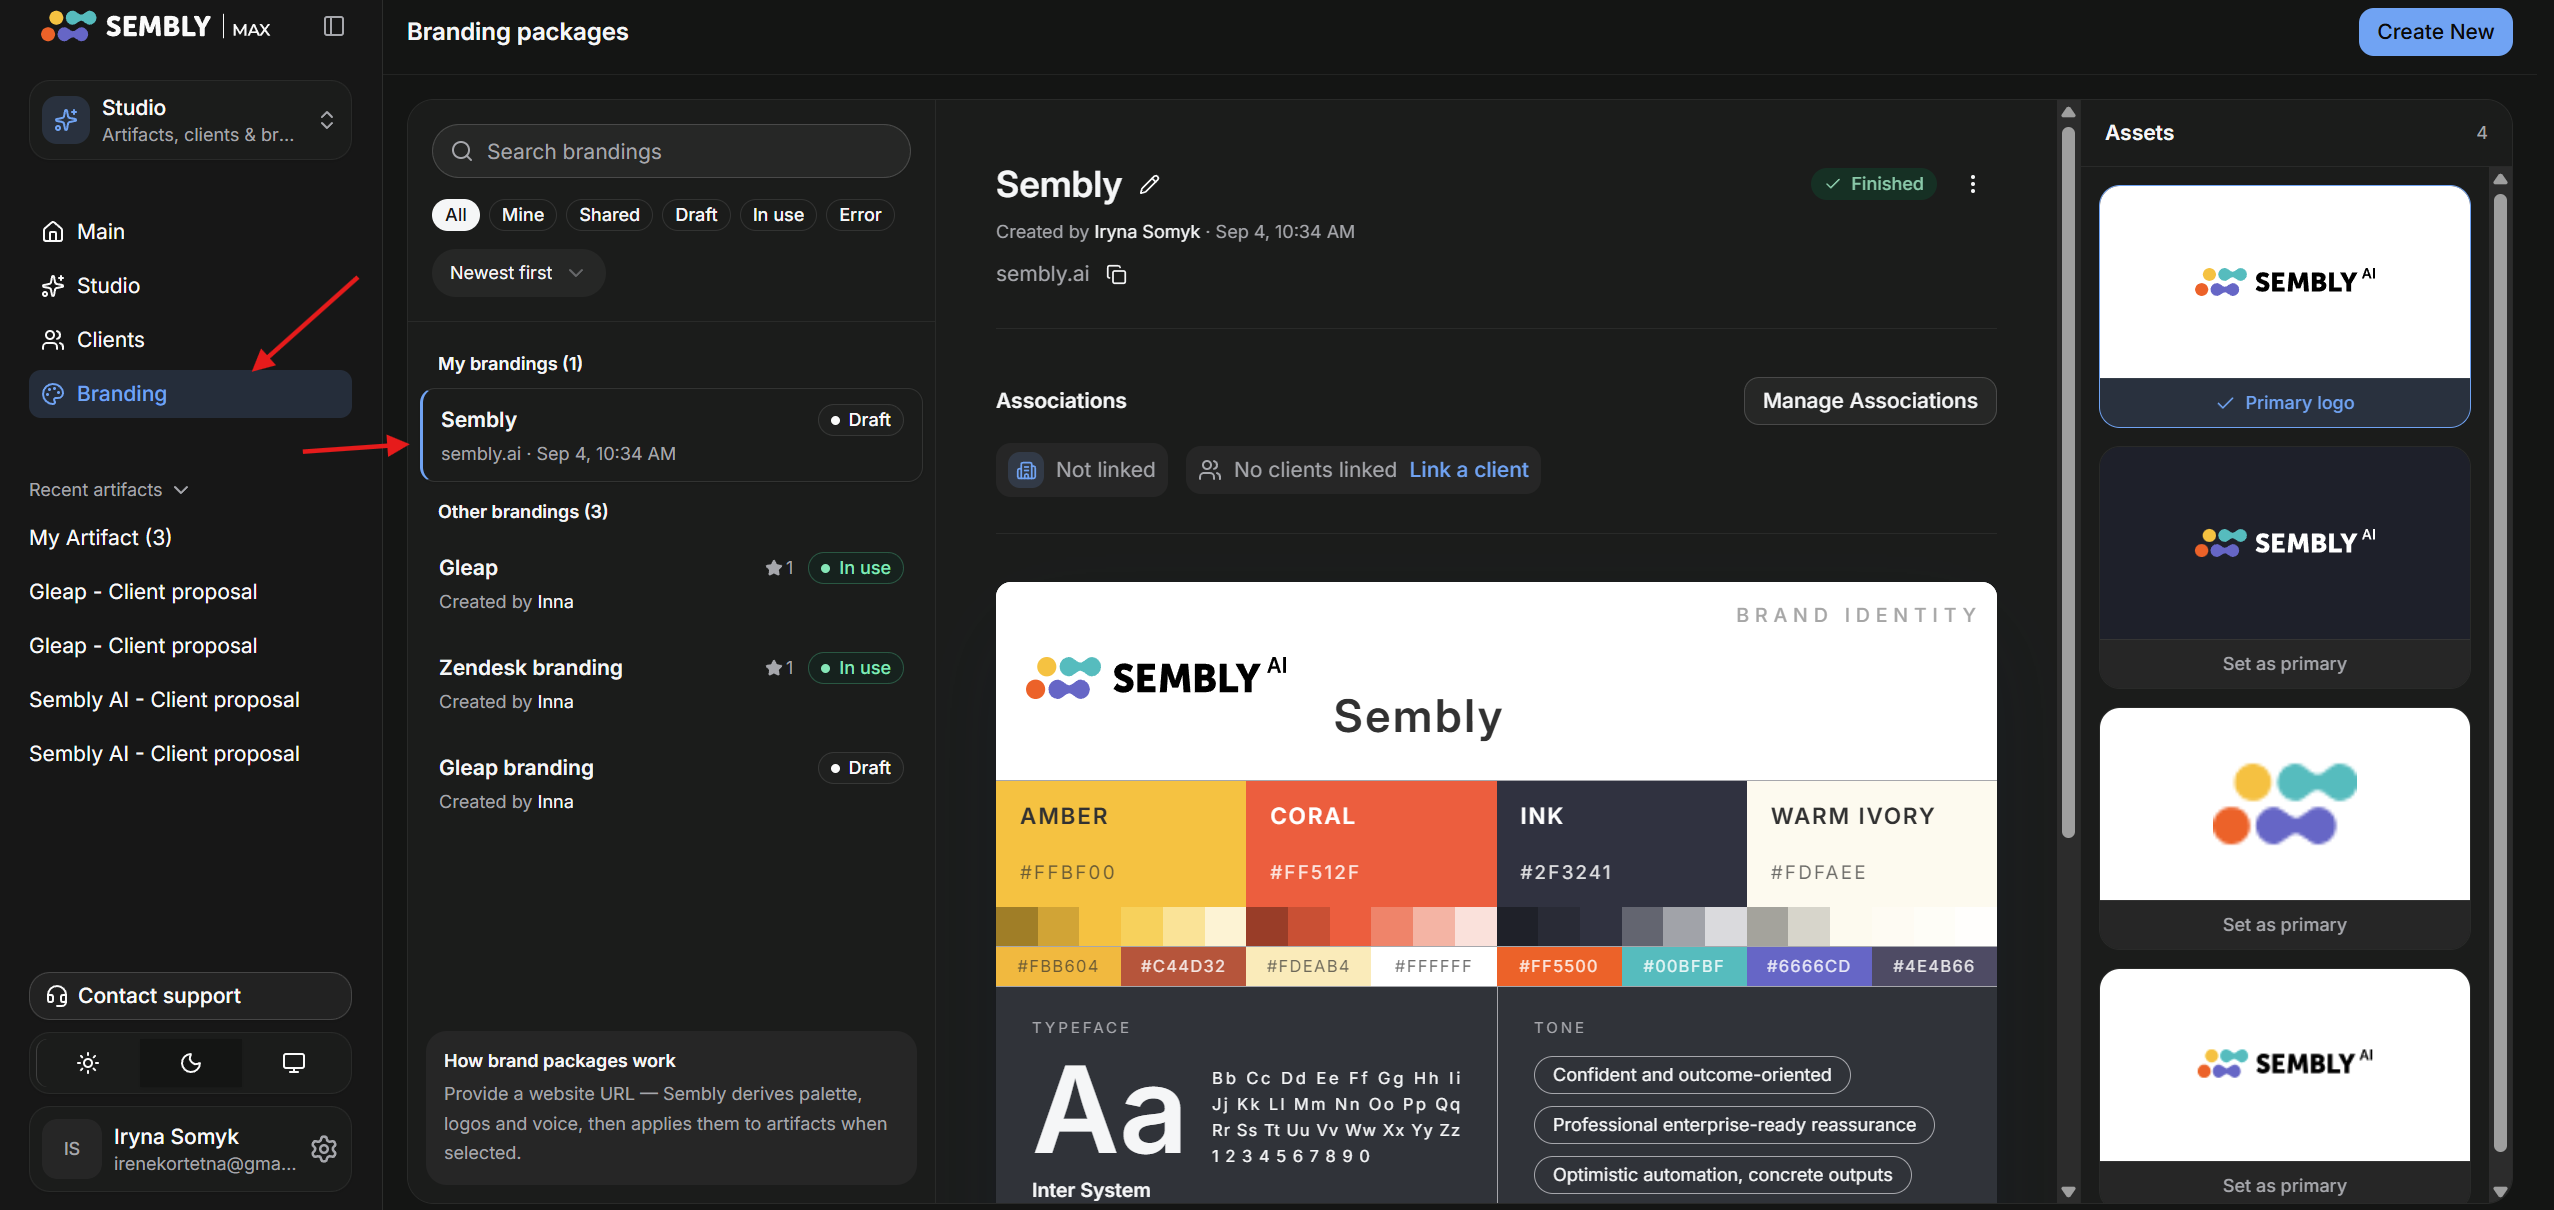
Then click on the Manage Associations button.
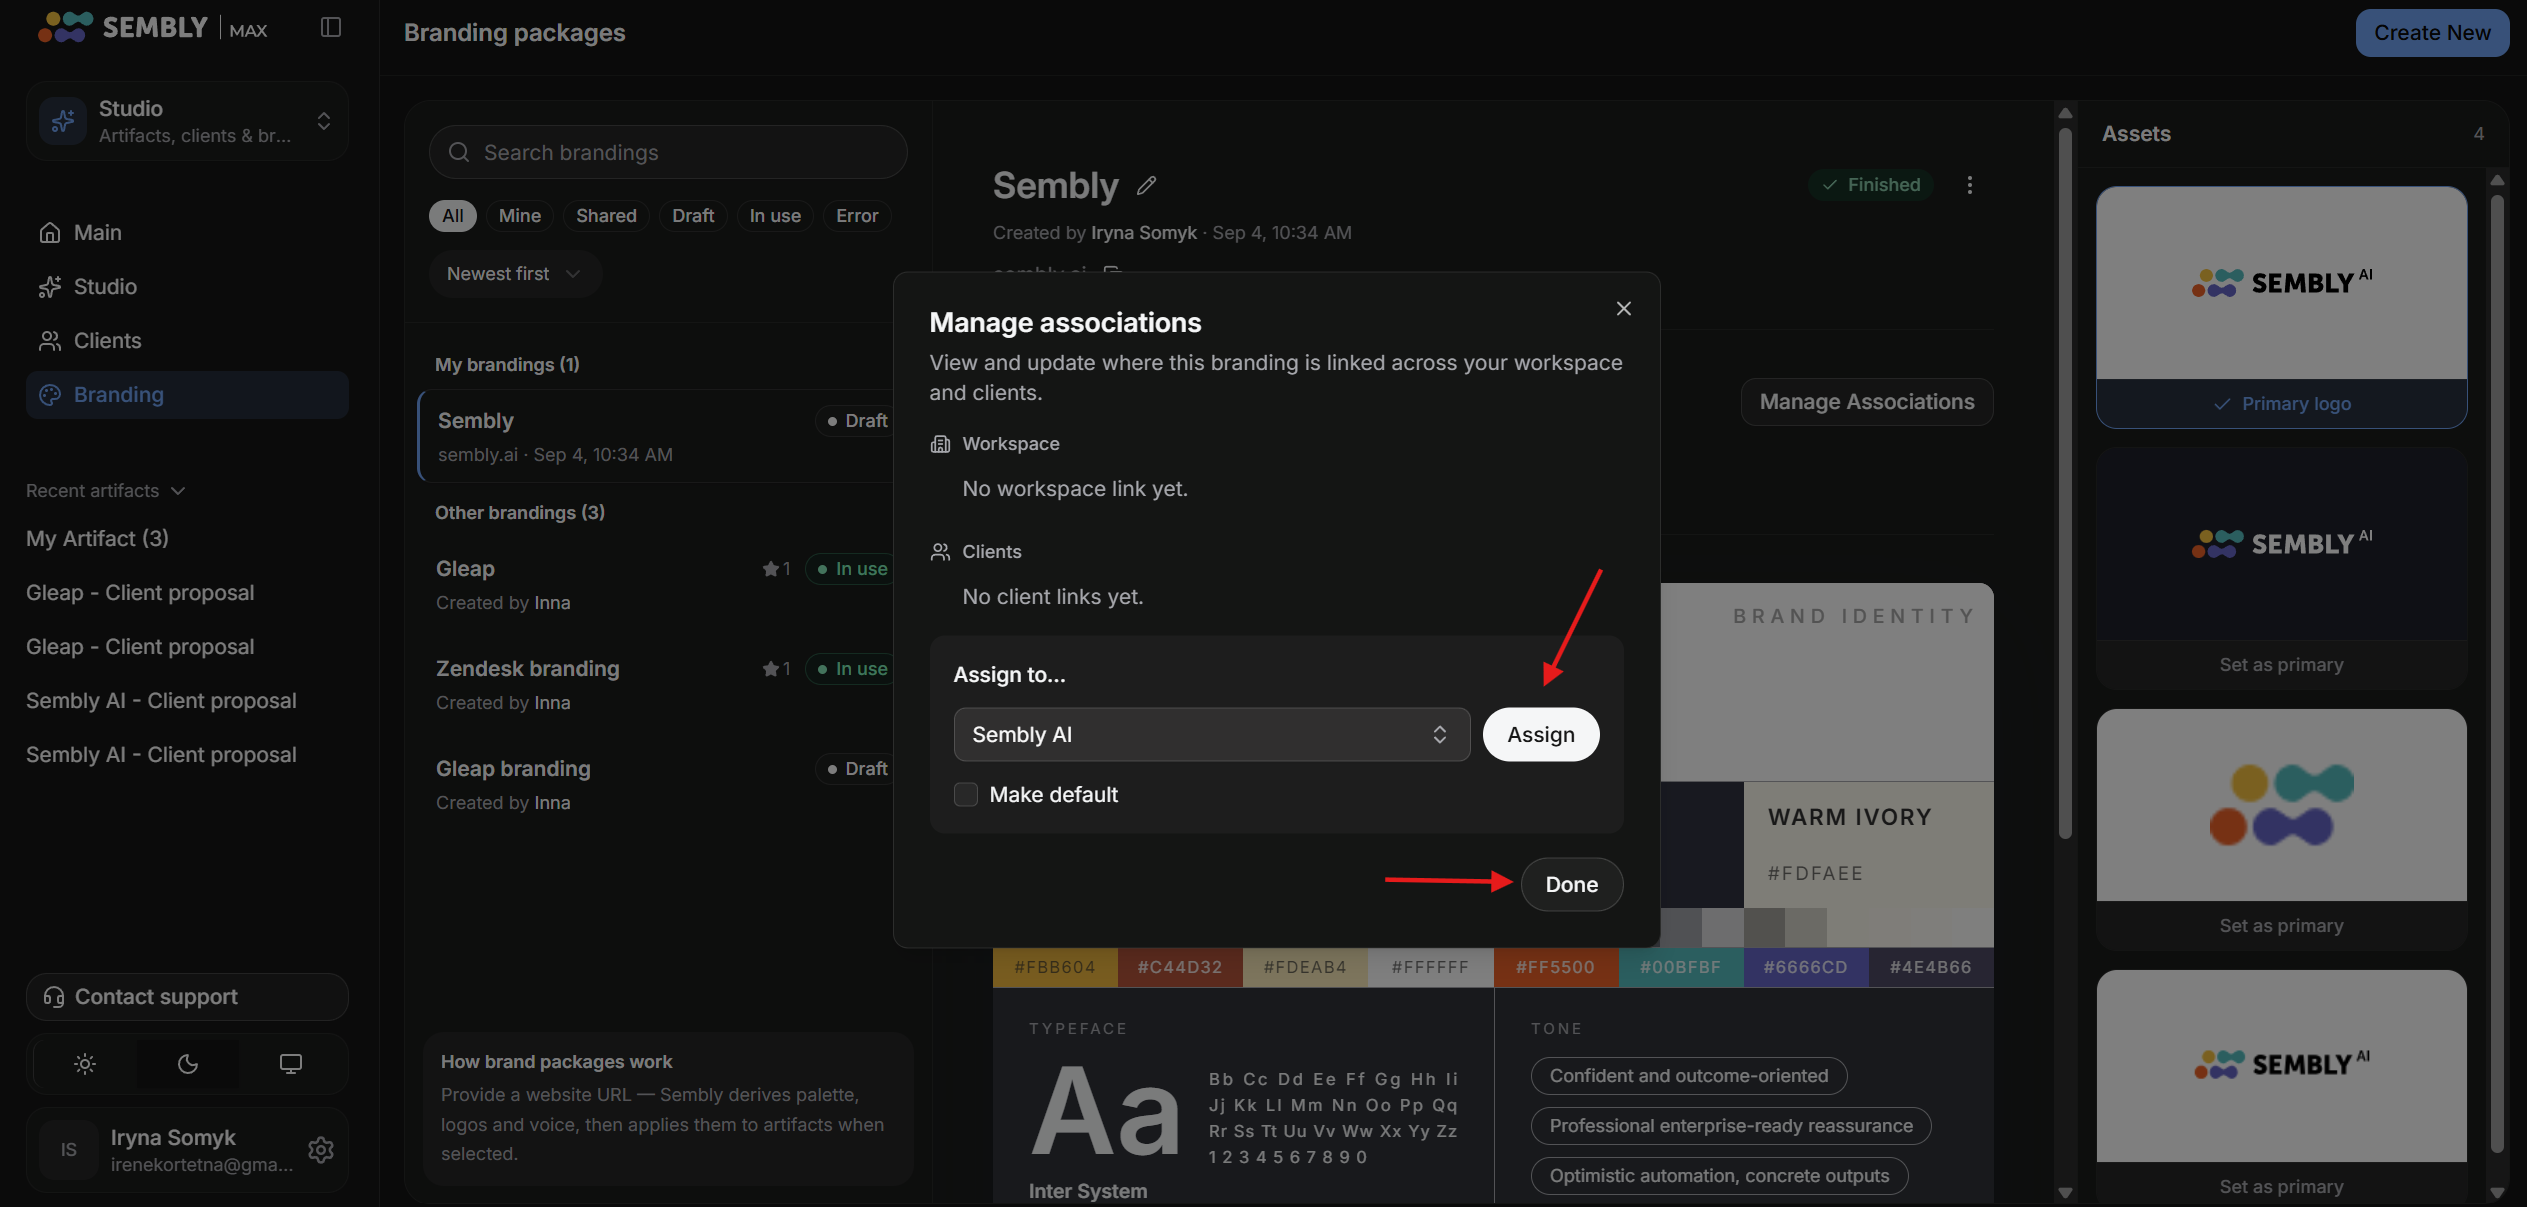
Choose a client from the list to assign this branding to. Press Assign, then click Done.
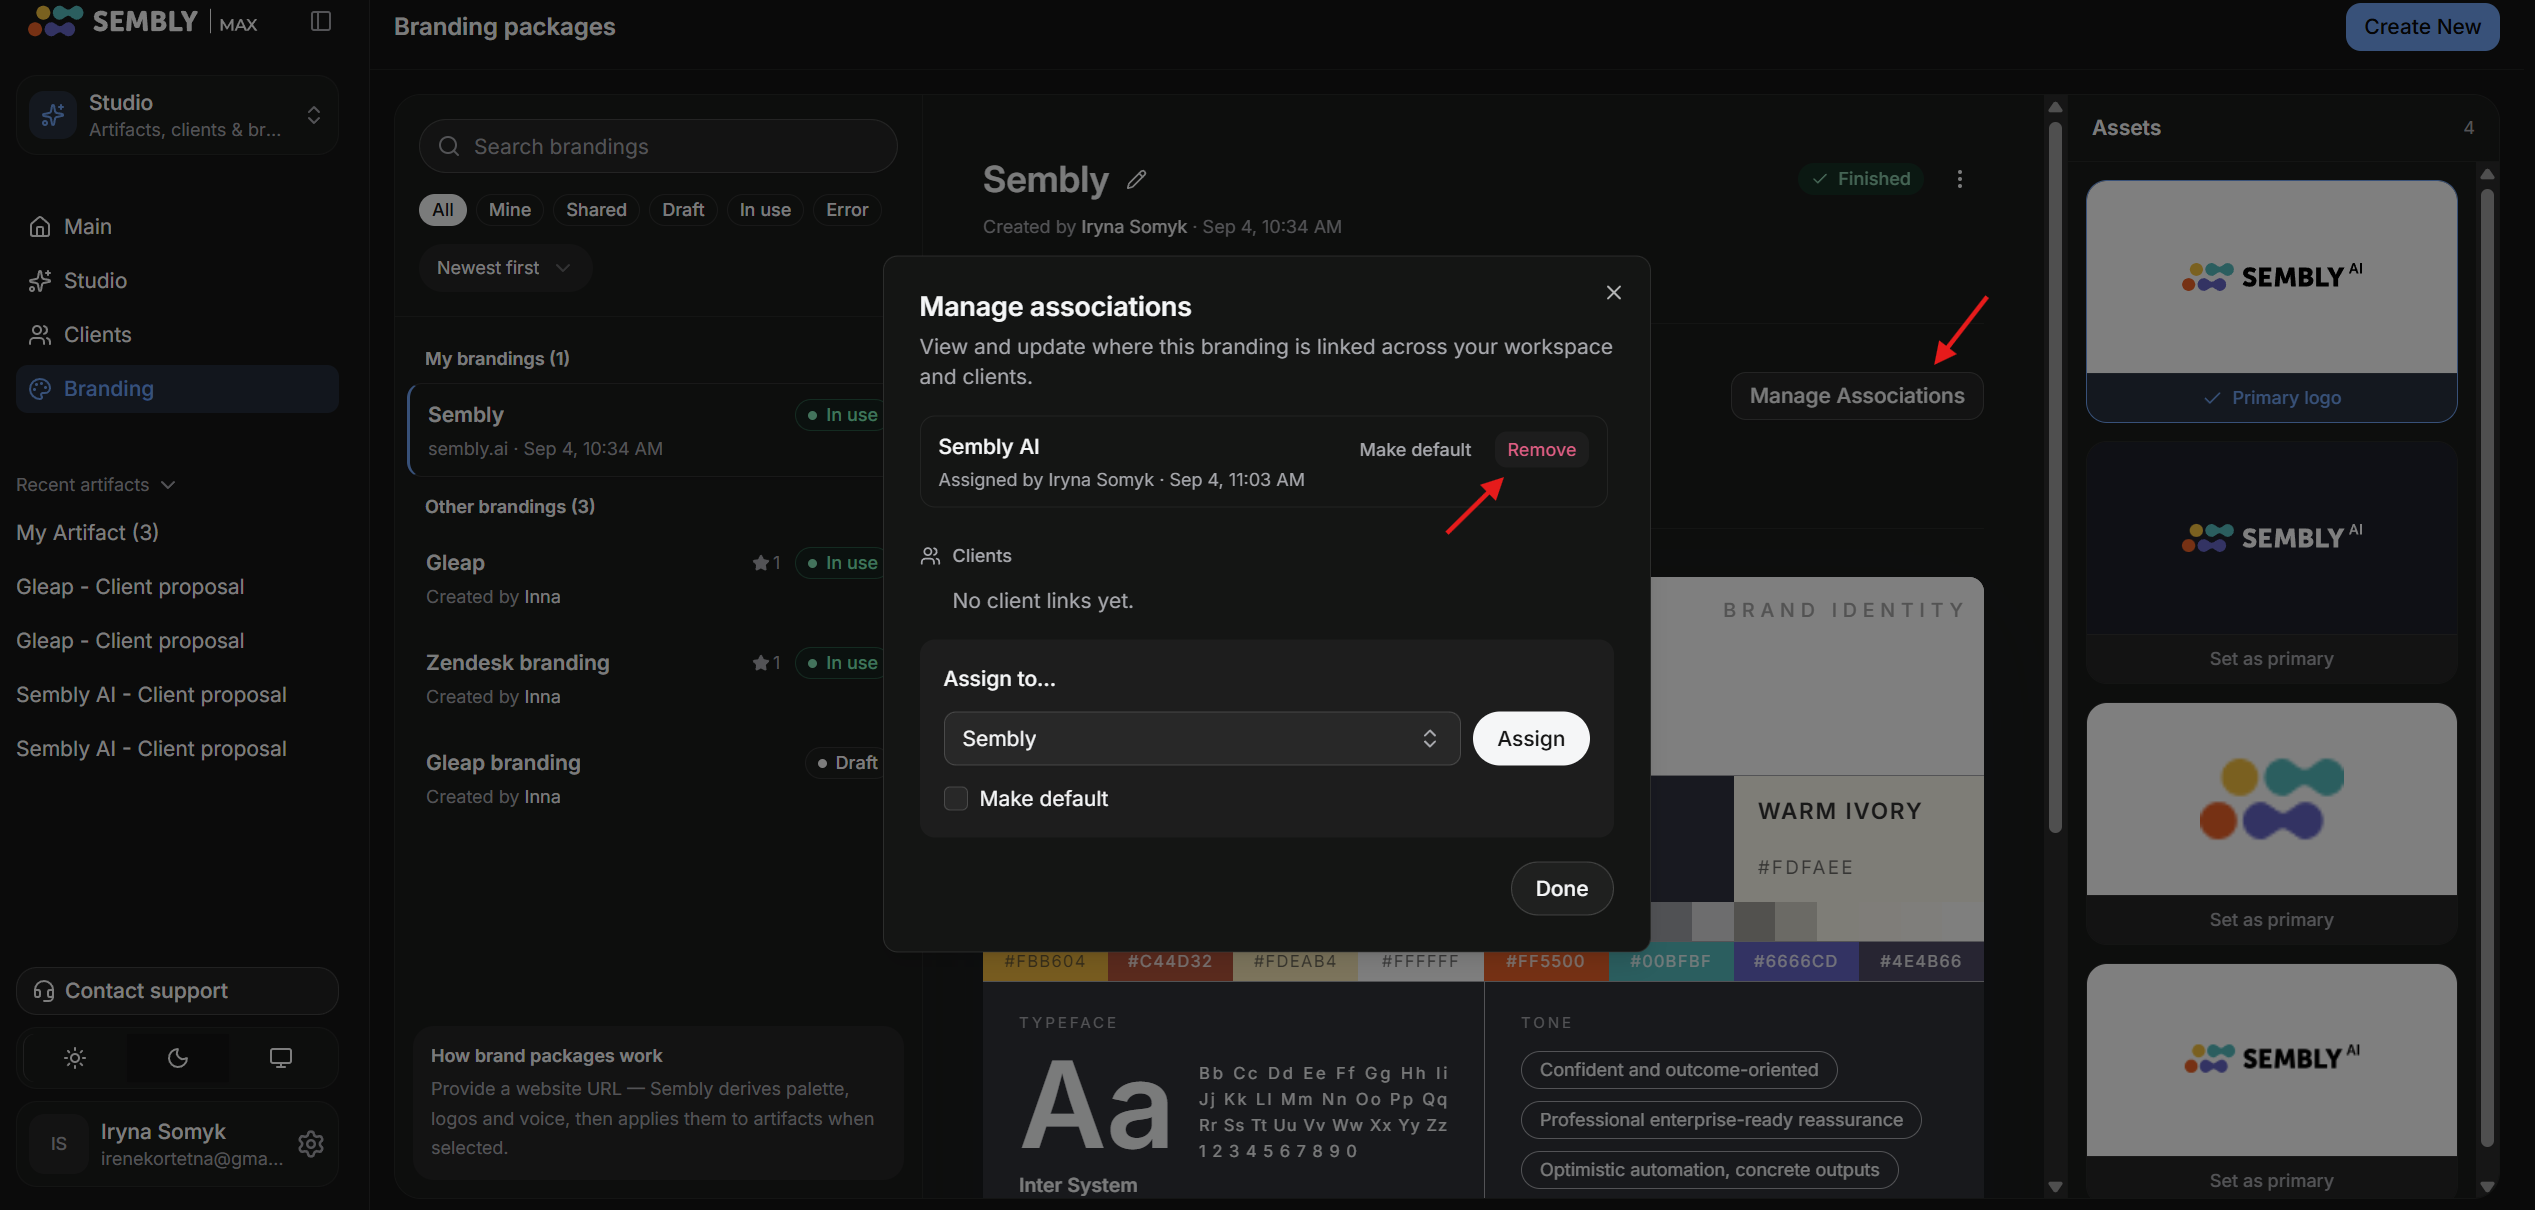
You can always remove the Client from the branding by clicking the Manage Associations button, then clicking Remove near the client name, and it will move to the draft status until you reassign a client to it.
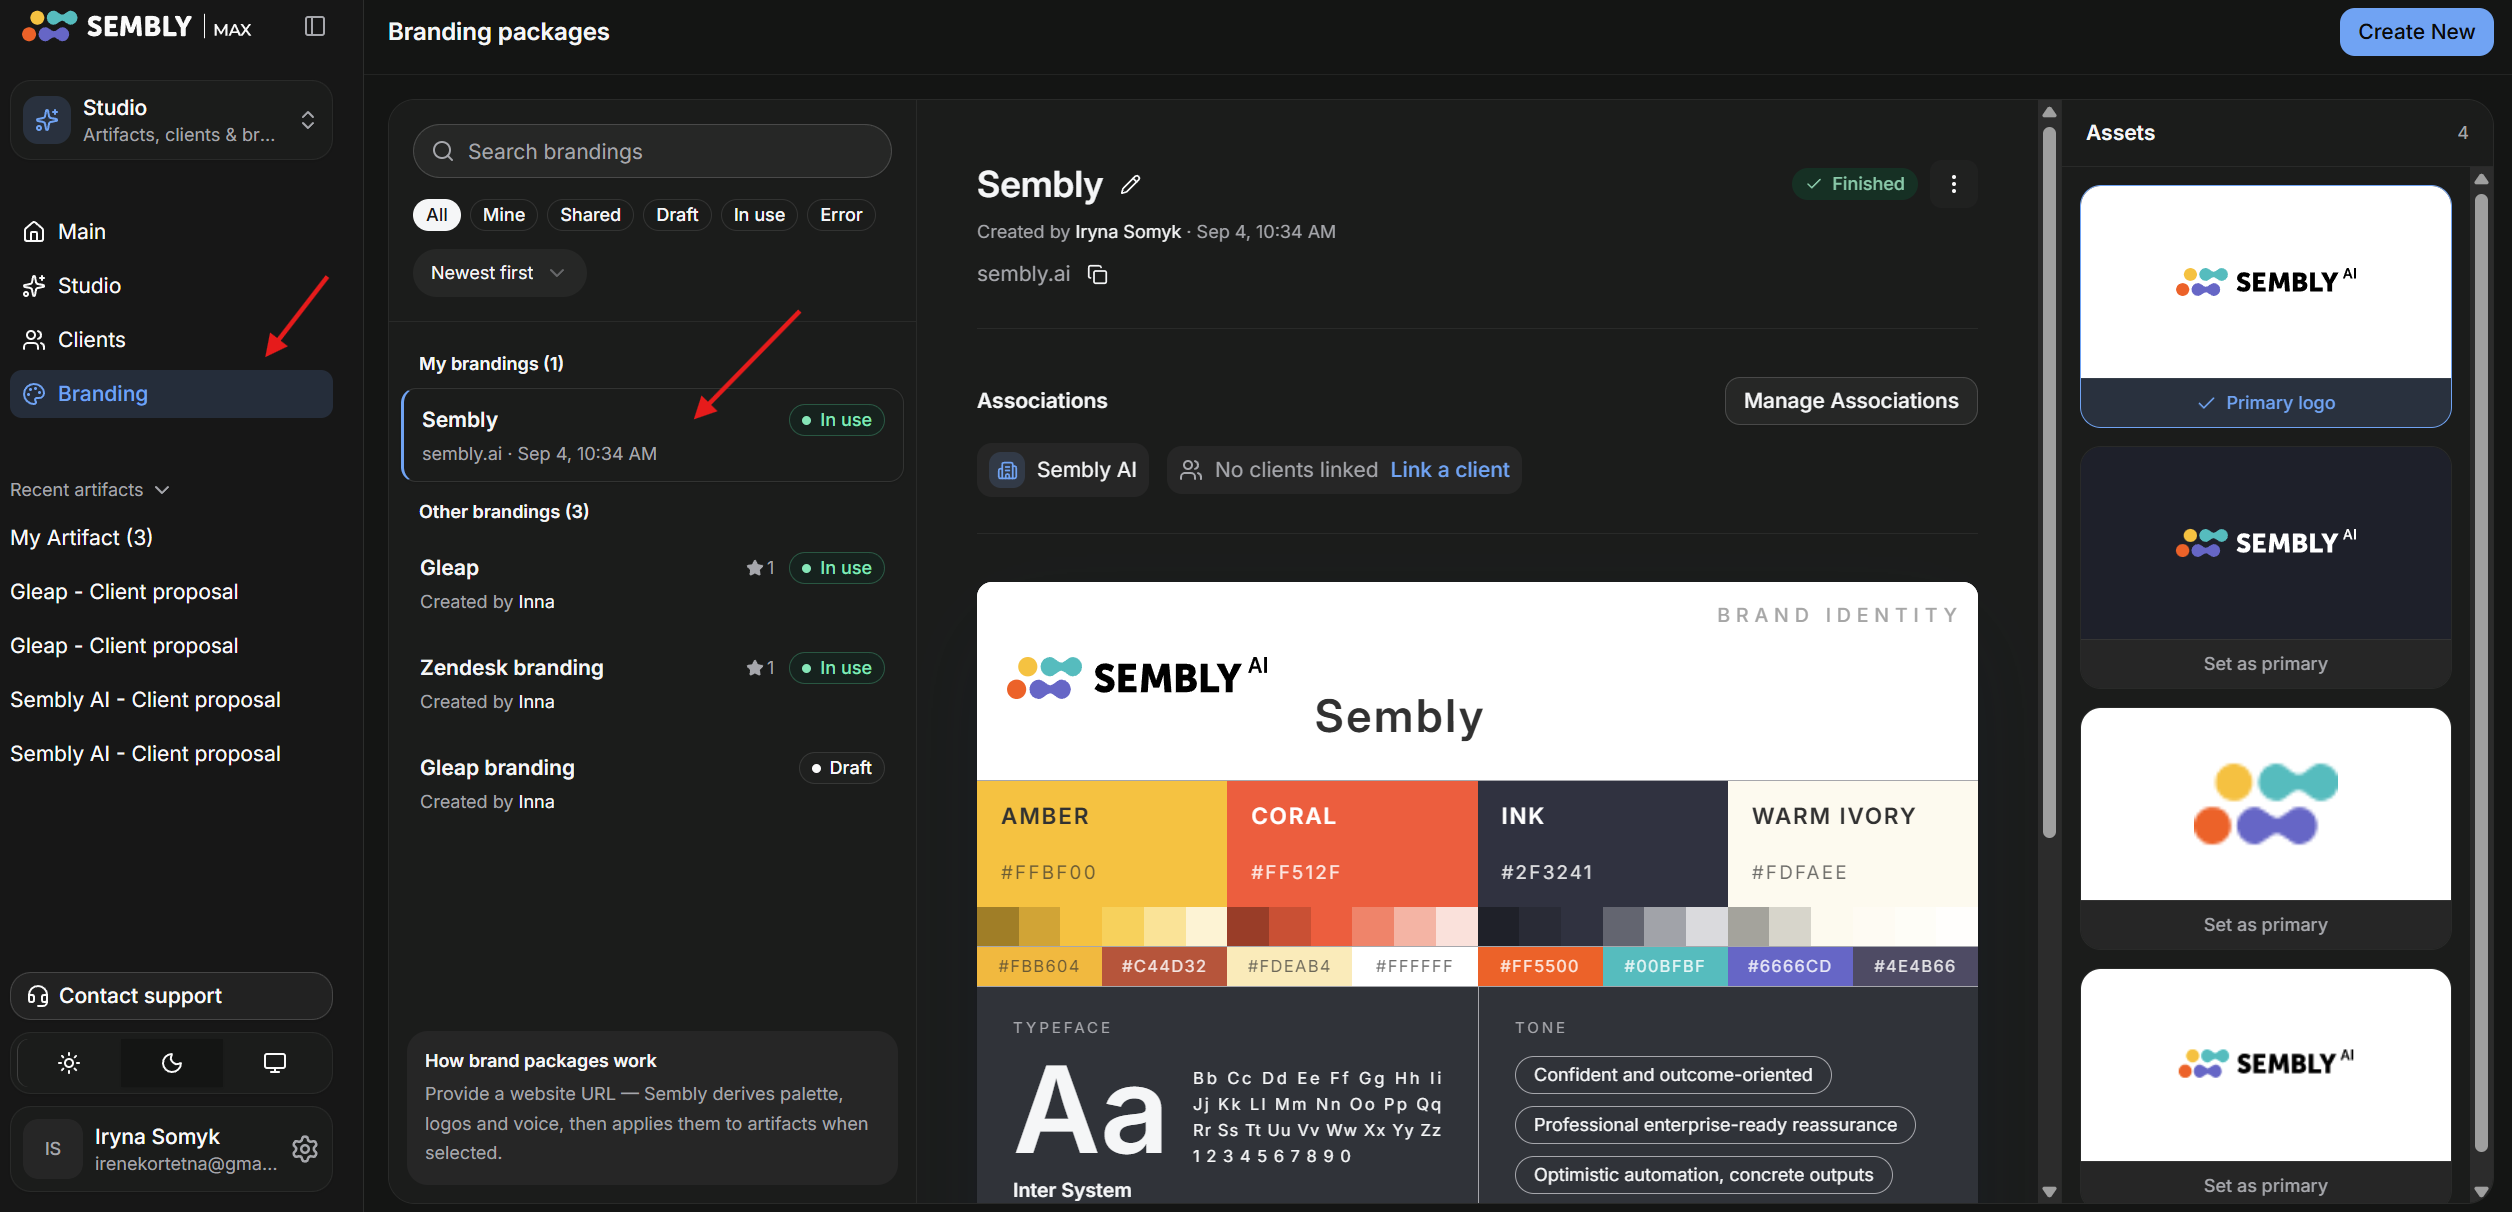
Go to the Branding page and choose the branding you want to delete.
Click on the three dots on the right side of the branding’s name and click the Delete button.
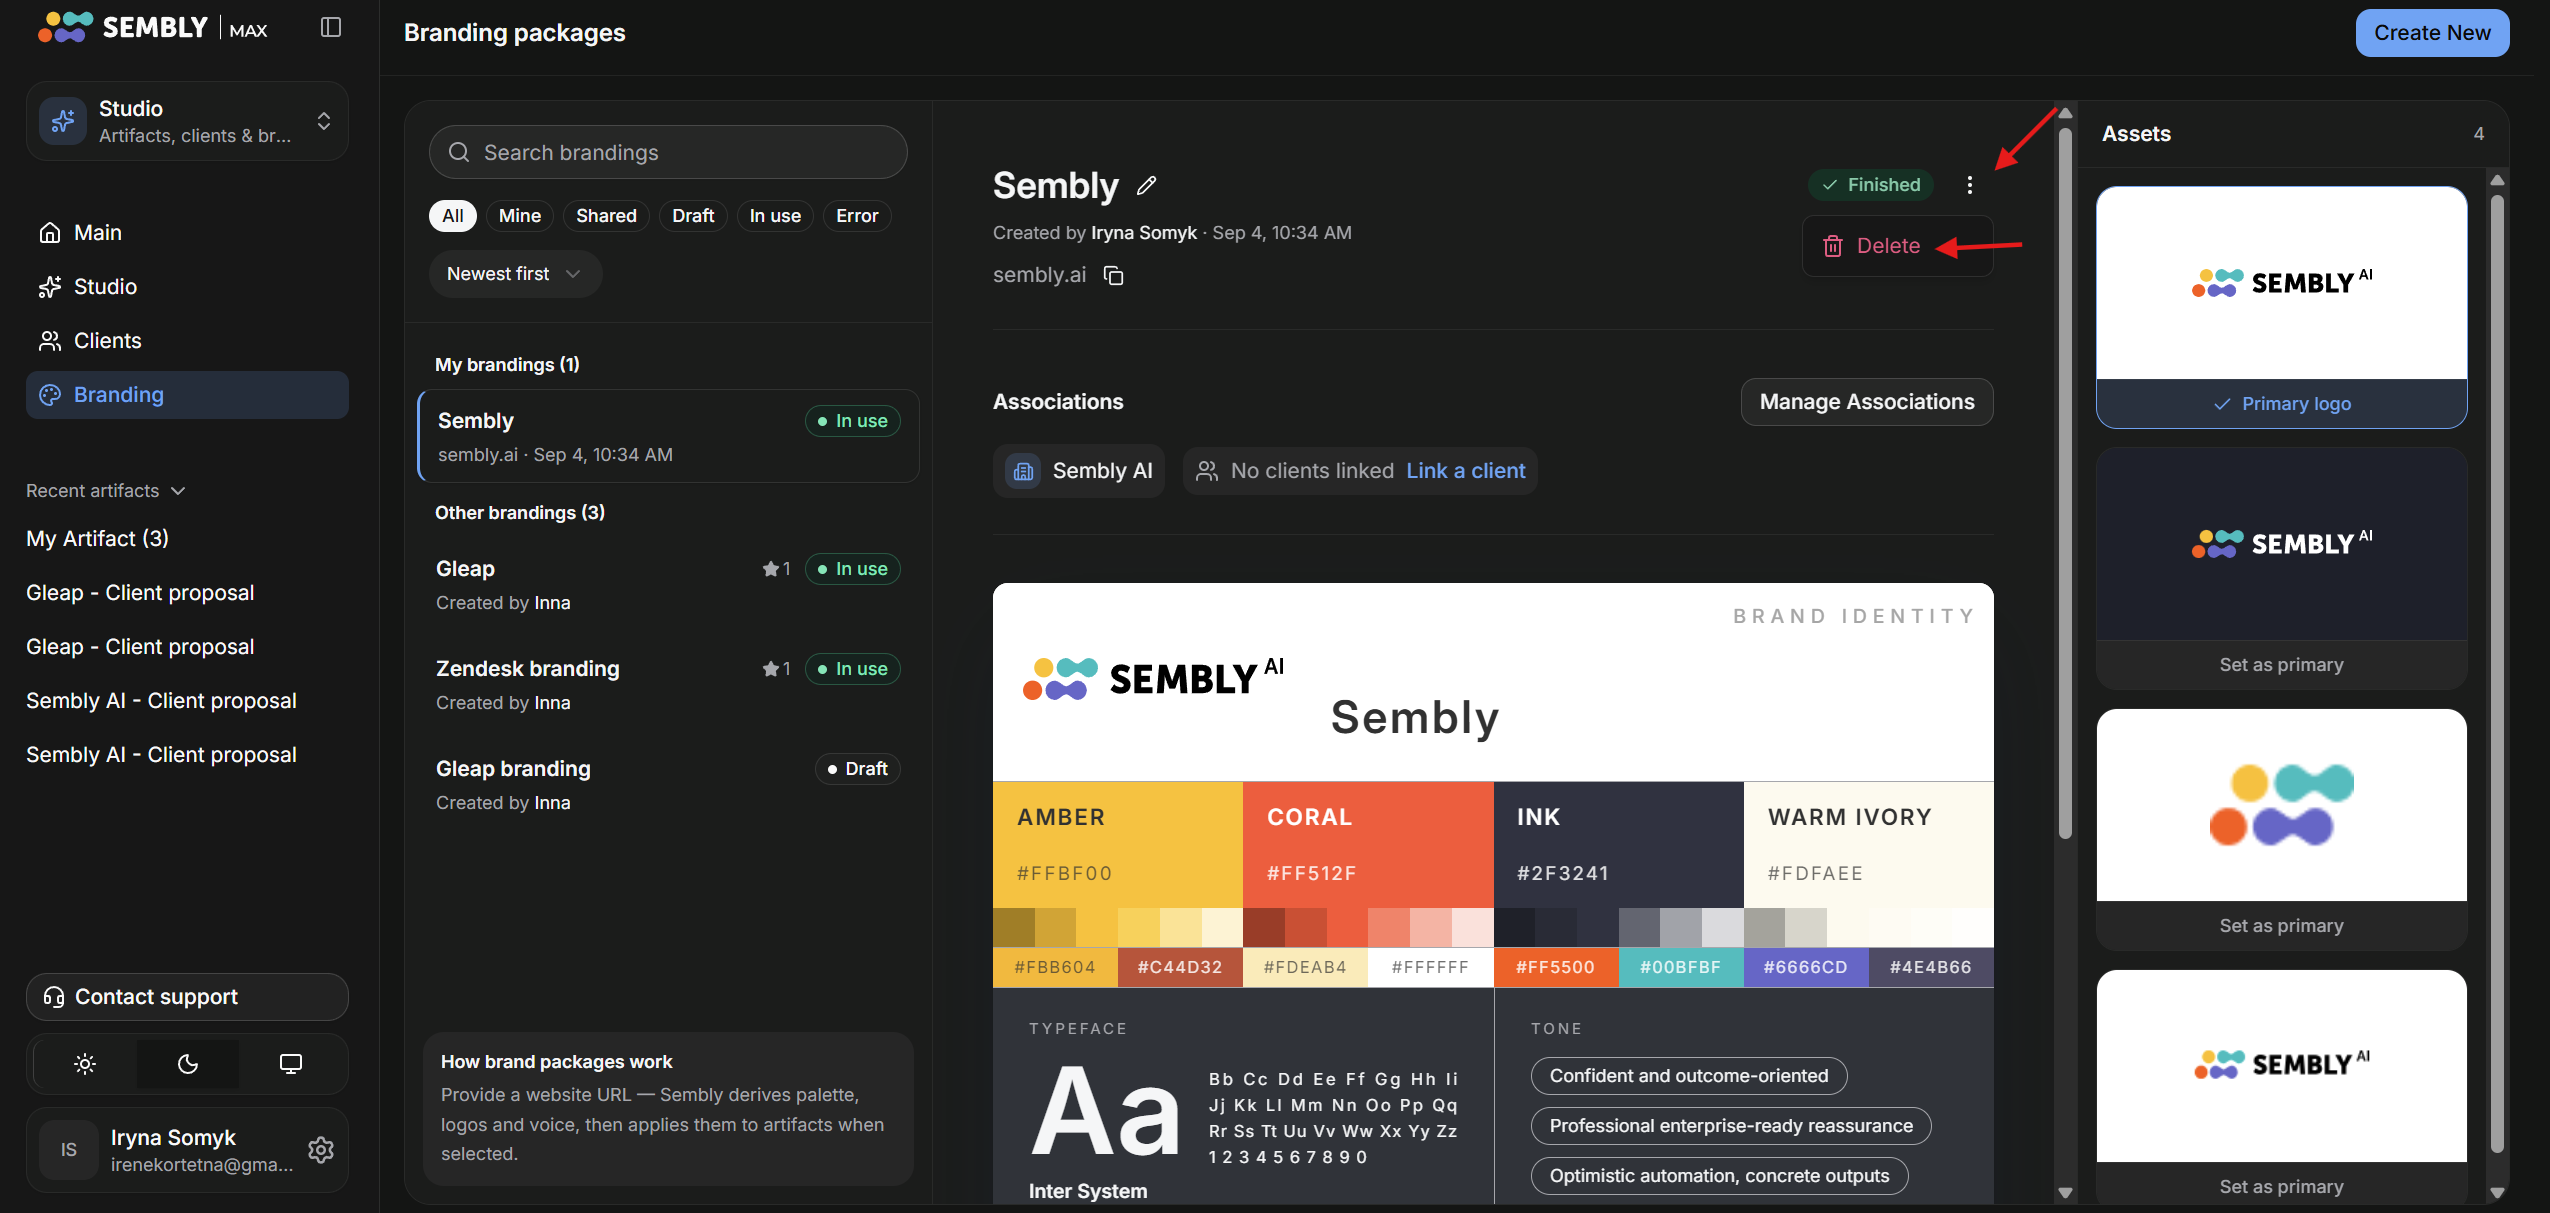
Click Confirm Delete, and the branding will be permanently removed from the system.